
How to Create a Digital Planner in 5 Days with Keynote

You're ready to bring the digital planner idea you've been thinking about to life but you aren't exactly sure how to do it. Designing a planner requires a little bit of technical savviness, but nothing you can't handle with the help of a blog post!
Our favorite way to design digital planners is through Apple Keynote, a free app that's well known for its great presentation slides but can also be used to build a fully equipped digital planner with links, sections, tabs, and everything else you need to turn a traditional paper planner into a digital masterpiece.
But building a digital planner doesn't have to be hard anymore! By following the steps in this blog post, you'll have a complete digital planner in just five days. When you take the time to follow the steps we outline below, you'll...
Have a roadmap to follow as you create a structure for your digital planner
Master the art of sketching
Turn your sketches into a planner
Decide whether or not you should create a dated or undated planner
Add hyperlinks to build a fully functioning planner
...All of this by using Apple Keynote – so let's dive in!
Build a roadmap & sketch things out
Also known as a wireframe, this is a rough idea of the pages and layout of your planner. It's time to bring that one thing that sparked the idea for this planner to the front of your mind and use it to create a never-before-seen product. Whether it's your daily routine, outlook on life, or the niche you're looking to help, remember what makes your idea unique as you decide on page types and layouts. This will serve as your roadmap as you start sketching and bringing your planner to life.

It's time to sketch! Don’t overthink this step, just imagine what your dream planner would look like and then get to work creating it. Refer back to your roadmap so you don't miss any page types as you sketch everything out. Make sure you include things that honor the lifestyle of your customers, their routines, habits, and goals.
Start your sketch by creating rectangles to represent the pages. Then use basic shapes to represent calendars, lines, boxes, and checklists. While sketching, imagine where you want your tabs to be located on the side of your planner. Don't forget to think about how you're going to format your planner, will it be horizontal or vertical? Dated or undated? A rough draft is just that – rough, don't stress about it not being perfect! These sketches are what we'll be using to digitize the design inside Keynote tomorrow. We suggest using one or two days out of the five you're spending designing your planner.
Digitize your planner in Keynote
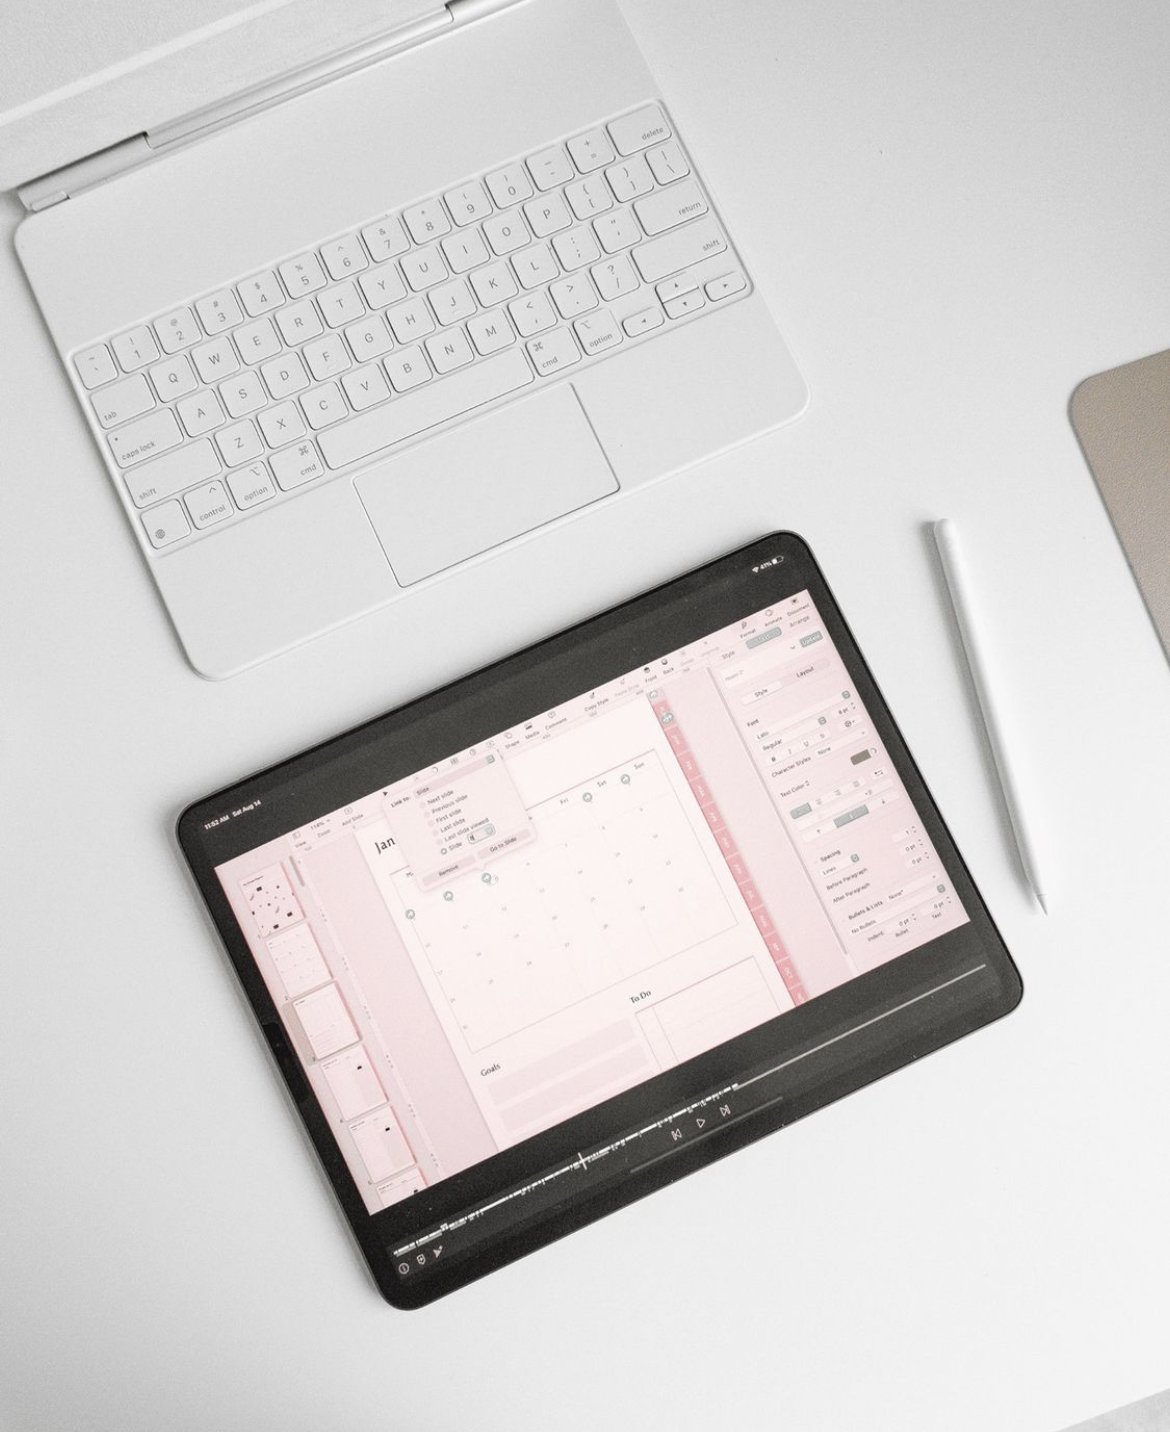
This program is free to use if you have an Apple computer or an iPad and it’s the most popular among digital planner designers! What I love about the Keynote program is how simple it is and you can visually see the links as well as edit them faster. The interactive feature is easy to build and maintain within Keynote.

Digital planner sizes
Start the digitizing process by setting up the page document to 935 by 650 pixels. To do this, navigate to document > slide size > custom slide size.
Next, we want to create tabs to make splitting up the planner creation into smaller, more doable phases, organize our pages, and make it easy to jump around inside the planner. Using the shape tool, choose the rectangle shape and resize it, then duplicate it as many times as you need. If you aren't sure how many tabs you'll be using, we'd suggest starting with twelve, since that will at least allow you to separate everything into each month of the year.
Add a drop shadow to help your tabs stand out, then add a square shape on top of the tabs to make it look more realistic.
You now have the basics down! But don't stop here, let your creativity flow and bring your planner to life in a way that serves you!
Next, you're going to build out each page using the sketch you made on day one or two. This doesn't have to be as overwhelming as it sounds. When you look at any planner, you’ll notice that it’s built out with just a few shapes to create tables, lists, columns, checklists, and each additional feature. So to do this in your own planner, all you have to do is select the appropriate shapes from the shape tool or create a table and customize it to fit your style. Remember to refer to your sketch and think about which shape you’re going to use to build your planner pages. There's no right or wrong way to do this, but it might take some time to familiarize yourself with the process. Don't worry too much, because right now, done is better than perfect.
As you continue designing planners, you'll get more familiar with the Keynote app and find yourself following the process that works best for you. Take it one step at a time and one page at a time. To save time, you can copy, paste, and edit each page so you don't have to keep recreating the shapes from scratch.

Creating a hyperlinked planner
But there's one more important step that we don't want to miss when designing a planner, and it's actually one of the most important reasons why digital planner designers choose Keynote to build custom digital planners. Hyperlinking!
If you’re familiar with our signature program, the Digital Planner Academy, you know that we always say ideation, sketching, and hyperlinking go hand in hand with the design process. Hyperlinking goes right along with adding tabs to your planner. When you decide where each tab is located and what type of tabs you want to add, then you know where these tabs will lead! The idea of tabs is to provide easy access to certain sections and pages in your planner. These are usually the most used pages in the form of months or sections. Hyperlinks are most commonly used to link each month to its corresponding page.
So, how do you add hyperlinks in Apple Keynote?
Select the text or shape you want to convert to clickable hyperlinks
Right-click and select “Link”
Select Slide
Type in the page number that you want to be linked to
Here are a few linking tips:
Each shape and text can be linked to 1 page, so you can't use the same tabs to link to multiple pages in the planner.
All shapes or text should be ungrouped for hyperlinks to work when exporting the document, so you can't group multiple shapes together and add links to them.
Once you link all the tabs on the first page, you can then copy and paste them into all pages to save time.
Take your time designing your planner and adding hyperlinks, try to spread the work out over two days. Then, on the fifth and final day you've set aside to creating your planner, you can test and export everything, making sure it's ready to be received by customers once they purchase your products.
Are you ready to move on to the next phase and set up your new shop? Read this blog post to decide whether you should open an Etsy shop or build your own website.
Free 5-day Challenge!
We’ll walk you through these steps in our free five-day challenge where you’ll get to watch me create a real digital planner and do so at the same time! Learn more and sign up here.


