How to Make a Digital Planner to Sell in a Weekend!
Digital planners are on fire! People love them for the way they help you stay organized in a user-friendly way, conveniently on the devices you already carry with you. No more lugging around paper planners and worrying about losing them or forgetting them at home. Digital planners are for the digital age- right now!
All businesses, especially service-based businesses should have a digital product under their belt. That’s because creating digital products helps you reach a wider audience and generate new leads. It also establishes you as an expert in your area. If you’ve created tools or programs that have solved your own problems, then chances are they can solve other people’s problems as well. Another great benefit is that digital products will earn more money for your business, often in the form of passive income, the best kind of income there is☺
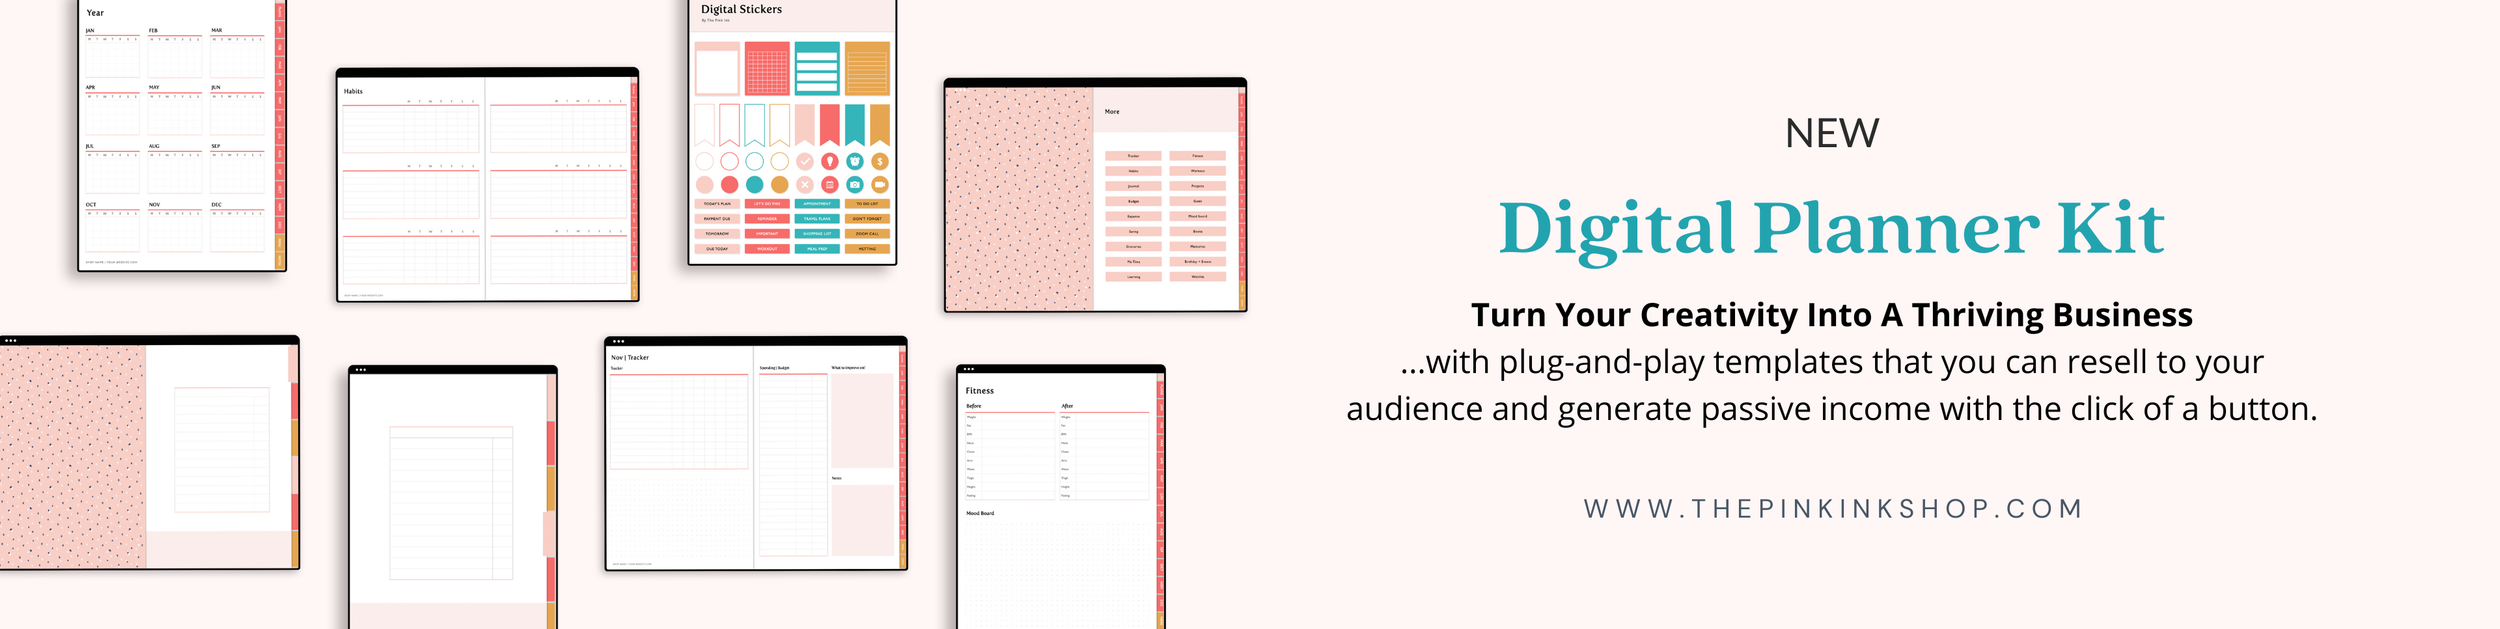
If you want in on the digital planner action, but you don’t have time or experience in creating digital planners, the Digital Planner Kits are for you! They are plug-and-play templates for aspiring entrepreneurs and creatives who are ready to sell a digital product to their audience without having to start from scratch.
There are so many benefits to the ready-made Digital Planner Kits. First, each kit comes with a commercial license to sell unlimited products and unlimited designs, just as it would if you created your own from scratch! Second, all the heavy work is done for you and you don’t have to worry about coming up with a concept, doing research, branding, creating, including hyperlinks, and testing- it’s ALL DONE FOR YOU!
So, how do you take a PLR Digital Planner Kit and turn it into a product you can sell on a weekend? Here are the seven simple steps to make that happen:
Step 1: Take the quiz to find out which PLR planner kit is for you
I created this quiz to help you find your ideal niche. I remember when I started out as a digital product designer and I tried to create a lot of different products for different niches and ended up creating mediocre products that I didn’t actually feel that excited about. That’s because I hadn’t defined my niche yet. Once I defined my niche, my digital product business took off!
Which Digital Planner should you create and sell quiz is about discovering what you’re passionate about and what you’re good at naturally so you can use those talents to make passive income creating awesome digital planners in the niche that’s perfect for you.

Step 2: Grab the bundle that resonates with your audience and zone of genius.
I can’t stress enough how important it is that you choose the option that you’re passionate about. You may be tempted to choose something else because you think there’s a bigger market for that product.
But, in the end, you’re creating extra work for yourself by having to work on something that you don’t care that much about. When you’re passionate about something, your creativity comes alive, and you want to get to work on it and see that idea become reality.
Having a targeted niche is oh-so-important for creating sold-out PLR digital products. Why?
As I mentioned above, when you try to please everyone, you end up pleasing no one. But when you have a niche and you know the ins and outs of your target customers’ needs, then you can create a truly useful product that serves that niche completely. Don’t ignore the power of niching down.
Choose an area that you know and where you can apply your expertise and natural talents. That way, you’ll enjoy the process and be able to offer important insights from your own experience to help improve the quality of your product.
Step 3: Choose the program you’ll use to create it (Keynote, Affinity Publisher or PowerPoint)
This is really up to you to choose which program you prefer. I chose Keynote, Affinity Publisher and PowerPoint because they’re very easy to add and maintain links which is an essential part of creating and designing digital planners. Other programs have more complicated processes that can become time-consuming.

These design programs are easy to learn and master.
Keynote is free so there are no costs to get started.
PowerPoint offers a 30-Days free trial to start and then has a cost deciding on which plan you choose.
Affinity Publisher for creating digital planners is amazing program with one time fee.
Decide which one you think will work best for you and get started.
Step 4: Watch free videos on how to edit the PLR digital planner templates.
With each digital planner kit, you get access to 13 video tutorials to walk you through various important digital designer steps. These videos will teach you a variety of essential skills, including:
How to edit the templates and master slides
How to edit the colors and fonts
How to edit the hyperlinks in the digital planner
How to maintain the file to be lag-free
These simple, yet thorough video tutorials will give you the tools you need to master the essentials of digital planner design in the kit of your choice.
Step 5: Select your fonts and colors
Branding can make or break your products! Creating a look and feel for your brand helps your target customers identify with it. It helps get you noticed and makes you recognizable as a brand. With the PLR Digital Planner Kit, you’ll get free font resources and a color generator to get you started if you don’t have brand colors and fonts yet. These basics of marketing will give you a step forward in creating your brand’s unique personality.

Step 6: Choose your graphics and clip arts to decorate your planner pages
To stand out, you need to add your own style to your products! Images are important in communicating style. You can either use the 250+ free elements that come with your Digital Planner Kit or get your own from the Creative market or Design cut. Enjoy getting creative and finding ways to express your brand’s originality and core style through images.
Step 7: Edit your PLR planner templates, test, and launch
I created these PLR templates with you in mind- whether you have tech and design programs or not, these templates are easy-to-use and edit.
All the shapes, tabs, and icons are saved under styles so you can easily change color with the click of a button.
All fonts and text are saved under paragraph styles so you can simply swap them with your favorite fonts with the click of a button.
The templates come with fully linked tabs and buttons with a hyperlink guide so you can effortlessly edit and tweak without feeling overwhelmed on where to start.
You don’t have to create your own templates from scratch. The PLR Digital Planner Kit gives you the important tools to create your own style with easy-to-edit features.
Your next step, Design your digital planner today!
These custom-designed Digital Planner Kits literally have everything you need to launch a digital planner business in just a weekend. You don’t need to take an expensive course or learn how to design on your own. With the planner kit, you can start today.
No more doubting yourself and putting off your dream- the kit has everything you need to get started now!