
How to Use the Time Block Method in Digital Planning

Time blocking is a productivity method where you schedule your daily work and activities into scheduled “blocks”. It’s often credited to mega entrepreneur Elon Musk who commented that he worked in 5-minute time blocks when he was chairman of Tesla and SpaceX.
In the last couple of years, time blocking has gained a lot of fans among people of all stripes, from entrepreneurs to writers to artists and working parents- people everywhere are praising time blocking for helping them stay productive and increase work-life balance.
Time blocking is different from just scheduling your planner or making a to-do list. It’s so much more than that. Time blocking’s goal is to keep you on task as much as possible and help you develop routines to keep you productive when working.
With a to-do list, for example, there’s no order to the tasks on it. That means that you can push the tasks you dread to the end of your list, letting your day pass with the build-up of anxiety to that task you just don’t want to do. With time blocking, you will analyze your habits and energy level throughout the day.
If you’re not a morning person but your energy tends to kick in around 11am after your second latte, then that’s when you should schedule your most difficult, dreaded tasks. This is a great way to trigger you into a winning attitude, tackling the monster head-on instead of using your precious peak energy time to knock out the easy tasks and hoping that big bad task will magically disappear by the end of the day.
In addition to taking advantage of your natural productivity rhythms, time blocking also cuts down on distractions and interruptions. Most people tend to be slaves of their phone notifications. If you get an email, you want to return it right away. Someone texts you, you text back. Someone comments on your Instagram photo, you reply. Those micro-interruptions take away your focus and end up costing you time at the end of the day. By blocking off a time to respond to emails and texts, you take control of your time and achieve more focused work slots.
Another great aspect of time blocking is task batching. Task batching is all about grouping similar tasks together so you can take advantage of the momentum of your focus and mindset to knock out several similar tasks in a row. If, for example, you need to come up with invoices for digital wedding invitations for three different clients, why not do those tasks all together rather than having to get into that mindset three different times during the day? Task batching saves time and improves the quality of our output by taking advantage of flow.
Perhaps the cherry on top of time blocking is that it will free up more time. Think about it. When you’re more engaged and focused at work, you’re more productive. When you finish your work in four hours instead of eight, for example, that means more time for leisure. Time to exercise or work on a side project or go out to dinner with your partner or enjoy an activity with your family. Who couldn’t use more of that?
Steps to start time blocking on your iPad or tablet
Now that you understand why you should use time blocking, it’s time to set up your own personal time blocking method on your favorite digital planner.
Step #1 Time EVERYTHING
As mentioned already, time blocking is different from a to-do list. It is literally breaking down every single activity of your day into scheduled blocks. While a to-do list would omit things you do every day like cooking lunch, going for a run, picking up and dropping off kids from school, Facebook scrolling or even stopping by a café and having a slice of vegan carrot cake and a flat white, the time blocking method asks you to include those things. That’s because time blocking is about planning your day for efficiency and building good time management skills, not about checking things off a list. That being said, sit down and write out everything you do on a day to day basis, from waking up to showering to eating breakfast, driving to work, etc. Don’t skip anything, no matter how insignificant it might seem. If it’s part of your day, it belongs in the time block.
Step #2 Estimate and organize
Once you have your full task list, it’s time to estimate how long it takes you to complete each of the tasks on it. When you’re just starting out with your time blocking, it’s always a good idea to overestimate. That’s because we often tend to underestimate how long it takes us to do things. Once you have your time estimates, take a look at your tasks and group together the ones that are similar – called “task batching”, mentioned above. Also group together tasks that you tend to do sporadically throughout the day such as emailing, texting and social media. This is an essential step in time blocking as it allows you to increase focus when working on a specific task which will lead to increased productivity.
Step #3 Choose your planner
Time blocking is really ideal for digital planners. That’s because digital planners are easy to edit and switch around time blocks if you need to. With a paper planner, you would drive yourself crazy with your pencil and eraser which isn’t the point. The point is efficiency, so why not use the tool that’s most efficient for this method?
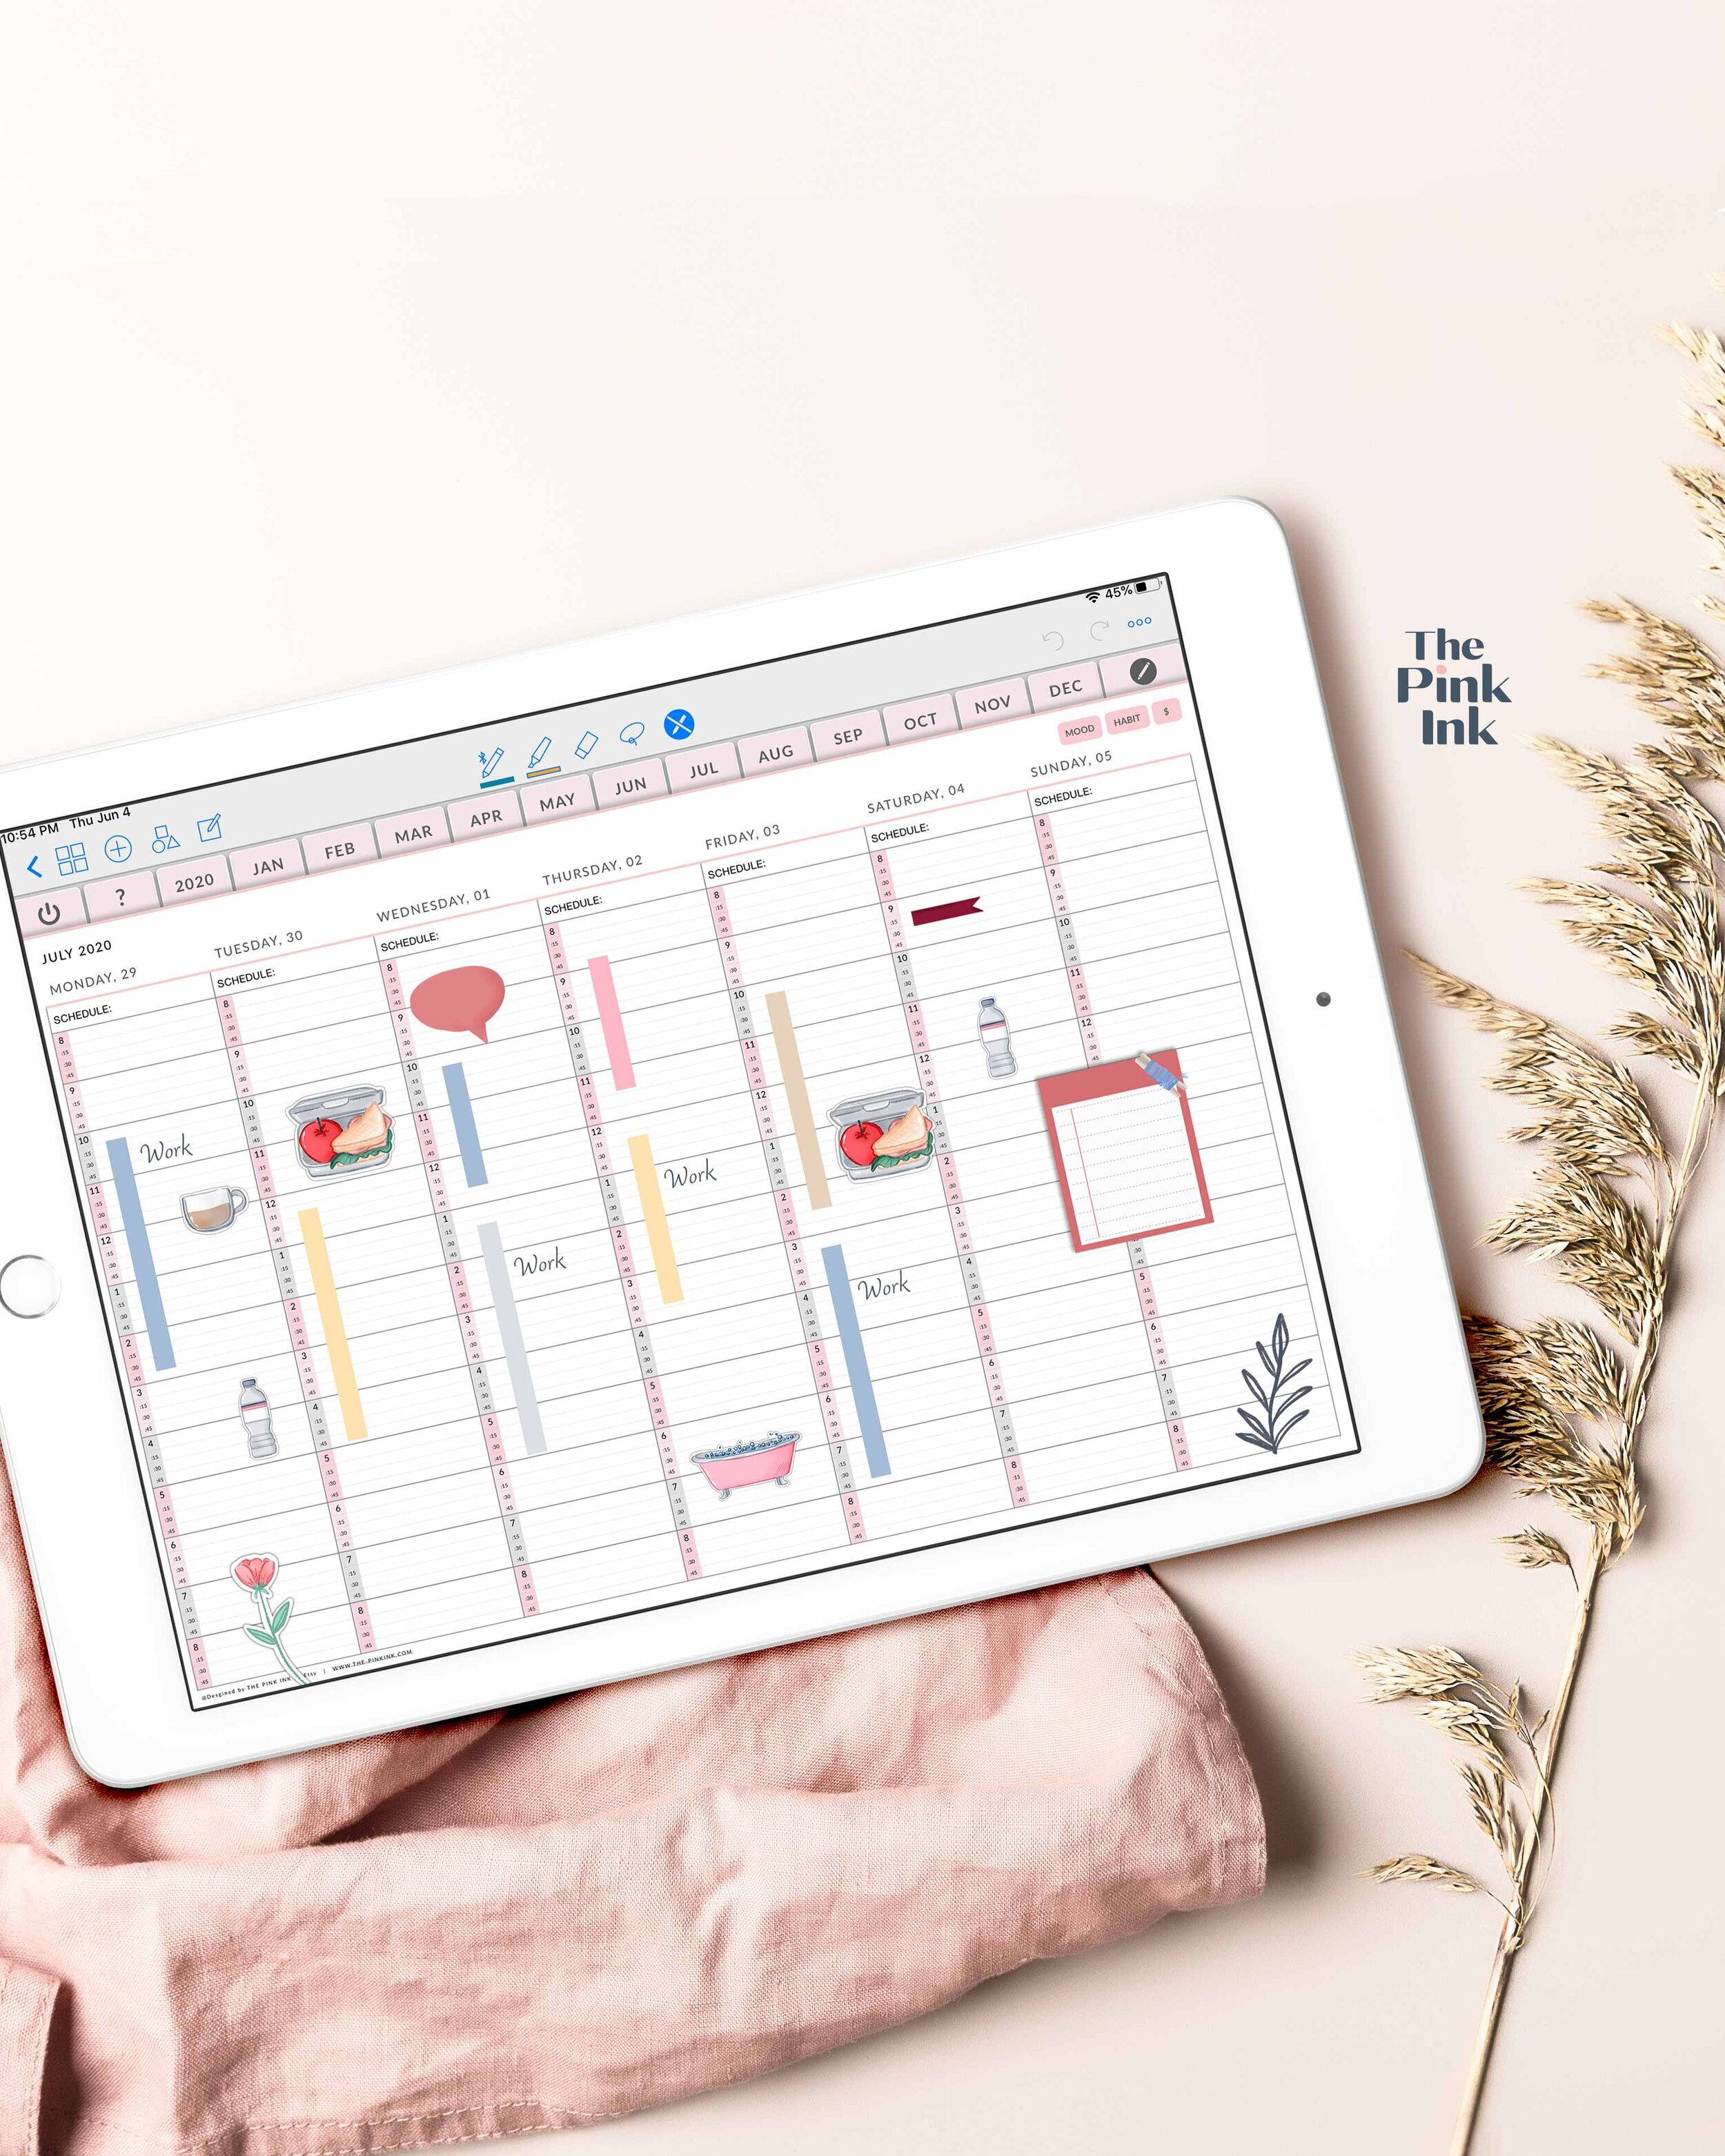
It’s time to open up your The Pink Ink planner and time block your days away. Select the perfect planner for you. Ideally, you’ll use a weekly planner as a daily planner will be too time-consuming to map out and a monthly planner won’t give you enough details. The weekly planner is a happy medium.
Step #4 Block your time in your digital planner
Now it’s time to actually block your time for the day and the week. When setting up your first time blocking schedule, just block for the first week. Don’t block more than that because chances are, you’ll have to adjust your time blocks. Also, some experts advise not to create work blocks of more than 90 minutes as many people’s productivity starts to take a nosedive after that. You’ll have to feel what works best for you. The time blocking template on your digital planner for your iPad can help you to get started.
Step #5 Test it out
If you didn’t get your time blocking 100% right on the first try, you’re not alone. Most people need to tweak things after the first day or first couple of days using time blocking. The beauty of testing out your time blocking template is that you now get to see how you really truly spend your time each day. In reality, it might be very different from how you imagined it. As you become more attuned to your activities and tasks and how long you spend on them in reality, you’ll be able to tweak your time blocking template to fit your reality. Be prepared to adjust it again as you build momentum and find that your productivity has increased. Now that’s a satisfying feeling.
The Takeaway
Time blocking is a modern productivity method that anyone can use to increase their output and organize both their work and leisure time more effectively. Using a time blocking template on your digital planner on your iPad can give you a truly great time management tool.


