
The Ultimate guide: How to get started with digital planner design
Designing a digital planner is kind of a big deal, but it can open the door to endless passive income opportunities!
But maybe you keep finding yourself sitting in front of a blank screen wondering how you can get your ideas out of your head and into the hands of potential customers.
With the right tools and resources, you can build a strategic planner that transforms the lives of your customers without stressing over every little design decision.
You can finally move on from your YouTube design tutorial rabbit hole or downloading endless freebies and move forwards with confidence!
This blog post will answer all your questions and set you up for success so you can decide if designing and selling digital planners is right for you!
This blog post will help you find purpose in each step of the planning process as you bring your shop to life. We'll cover everything from the best design programs and creating digital planners to designing and organizing your planner pages so that getting started can be easy.
Let's dive in!
What is the best design program to use when creating a planner?
As a business owner, you want your products to be the best of the best. To create products that turn heads and attract more customers in your target market, you'll want to make sure you're using the best design program to bring your products to life.
Let's break down four of the most popular design programs...
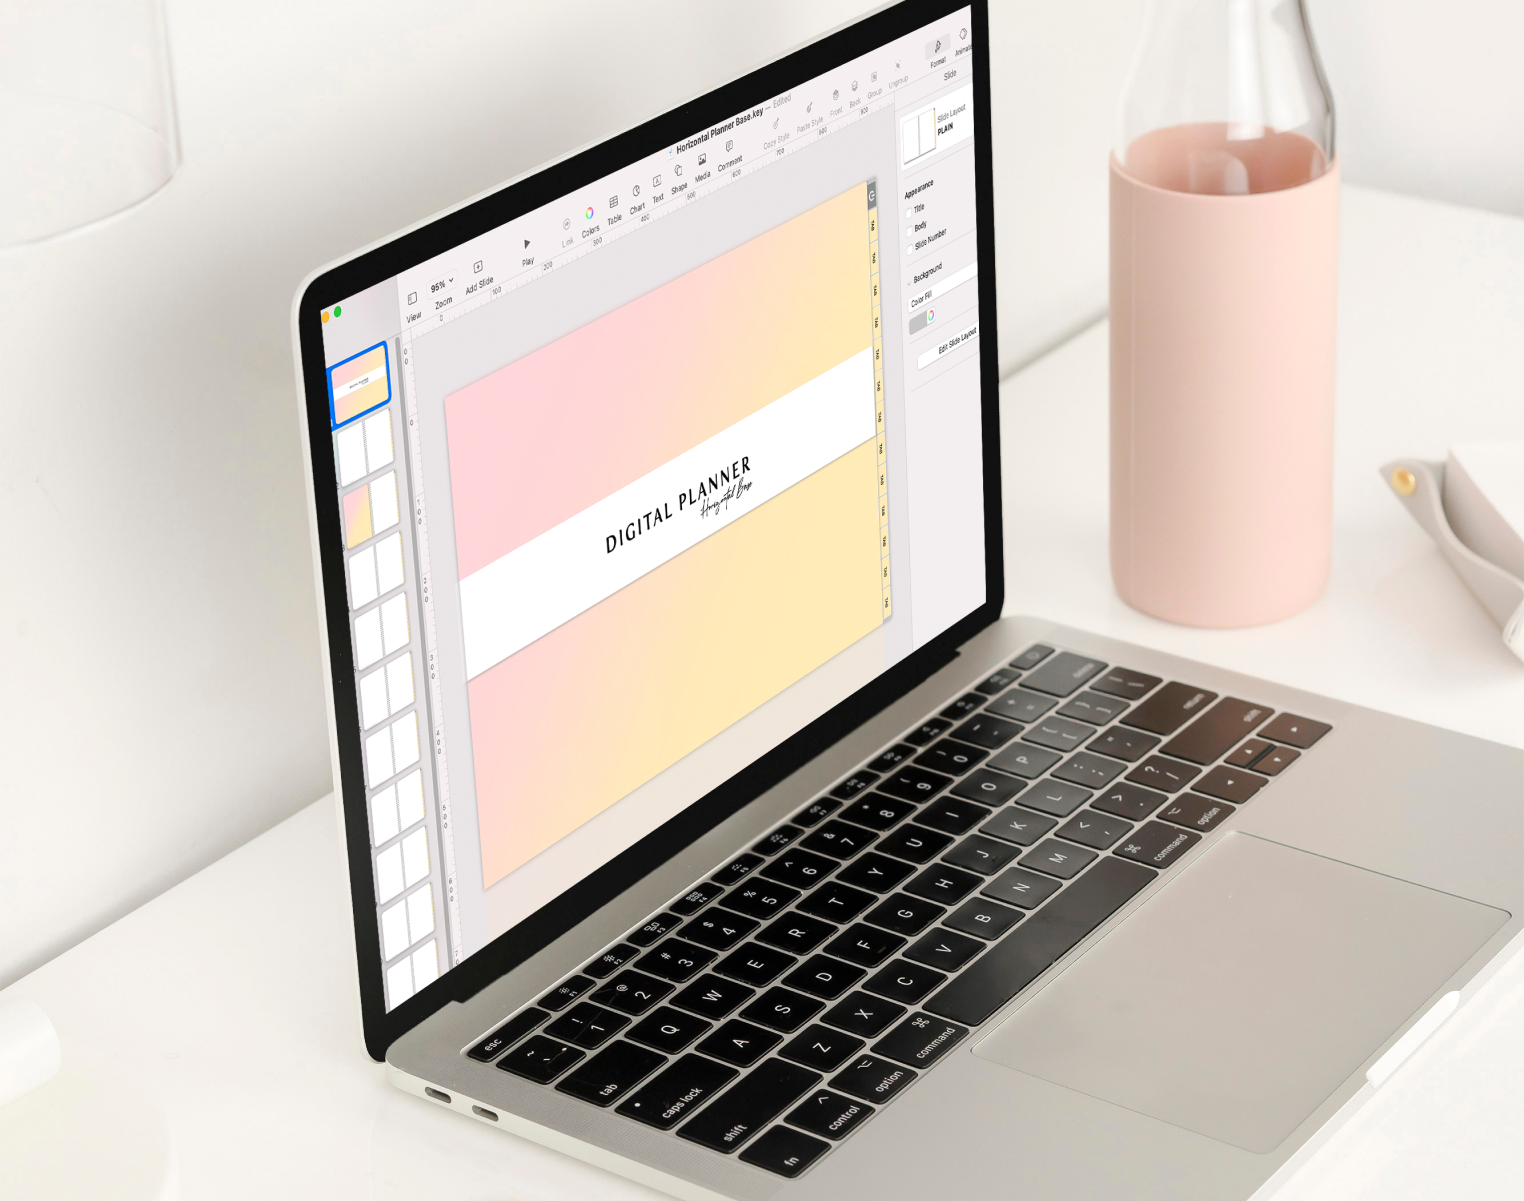
Apple Keynote
A favorite digital planner design program amongst our team and students is Keynote. This is a free program available to Apple users. You can use it on your laptop, computer, or even your iPad, which is especially helpful if you have an Apple Pencil and want to create one-of-a-kind illustrations on your iPad! It has various tools that allow you to add charts, create diagrams, edit photos, and create dynamic backgrounds.
The Digital Planner Starter Pack by The Pink Ink®
Apple is known for its intuitive software and ease of use, so getting started building your first digital product should be fairly simple! There are three reasons why we love Keynote so much...
Cost – the only investment you'll have into Apple Keynote is your time! It's free for Apple users and for those with Windows, you can use an iCloud version, however, the iCloud version has limited options for designers. Even if you decide that creating digital planners isn't for you, you won't be tied to any commitments!
Ease of use – the intuitive setup and the various tools offered by Apple Keynote make it easy to navigate and learn to use the program as you start designing your products. One of the most important things to consider when choosing a design program is whether or not you can hyperlink and do so easily, which Apple Keynote allows you to do and makes it easier than many other design programs!
Popularity – Keynote is the popular choice amongst digital stationery designers, making it easy to find tutorials that can help guide you as you learn how to bring your visions to life. We've even put together a blog post that will walk you through five easy steps to building a digital planner in Keynote which you can read here!
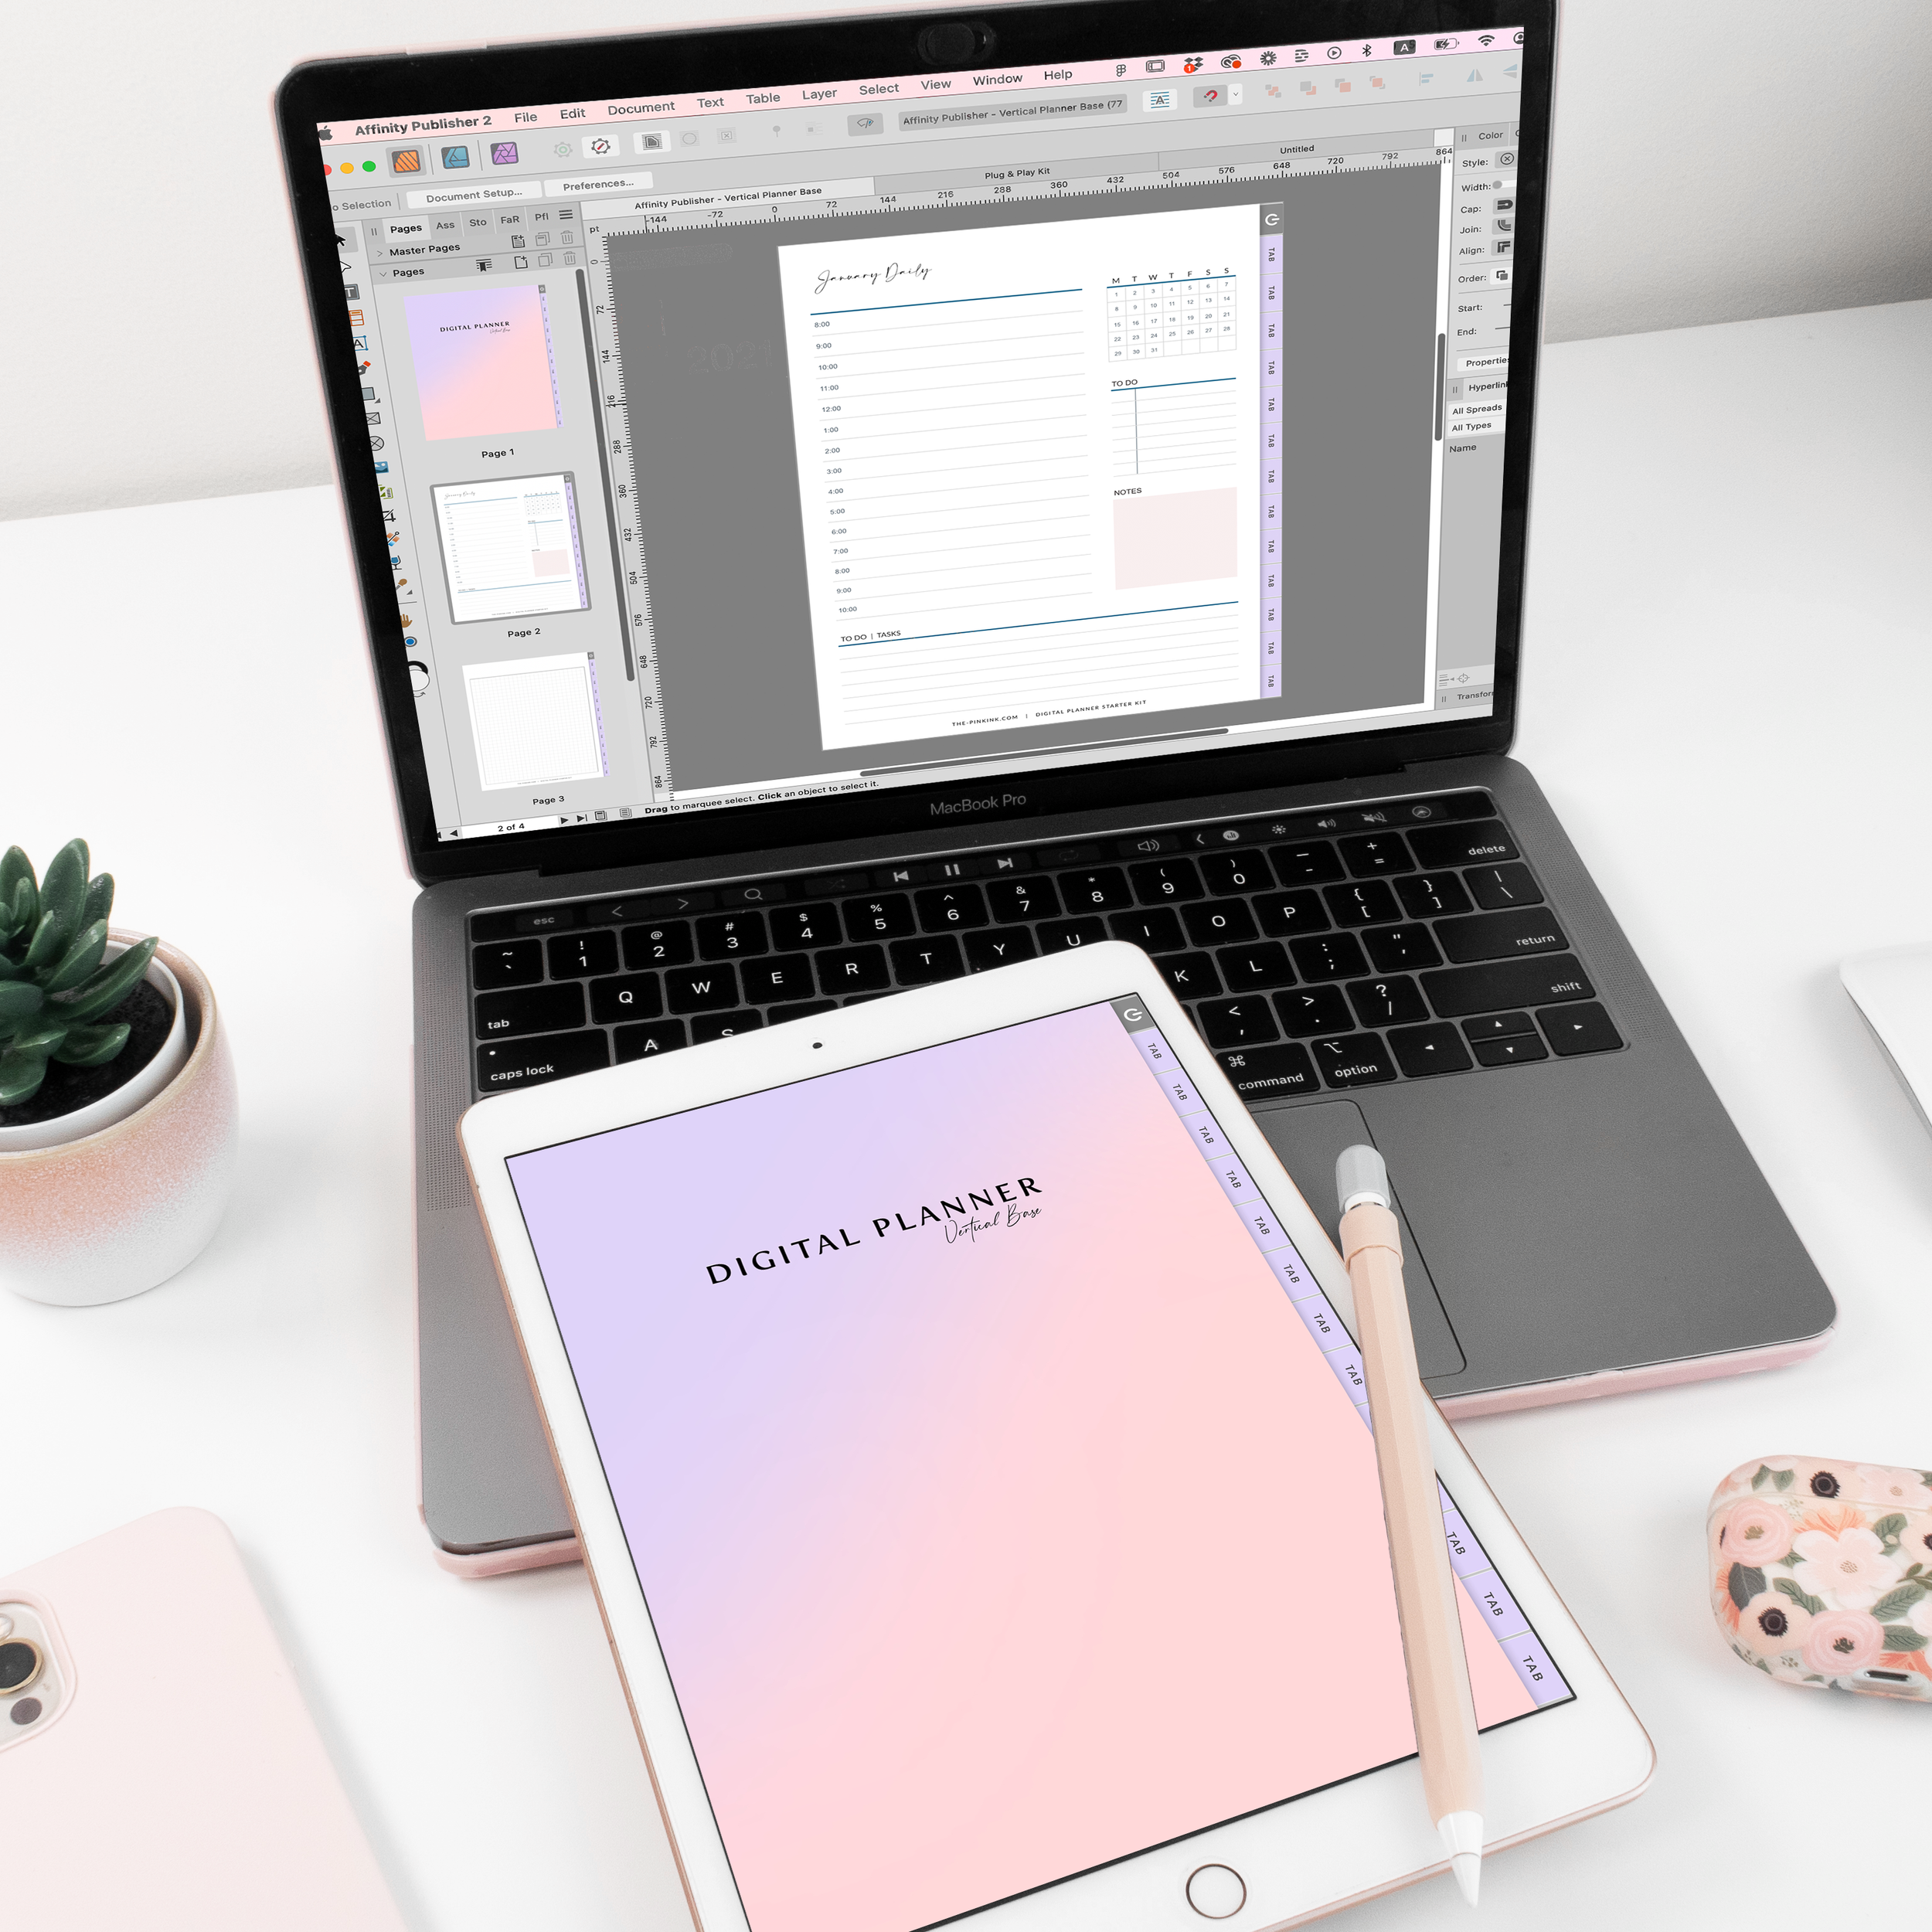
Our Favorite: Affinity Publisher
Our runner-up to Apple Keynote and another popular choice amongst online business owners is Affinity Publisher. Affinity Publisher allows you to produce professional-level books, magazines, social media templates, and, of course, digital products. It lets you create and customize images, graphics, and texts to create beautiful graphic products. Affinity Publisher allows you to create presets so you can save your favorite workplace setups and switch between them while working on different projects for greater ease in your workflow.
Just like Apple Keynote allows you to easily add hyperlinks, Affinity Publisher has the capability to add hyperlinks (note that Affinity Designer does not). Your hyperlinking strategy is what differentiates your digital planner from an average physical planner, so it's something you'll want to consider when choosing your design program! This design program also doesn't require a monthly subscription, but rather a one-time price that helps you budget as you start your online business!
I love it so much that I went and created an entire module including videos, practice guide and user guide teaching you how to master Affinity Publisher so you can design your dream digital planners.
Affinity Publisher allows you to produce professional-level digital planners and products, then customize your designs to create beautiful graphics.
I recommend this program because you can...
Automate adding dates to your planner both digital and printable
Save your favorite design including any shapes, tables or tabs and get access to them throughout other design documents.
Automate saving and updating colors so you can create different versions of your planner and expand your collection.
And the list goes on!
But knowing what program you’re going to use to bring your digital planners is just half of what it takes to design a digital planner!
✨ Related read: Affinity Publisher vs Affinity Designer for Digital Planner Design

The Digital Planner Starter Pack by The Pink Ink®
Adobe InDesign
Another popular choice is one of the most common design programs that come to mind when you think about designing high-quality PDFs, and that's Adobe InDesign. This is the most expensive option on this list, but it's a great tool for committed and experienced designers, bonus points if you already have experience with other Adobe tools since it has a bit of a learning curve!
This program is very adaptable and can create digital planners that will make you want to plan everything. The price point on this program is $49 per month, but they offer a free 30-day trial, so you can try it out risk-free. Create your hyperlinked planner by taking a few steps and exporting it as a PDF to use on any device!
Some of the benefits of Adobe InDesign are...
Works with Mac and Windows
A complete digital designer package
Great hyperlinking system
Easy to create tables (which are essential for digital planners!)
Google Slides and PowerPoint
A great beginner option that's also free is Google Slides or Microsoft PowerPoint! These are easily accessible design programs for all aspiring digital planner designers. When you're looking for a design program, it's important to remember that the program you choose is easy to use, works with your device, allows you to create template pages (sometimes called master pages/slides), and has the option to add hyperlinks. Google Slides and PowerPoint include all these options for free! Since these programs are used by people of all ages for various reasons, they are very easy to learn, navigate, and use. What else makes these programs so great?
Works with both Mac and Windows
Customizable templates to make your planner complete with hyperlinks
Automatically saves work
Compatible with each other
Price: Free
✨ Psst! Learn more about each of these programs in this blog post!
The Digital Planner Starter Pack by The Pink Ink®
What to look for in these design programs?
Ease of use — depending on how much time you have to spend designing, you may want to choose a program that is easier to get used to so you can focus on bringing your ideas to life instead of adjusting to the learning curve of a new program. If the software you choose is too technical and requires lots of time to become familiar with its different functions, your planner may not turn out looking as good as you were hoping.
Works with your device — some programs (like Apple Keynote) are optimized for specific operating systems and devices. For example, you can use Apple Keynote on a device that operates off of Windows, but you’ll have to use the web version, which doesn’t have as advanced of capabilities. Make sure you look at what devices are compatible with the program you select so that you can choose the one that works best for your products.
Master slides or master pages — to save time designing, master slides and master pages allow you to create templated layouts or pull from pre-made design options so you don’t have to create every slide from scratch. If you can create master slides or pages, then you can easily create each page for your planner without worrying about little things like alignment, consistency, and margins.
Hyperlinks — this can be a super tedious task if there isn’t an easy method to add hyperlinks to your planner in the program you choose. Hyperlinks allow you to click within your planner and be taken to different sections without having to scroll for what feels like forever. Certain design programs make this process super easy and efficient, whereas with others it can take a long time, so make sure you pick a program that works with how much time you have to spend hyperlinking.
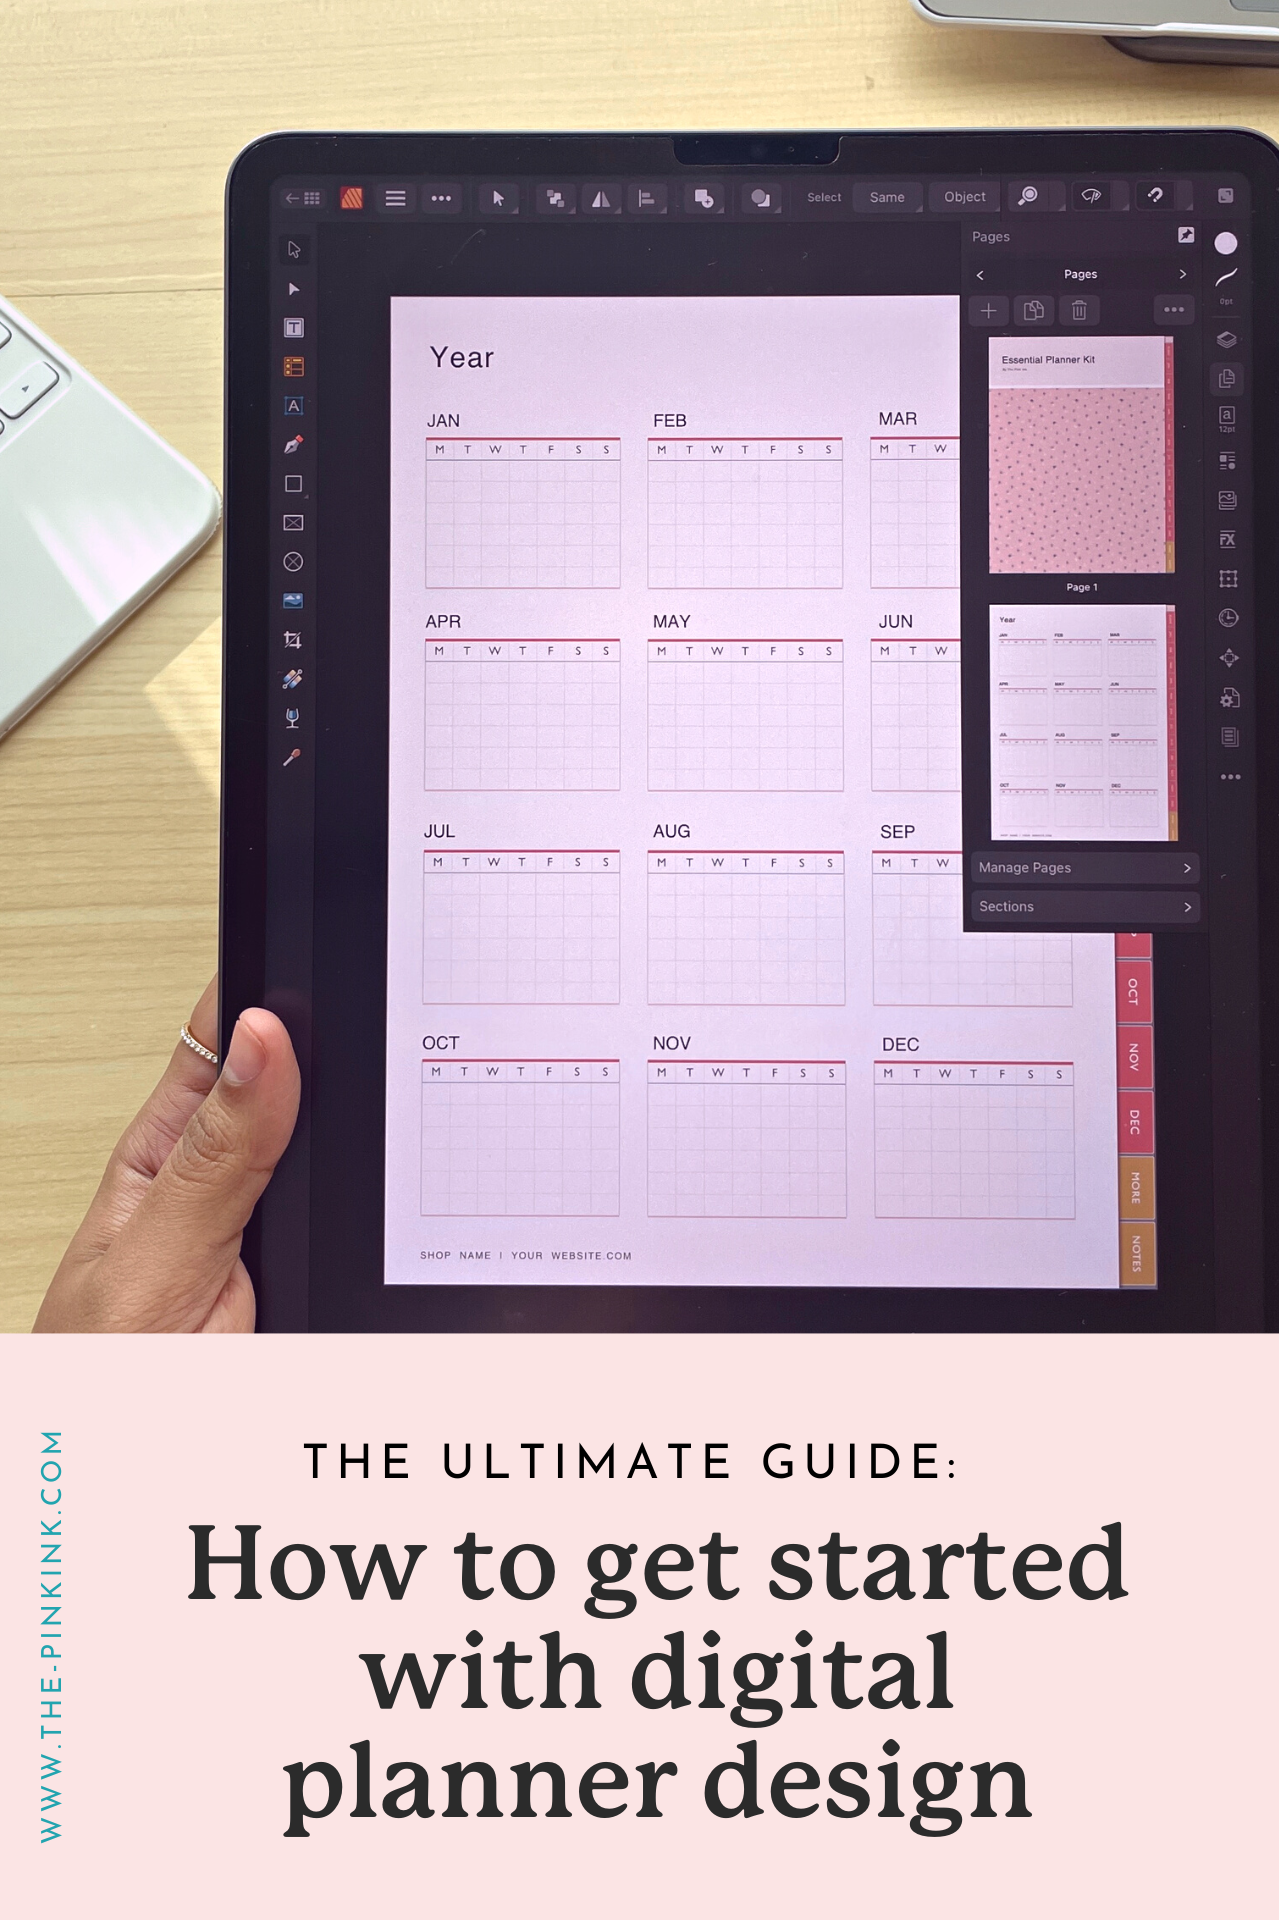
How do I make my own planner pages?
Once you've picked the perfect program, it's time to get to work designing your planner! This means it's time to decide what pages you want to include and how you want to organize them in your planner. You can follow five simple steps to make this process flow effortlessly...

The Digital Planner Starter Pack by The Pink Ink®
Start by listing the pages you'll need – nothing is off-limits here! List out each page that's essential to your signature planning process. These pages can be anything from habit trackers and goal-setting worksheets to monthly and weekly calendar spreads.
Refine your page selection – now that you have all your page ideas outlined in front of you, it's time to separate them into "needs" and "wants". These are pages that are essential to teaching your signature process and pages that would just be a nice bonus to users. We want to keep this planner simple so users can easily see the benefits of it and to keep you from feeling overwhelmed since it's your first planner! You can always include your "want" pages in a future planner or sell them as an add-on once you launch your first product.
Sketch your pages – set a timer for 10 minutes and sketch out each page from the "needs" list you've put together. Let your imagination run wild! We want this planner to turn heads, so don't be afraid to come up with all-new layouts that have never been seen before. Come up with a few layout variations for your pages so that you can pick the one that works best with the rest of your planner once you've designed everything.
Stylize your pages – one of the most important digital planning features of your pages is the tabs! These are where your hyperlinks will be located so users can flip easily from one section to another. Decide where you want your tabs to be located and want you to want them to look like. Make sure they fit in well with the style of the rest of your planner. If you haven't decided on an overall theme, now is the perfect time to do so.
Don't forget, you have complete creative freedom to make your planner look however you want! Just remember to keep your target market in mind and design your planner in a way that will catch their eye.

This process may sound intimidating, but don't worry!
We have just the thing for you! The Digital Planner Starter Pack is a plug-and-play digital planner pack that helps you create a professional digital planner without the hassle of starting from scratch. Launch your planner with confidence that comes from knowing that each page will be useful to your customers and has been designed by a professional! Learn more about the Digital Planner Starter Pack here.
How to organize your planner pages?
Now that you have your planner pages created, it's time to organize them in a way that makes sense to users and flows effortlessly. When it comes to creating a layout you and your target market love, we suggest using the sticky note method.
The sticky note method allows you to move around and test out different layouts without it taking up too much of your energy or making any official decisions. To do so, start listing out each page idea on a sticky note, then group them together in a way that makes sense for you.
Try to think about the problems your audience is going to encounter and the order in which they're going to solve them. Your audience shouldn't have to skip over sections to come to the next page layout that they need as they work towards their goals. Since you're using sticky notes, you'll be able to move pages around and try out different layouts until you find one that really sticks!
As for the rest of your planner content that doesn't focus on your signature process, we usually recommend having the following pages:
A front and back cover
A two-page spread of the whole year
A page for each month of the year included in your planner
One page for each week of the month or 7 daily pages for each week
The Digital Planner Starter Pack by The Pink Ink®
There are a few big design choices that are going to influence your planner page layout heavily – make sure you've decided if you're going to have a dated or undated digital planner. This can help you decide how many months you're going to include in your planner.
You'll also want to decide whether or not you want to set your planner up horizontally or vertically. If you're using a horizontal layout, you may be able to fit a yearly or weekly spread on just one page, whereas, with a vertical layout, you may need to use up two pages.
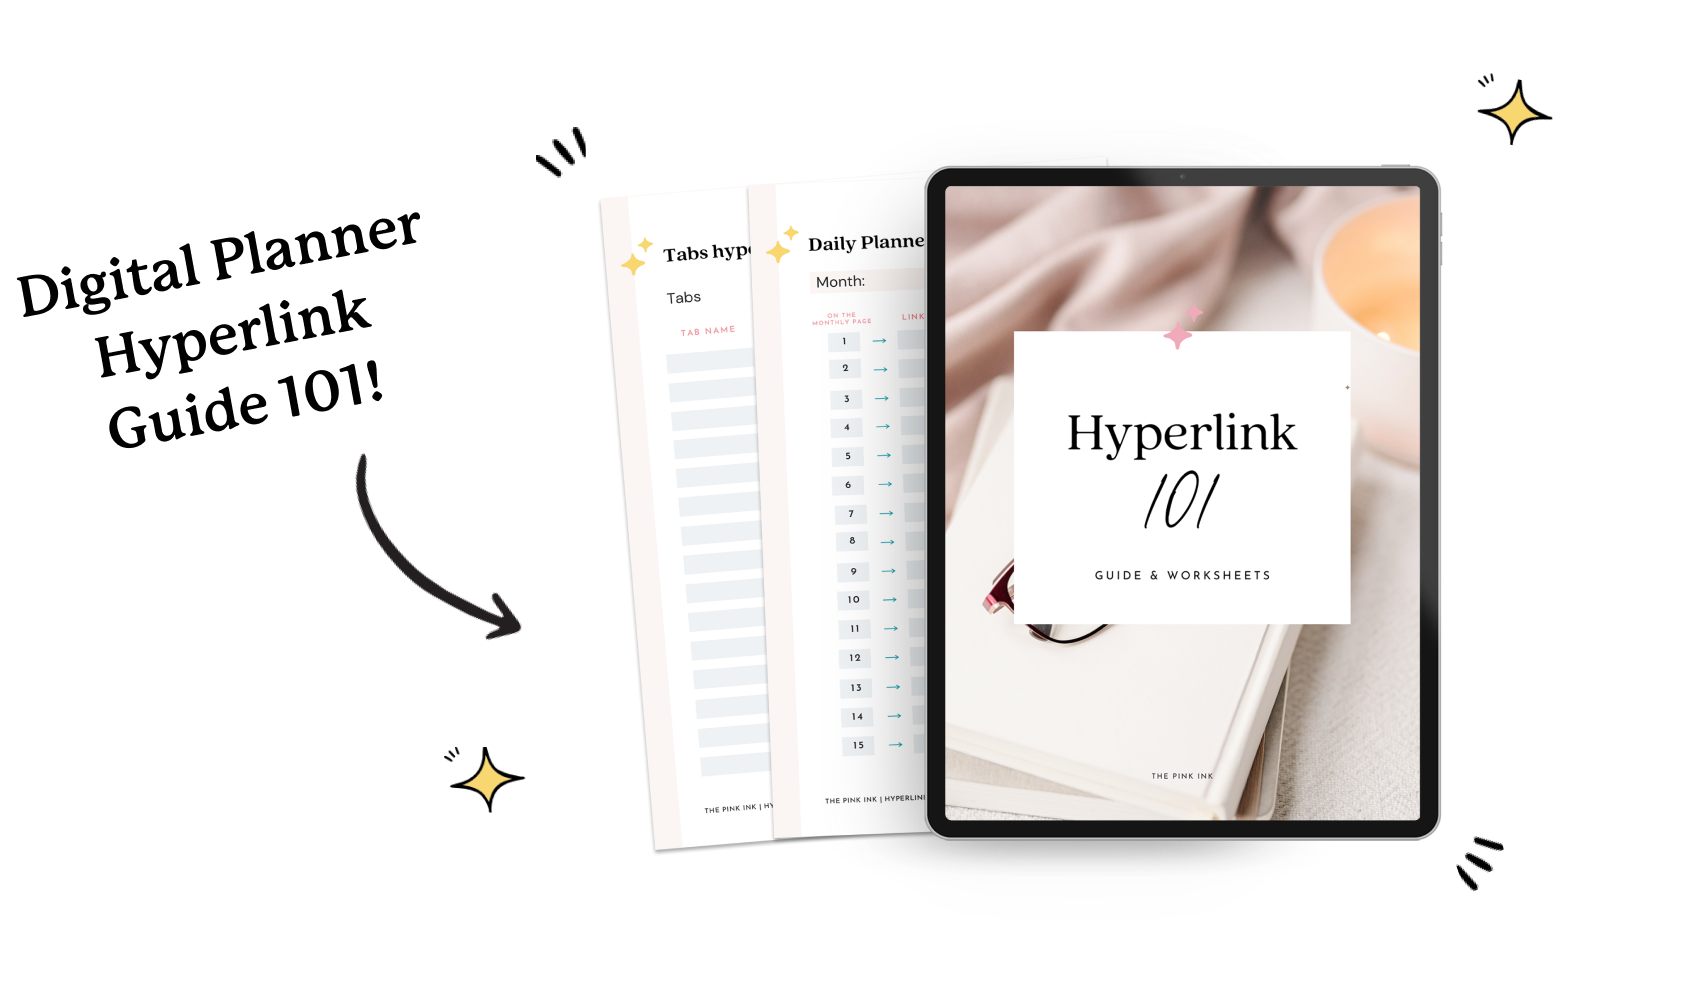
How to develop an effective hyperlinking strategy?
As we've mentioned briefly, hyperlinking is what makes a digital planner work. Without hyperlinks, your users aren't going to be able to switch from one section to another without having to scroll page by page, which can get old quickly. To ensure that your hyperlinking strategy will work, we recommend listing out all the pages on a piece of paper, then outlining what elements you want to be linked on each page. You can then create a mind map of sorts that helps you visually identify what pages, tabs, text boxes, or shapes you want to have linked to other places in your planner.
How can you add hyperlinks to your digital planner in Keynote?
Select the text or shape you want to convert to clickable hyperlinks.
Right-click and select “Link”.
Select Slide.
Type in the page number that you want to be linked to.
Pro tip: make sure that the shapes and text you're wanting to link are ungrouped, otherwise, the hyperlinks won't work!
The Digital Planner Starter Pack by The Pink Ink®
How can you add hyperlinks to your digital planner in PowerPoint?
Select the text or shape you want to convert to clickable hyperlinks.
Right-click and select “Hyperlink”.
Select “This document”.
Navigate to the page that you want to be linked to.
Hit “ok”
How can you add hyperlinks to your digital planner in Google Slides?
Select the text or shape you want to convert to clickable hyperlinks.
Right-click and select “Link”.
Select the Slide that you want to be linked to.
How can you add hyperlinks to your digital planner in Adobe InDesign?
Select the text or shape you want to convert to clickable hyperlinks.
Right-click and select “Hyperlink”.
Select “New Hyperlink”.
Change “Link to” to “Page”
Under “page” Select the page number that you want to be linked to.
How do I export a planner to GoodNotes?
Once you've created all your hyperlinks inside your planner, it's time to move on to the final list of tasks before getting your planner ready to sell! First things first, you'll want to export your planner so you can try it out for yourself. Put yourself in the shoes of your potential customers and try to use your planner in the same way they'll be doing. You can start by exporting it into GoodNotes! To do this follow these steps:
export the file as PDF
Send your planner file to you iPad or tablet (through email, airdrop, dropbox or google dive)
Open the file on your iPad and share it to Goodnotes as a new notebook.
The Digital Planner Starter Pack by The Pink Ink®
Now you can spend a few days, a week, or even a month using the planner! As you use your planner, make note of the features you love and ones that you could improve. If there are no glitches, broken links, or issues you need to fix, then you can move on to launching your planner so you can start making passive income! There will always be things that you want to improve in your planner, so it's important to remember that done is better than perfect and you can always collect your ideas to use for your next product.
Easy ways to get started & give digital planner design a try!

This process may seem overwhelming, but you don't need to start stressing! You don't have to do everything right away. Designing a successful digital product is a marathon, not a sprint. Split the process into less-intimidating phases and dedicate 1-2 hours at a time to work on your planner. Even if you have a busy schedule or a 9-5 day job, it's possible to build your dream planner in your free time!
There are even tools you can use to make the process go faster and still look professional! The Digital Planner Starter Pack is a DIY kit that includes all the essential kinds of pages, pre-designed and ready to be edited for your digital planner business to attract the eyes of your niche market. You can use this pack to enter the world of digital planning and gain an understanding of what goes into designing a custom digital planner without spending hours upon hours in a design program worrying over every little detail.
✨ Download free guide to Digital Planner Design!
We've summed up all the most essential steps in this free guide 👇


