How to build a collection of digital planner products
Imagine being able to create passive income from your favorite products without having to constantly launch new products and feel like you're always on the edge of burnout. Does it seem too good to be true?
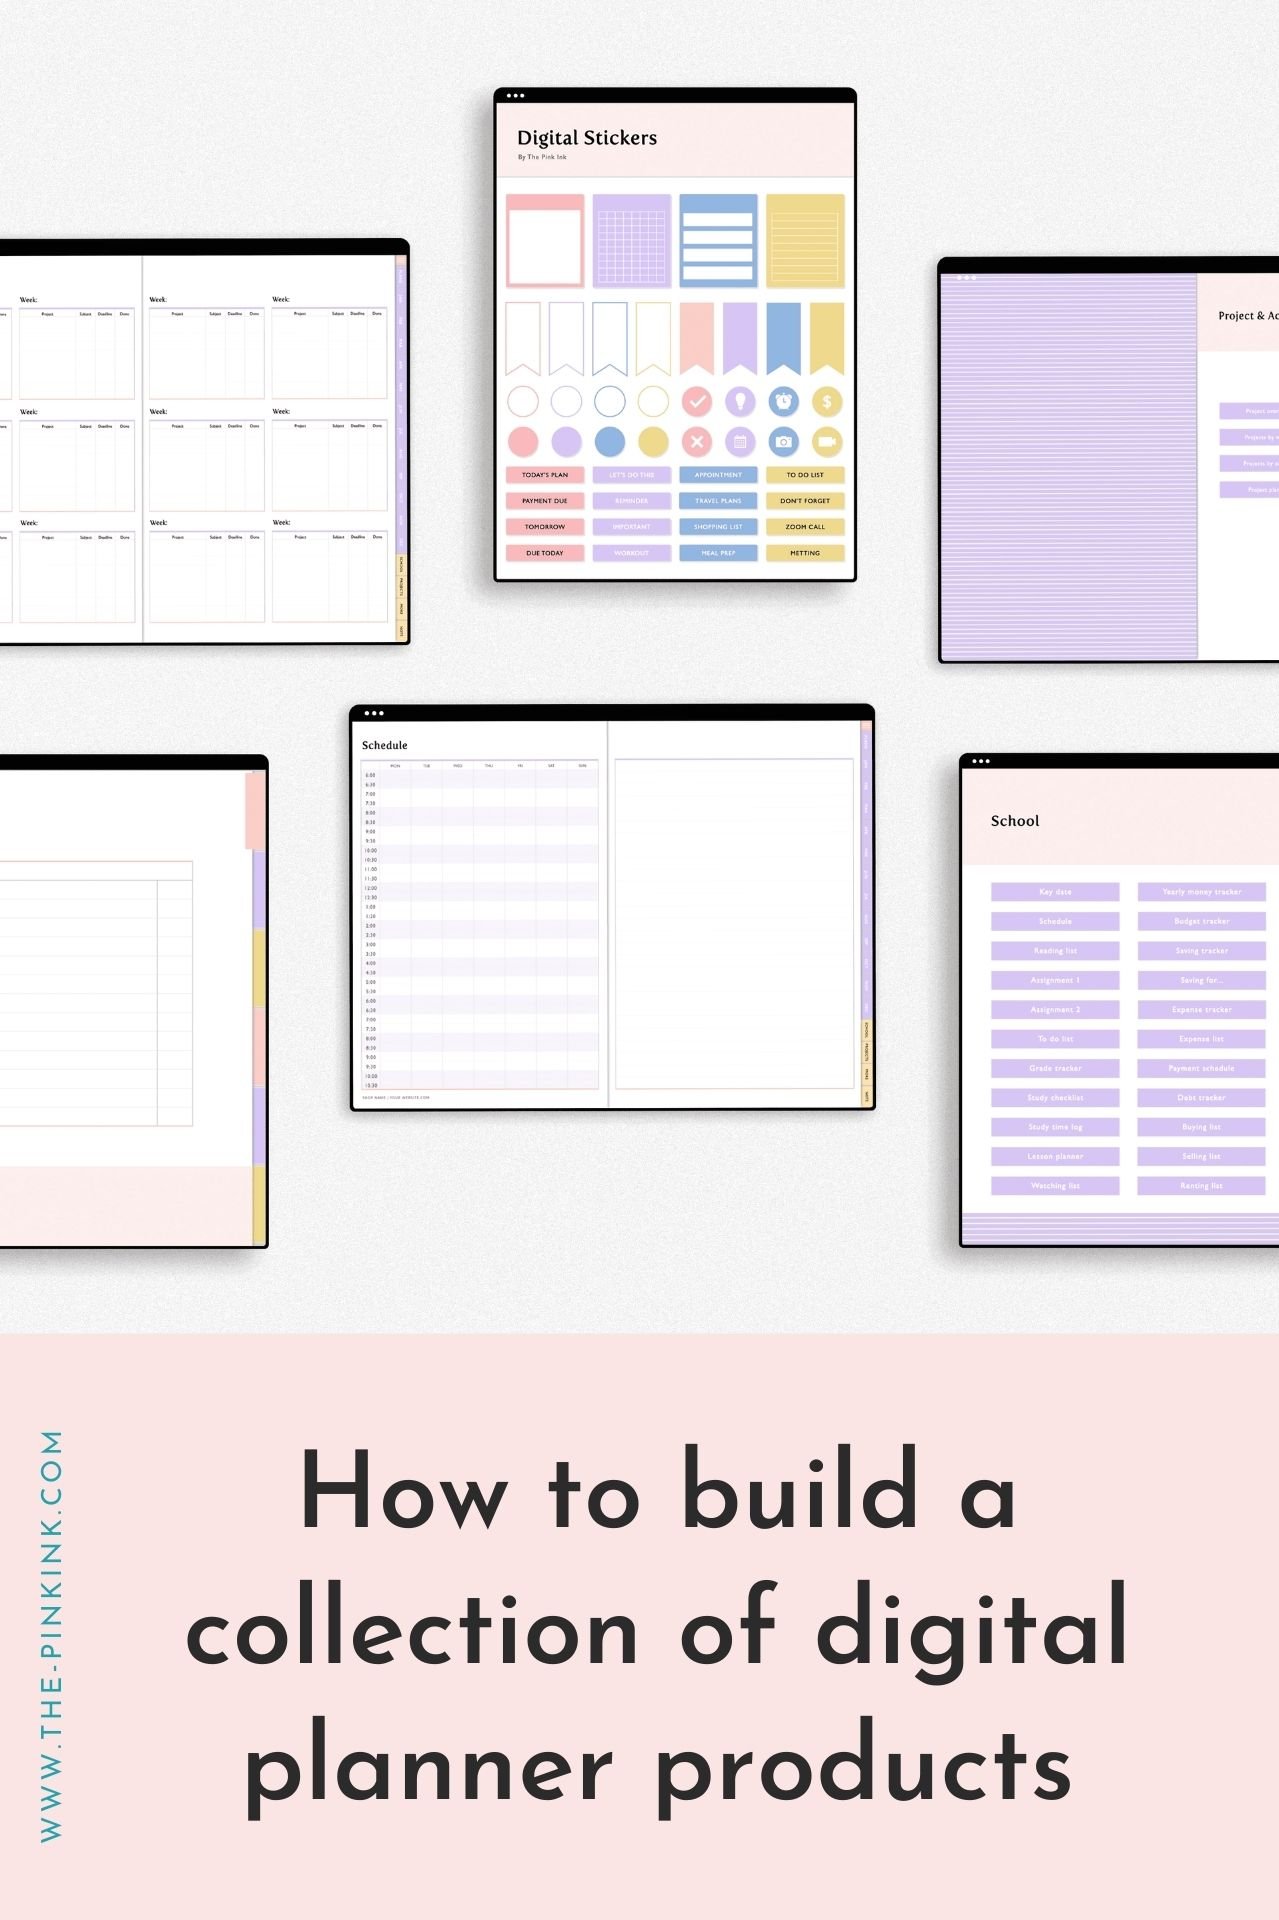
Building a collection of digital planner products makes this totally possible!
Releasing new products every quarter, or even just once a year, means that you can focus your energy on creating high-quality products without the stress of releasing something new each week or month.
We could talk all day about the benefits of creating collections instead of launching digital planners, and we're going to talk a bit about that today, but what we really want to focus on is the how and not just the why.
Why build a collection of products?
Before we dive into the steps involved in designing and launching a collection, we need to understand why collections are one of the best things you can do for your digital planning business. There are two large benefits of designing collections – they don't just benefit you, but they also benefit your potential customers!
The benefits of collections for designers
Do you feel like you're constantly designing new products that solve the same problems over and over again for your audience? After some time, working inside your business might start to feel more like a chore than something you truly love.
Overworking yourself by constantly creating products leads to a lack of inspiration, burnout, overwhelm, and stress. It's possible to make consistent money without always creating new products. You simply need to know a few things...
What problems can your planners solve?
Who do you want to purchase your products?
Where can you find your target audience and promote your audience?
How can you market your business to make continuous sales?
By implementing a content marketing and product creation strategy, you build customer loyalty and anticipation for your next launch instead of overwhelming your ideal customers with too many product choices.
The benefits of collections for customers
But the benefits of collections don't stop there, they're also better for your customers than constantly releasing new products. It releases your audience from a sense of FOMO, or the fear of missing out. Instead of customers wondering what the right product for them is since each of your planners solves the same problem, they'll build up anticipation for the next launch that will help them with their latest problems instead of the same ones over and over again.
Launching collections also creates a loyal customer base. Instead of customers only purchasing one of your products as a starting point and then moving to a competitor to purchase additional products that meet their other needs, they'll stick with their business through each stage of their life and purchase each new collection instead of each new product, which may even mean more money for you! If your audience sees you're launching a new planner that addresses the same problem all the time, they're gonna feel overwhelmed instead of interested.
Releasing new products only a few times a year means that you need to be more intentional in how you reveal your collections to potential buyers. Your digital content needs a launch strategy! This typically involves using all the digital marketing platforms you've been promoting on, collecting the names of people who are either interested in or would be a good fit for your planner, and engaging with ideal customers so that when it comes time to launch, you have an active audience ready to buy from you!
You can learn more about using a wide range of marketing platforms for your online business during launch periods in this blog post!
How to build a collection of digital planner products
Now that you know the importance of launching collections instead of standalone products, it's time to focus on the nitty-gritty – exactly how do you create a collection of digital products? We can simplify things down into a four-step process: sketching, designing, packaging, and selling. Let's talk about each phase a little bit more.
Psst: These four steps are also part of our free 10-week challenge to design and launch your first digital planner inside our signature program, Digital Planner Academy®. You can apply to join the program and then get access to the challenge here!
Before you break out the pen and paper, it’s important to put a plan together. You can simply start with the name of your collection! Plan out your collection details and list the products you’ll be creating. Add some details about what’s going to make each product unique, along with the price of each item in the collection and then how much you’ll sell a bundle of all your items for.
Make a list of all the pages you want your dream planner to have. Think about the day-to-day lifestyle, schedules, and needs of your ideal client and help them build their ideal lives through your products. This will come in handy throughout the design process and especially afterwards when you’re launching and need a solid content plan.
01. Start by sketching
It's time to start building your collection! First things first, you need to know who your products are going to be intended for. What problems are your ideal clients facing? How can you create a solution-based product that your customers become obsessed with? To answer these questions, you need a niche. A niche is "a distinct segment of a market" (source). Niching helps you define your purpose, stay focused on your mission, and showcase your expertise. You can learn more about switching, adding, or finding a niche here.
If you're ready to start designing a collection, then chances are you have some ideas floating around in your head! Take a minute to brainstorm what products you want to include in your collection, what kind of branding you want to use, and the different types of pages you'll include. Make sure to create a strategy for each product in your collection before you get started so that you know exactly where to start and what to do next as you're sketching and designing.
Now it's time to start sketching! Go back to the plan you created and don’t overthink this step, just imagine what your dream digital product would look like, implement your notes, and bring it to life. Now loosely sketch each page. Start by creating rectangles to represent the pages. Then use basic shapes to represent calendars, lines, boxes, and checklists. Include the little details you’ve already written down about the different sections, layouts, pages, and tab locations in your sketches.
Hello, World!
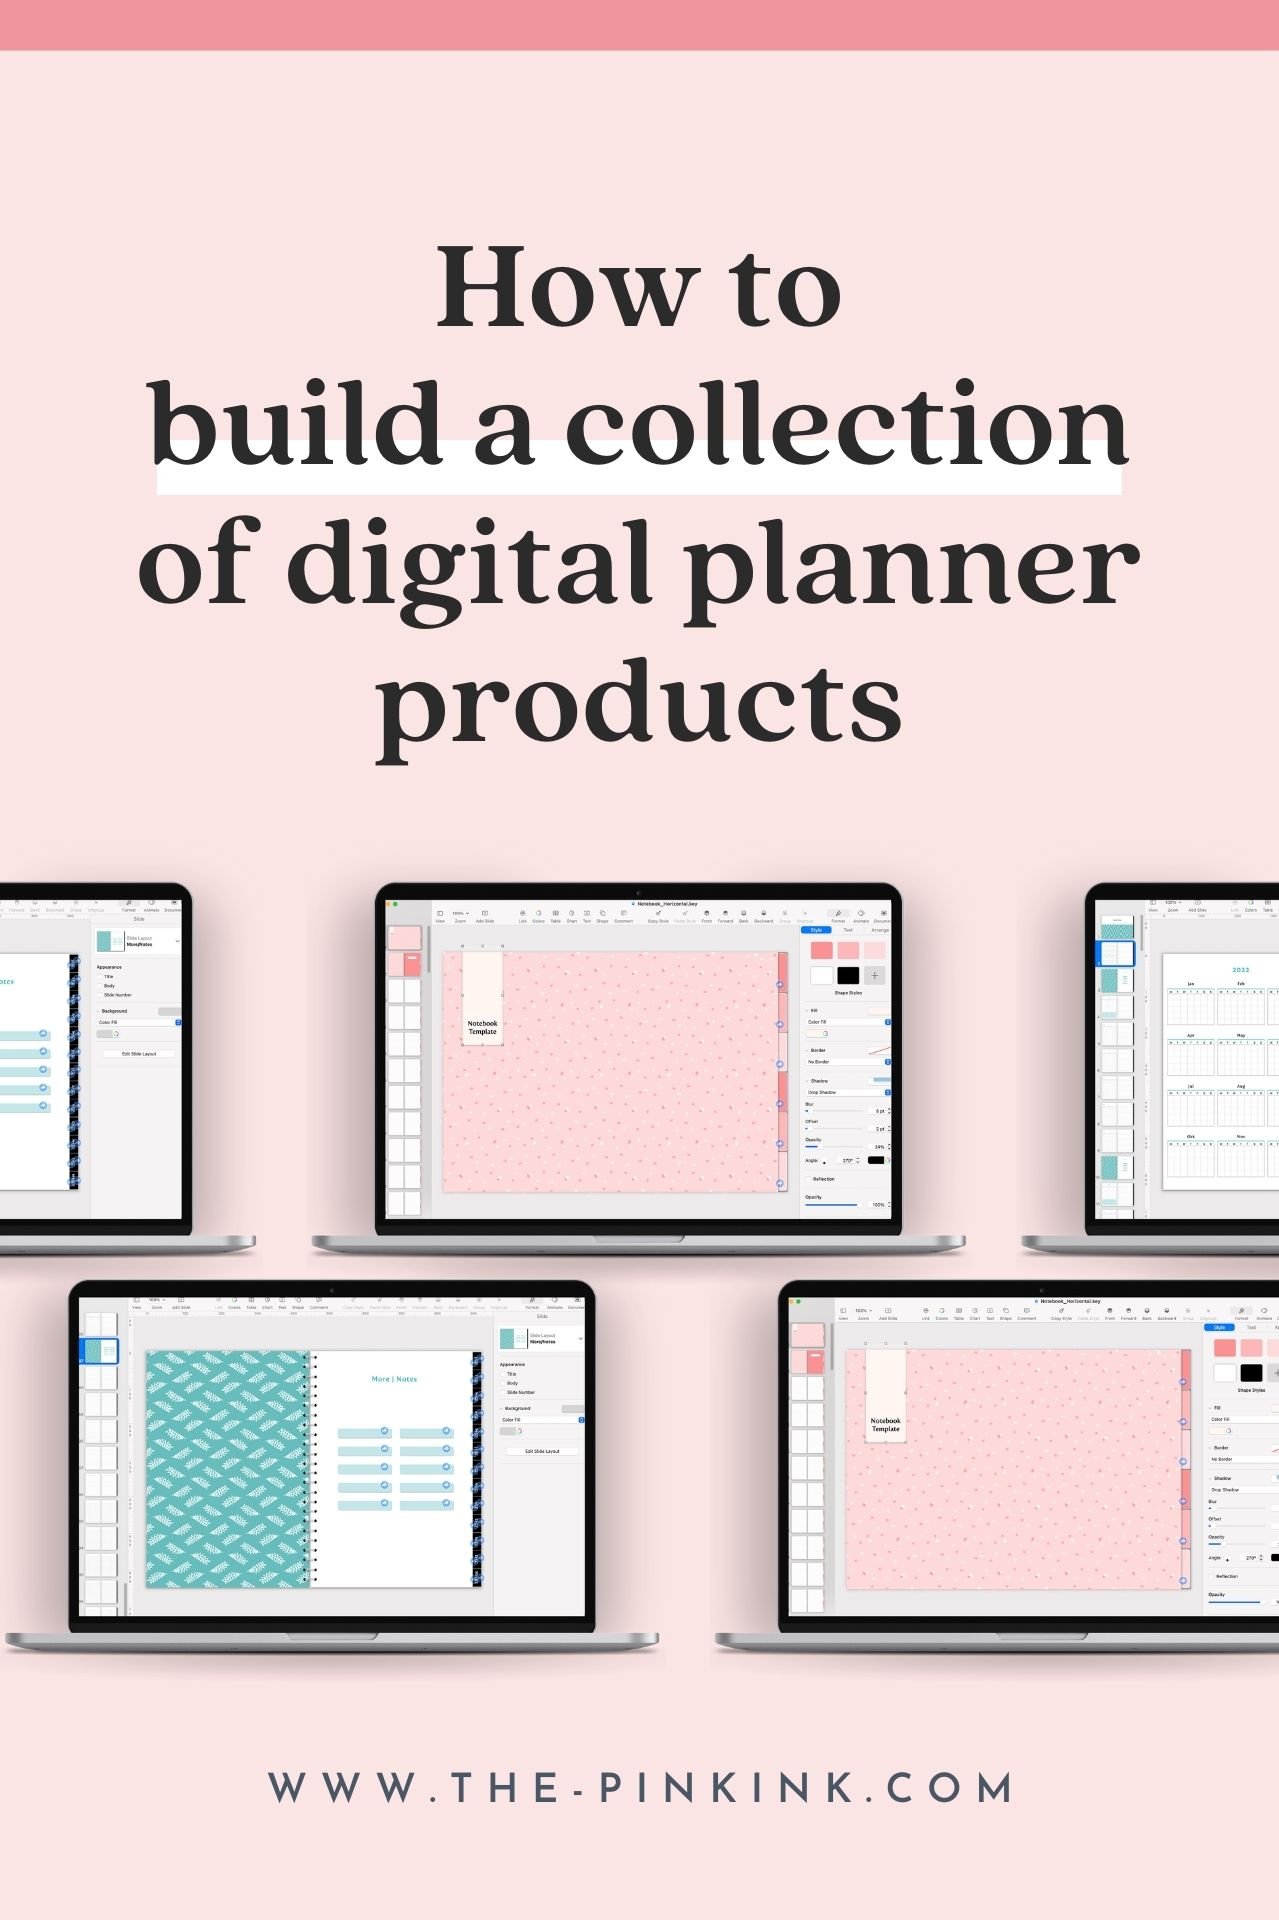
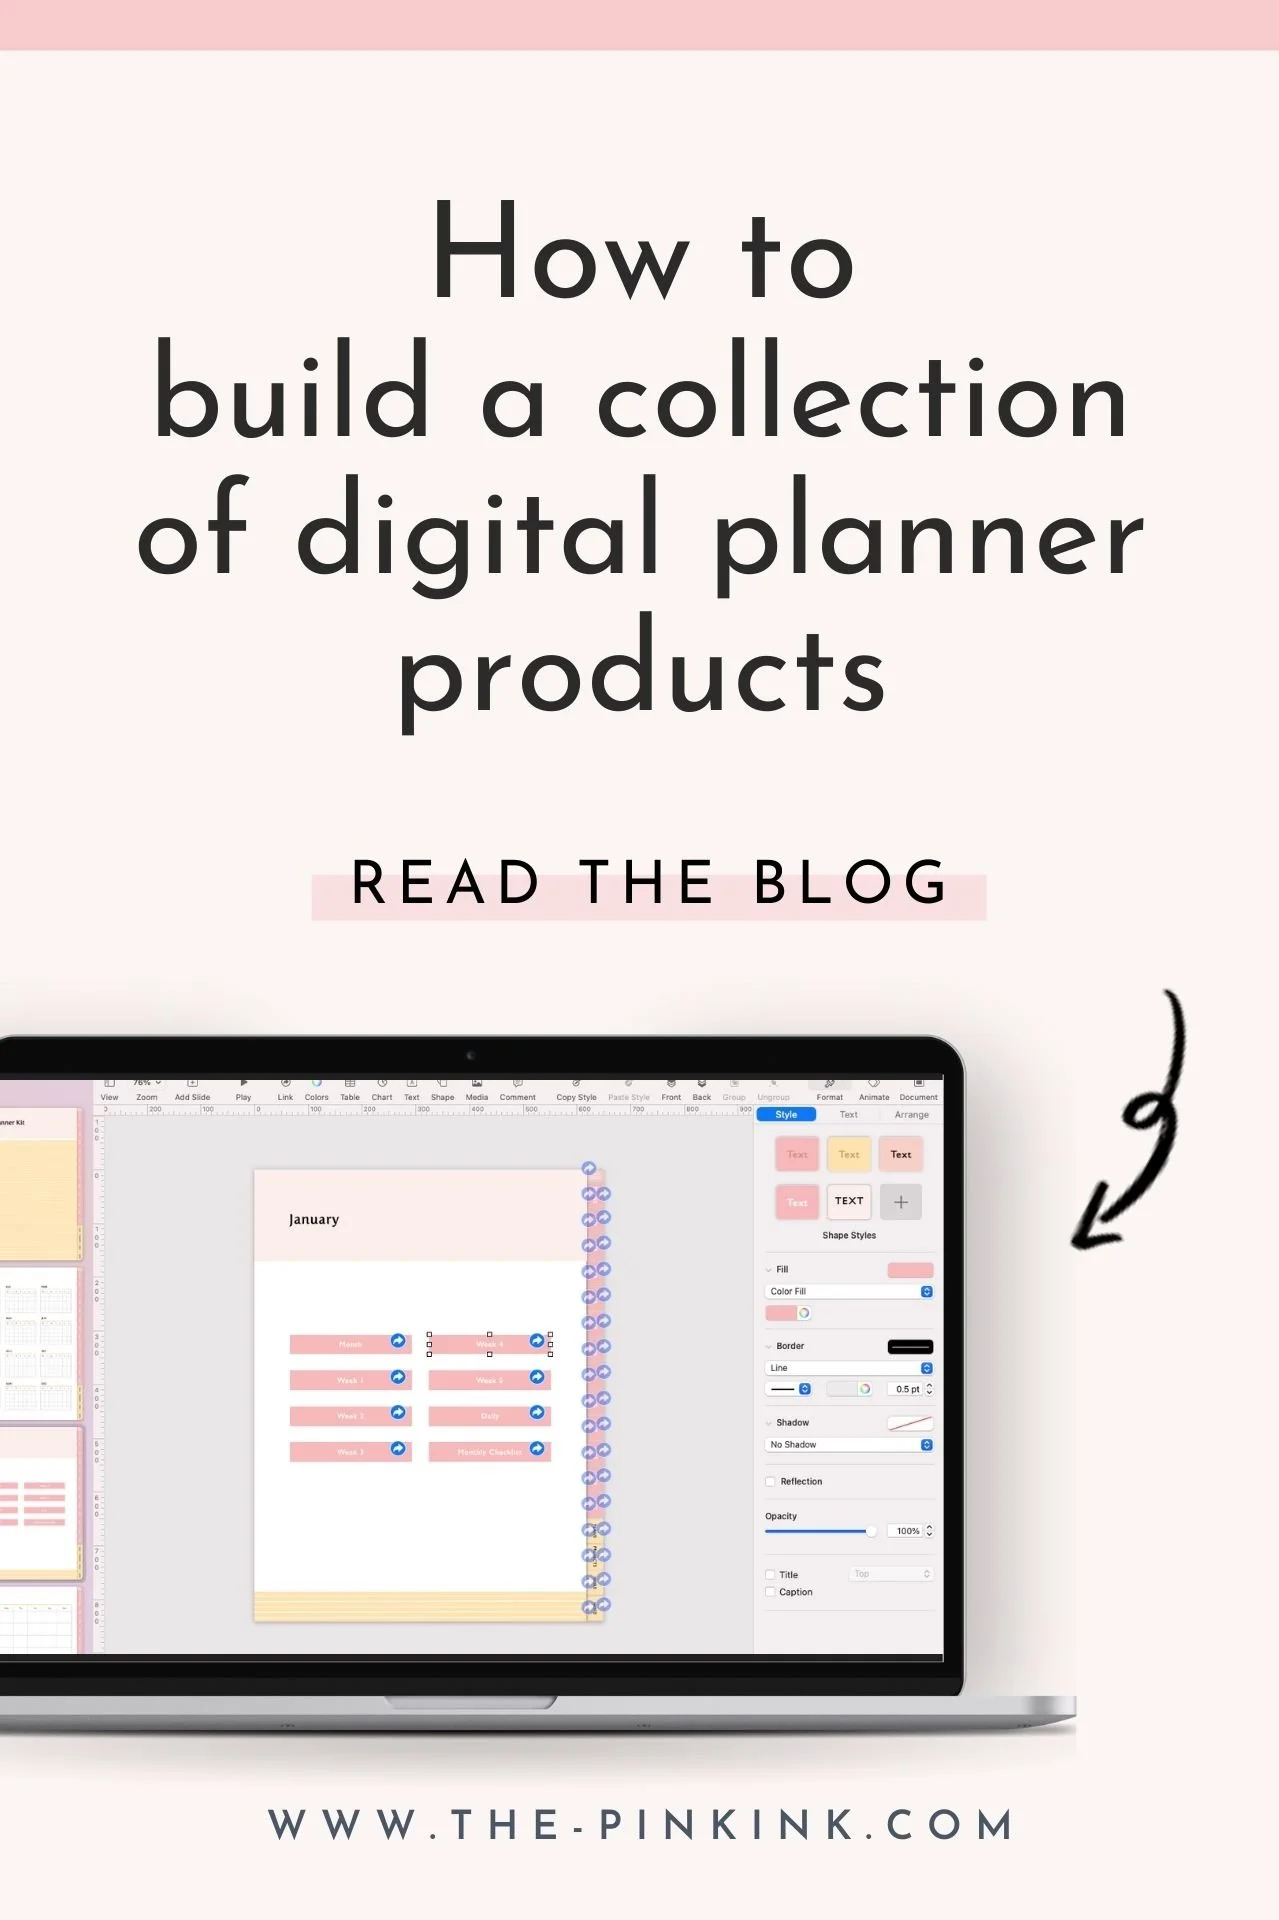
02. Design it
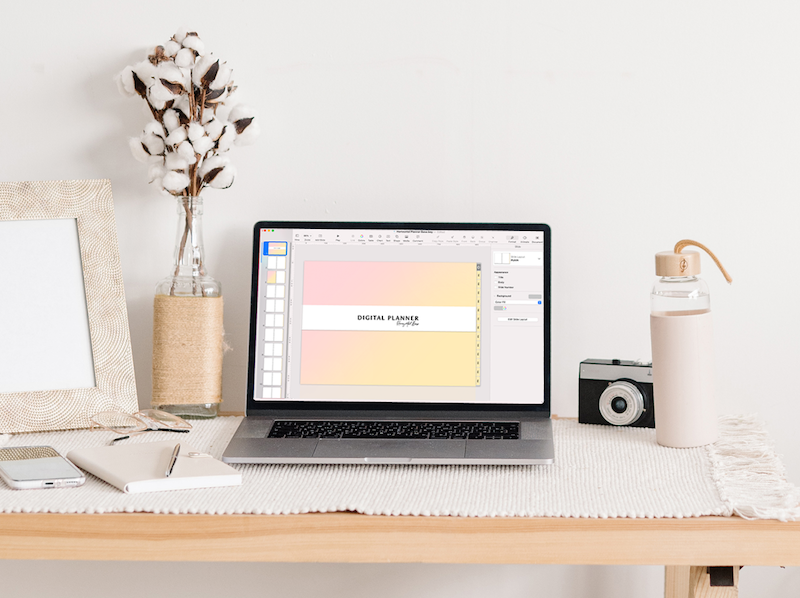
You've brought your planner to life on paper, now it's time to digitize it in a design program! There are a few different ways to go about this step. Creating your digital planner with hyperlinks is effortless when you have the right tools. Simply digitize your sketches, add some additional details, and add the hyperlinks! It is all a matter of creating your planner layout and learning how to add the hyperlinks and format the front page to quickly access all tabs from one page.

There are four programs you can choose from to do this easily and quickly...
Apple Keynote The Keynote app is one that can be used for digital planning and is available through Apple. This app is free to use and offers loads of options to choose from. It can be used on any Apple device, making it very versatile. It also includes the opportunity to use Apple Pencil, so you can draw and doodle as much as you like! Create your personalized presentation and add the hyperlinks to each tab for easy access.
Microsoft PowerPoint PowerPoint is a program that most people are already familiar with. It can be used to quickly make presentations to plan digitally. Although traditionally only for desktops, PowerPoint has expanded to be able to be used with an app on mobile devices as well, including the iPad. Use a template to design your presentation to look like a planner and add tabs and hyperlinks to the front page.
Google Slides Google slides allow users to create brilliant presentations and slideshows wherever they are. This free program can be used on any device, including desktops, laptops, and mobile devices. Also included are templates to make customizing your planner easy. Similar to PowerPoint, these templates are used to create a design that looks like a planner, but has hyperlinks to quickly access all pages.
Adobe InDesign InDesign is a program by Adobe that allows users to create beautiful documents that are exactly how they want them. This program is very adaptable and can create digital planners that will make you want to plan everything. This program is best for more experienced users, though, as it can have a bit of a learning curve. Create your hyperlinked planner by taking a few steps and exporting it as a PDF to use on any device.
You can learn more about designing with hyperlinks to create a functional planner (along with pricing) for each of these programs by clicking here!
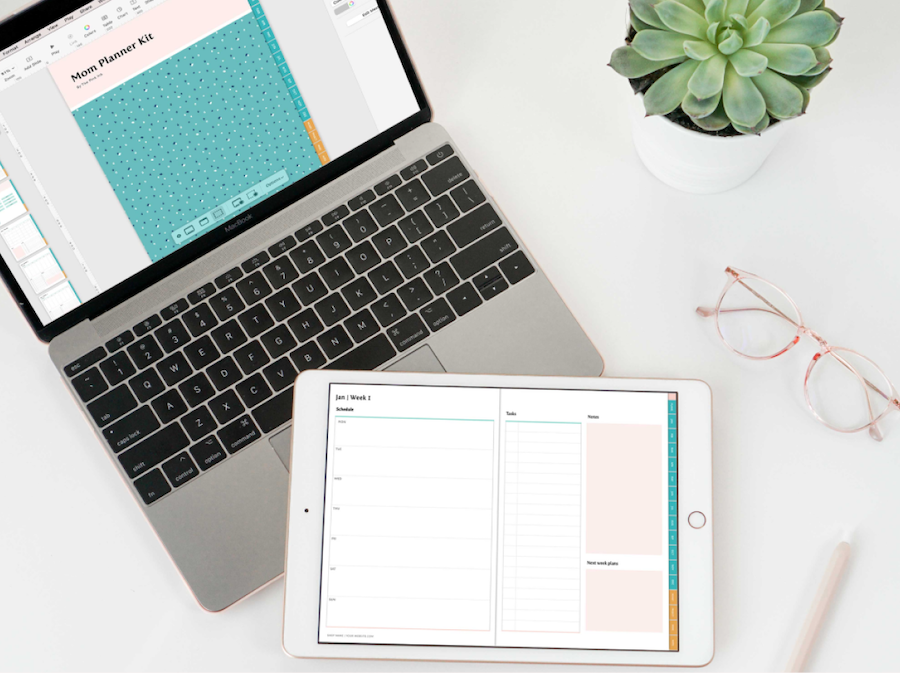
03. Package
Now that you've designed your planner and the other products in your collection, it's time to move on to packaging. This is a super underrated step since it's the perfect chance to create a virtual unboxing experience that sticks in the minds of your purchasers. To package your collection correctly, you need to determine a few things first...
High-quality mockups - make sure your mockups look real! When you take pictures of your products, make sure they are high-quality, fill out the mockup image space, and look realistic.
Intentional videos & images - people buy from professional businesses, so make sure that the content you’re using to promote your business does the trick! Avoid grainy, blurry, out-of-focus, or off-brand images.
Bonuses - what else are you offering customers? To create a memorable experience, include more than just your products in their package. This could be access to a VIP customer vault with additional free resources and freebies. You can include an upsell or a time-sensitive discount code to be used on future purchases.
There are two different formats you can export your products in - PDFs for the products you deliver to customers and JPEGs for social media images and mockups. Once you've exported your designs, it's time to test them. Move your PDFs over to your tablet and open them in a note-taking app like Goodnotes, then double-check the links you've added and make sure everything works correctly and was exported properly.
04. Release your product
The hard work is almost all done! It's time to release your collection and watch your products change lives. A successful collection launch needs to be strategic, you need to build hype while showing your audience why they need your products!
Launching is not just releasing products, disappearing from social media, and expecting people to buy from you right away! It’s a 5-10 week plan that need to executed to warm up and prepare your audience for the launch. But maybe you’re wondering how you can create so much hype around your launch or wake up to more sales than you could ever imagine. We’ll teach you how to make this all possible inside of the Digital Planner Academy program® — perfect for aspiring and new business owners! Click here to see how we’ll make this your reality.
There are a few different methods you can use to extend your reach when you're launching products and collections:
Count down timers - create a sense of urgency on social media and through email marketing by using countdown timers to remind your audience of your launch date so they can be ready to buy when your collection is live.
Giveaway launch - Entice your audience to share your post on Instagram to qualify to win a copy of your collection! This will spread the word to more potential customers and increase excitement in your audience.
Create a waitlist and offer early access & a freebie within a limited time, typically the first 48 hours
Bonus tip: As you prepare your collection, document your process so you have content during your launch! Take your audience behind the scenes and give them a sneak peek of what's coming and start teasing your new offer. Record time-lapse videos and "day in the life" video content to promote your business and collection on Reels and TikTok to expand your reach.
Building and launching a collection is no joke, but it can be far more rewarding and profitable than releasing each new product you create as soon as you've finished designing it. If you're ready to start creating your first collection, join our free challenge inside of our signature program, Digital Planner Academy®, to design and launch your dream digital planner in 10 weeks! You can learn more about our exclusive community and this one-of-a-kind opportunity by clicking here.