
How to Create & Sell a Digital Planner: A Beginner's Guide

Thinking about creating your own digital planner to sell? You're not alone — digital planners are one of the fastest-growing digital products in the stationery world, and the barrier to entry has never been lower.
But here's what most "how to make a digital product" guides won't tell you: a digital planner isn't just a PDF with pretty pages. It's a functional product. The best ones have hyperlinked navigation, intentional layouts, and a clear point of view. That's what makes someone buy yours over the thousand other planners on Etsy.
I've spent the last nine years designing custom planners and stationery products for brands and creators — both through bespoke client work and through my unlimited monthly design subscription. In that time I've shipped hundreds of planner SKUs, and I've watched what works (and what flops).
This guide walks you through the entire process: from picking your niche, to designing pages people actually want to use, to choosing the right file format, to making your first sale. By the end, you'll have a clear roadmap for launching a digital planner you're proud of — without the false starts that trip most beginners up.
Quick win before you start: Grab my free digital planner template so you have a real, professionally designed example to learn from as you read.
Why digital planners (and why now)
Digital planners are PDFs designed to be opened in note-taking apps like GoodNotes, Notability, Noteshelf, or Xodo. Customers download them once and use them on their iPad, Android tablet, or Surface device — handwriting on top with a stylus.
A few reasons they're a smart product to build right now:
No printing, no shipping, no inventory. You design once, sell forever. Margins are close to 100%.
A loyal, repeat-buyer audience. Planner users are notorious refreshers — they buy a new planner every January, every academic year, every life shift (new baby, fitness goal, business launch).
Easy to extend into a product line. Once you've designed a daily planner, you can spin off a fitness planner, a meal planner, a business planner — same template, different layouts and covers.
Low cost to start. You don't need an Adobe subscription. Affinity Publisher is a one-time purchase, and Keynote works for simple builds.
The flip side: the market is crowded. Generic planners with no clear customer in mind get buried. Which brings us to the most important step.
Step 1: Choose a niche before you design a single page
If you take one thing away from this guide, make it this: don't design "a digital planner." Design a planner for a specific person.
A "2026 digital planner" is invisible. A "2026 digital planner for first-time mums returning to work after maternity leave" is a product. The second one has a buyer attached.
Some niches I've seen do well in the last year:
ADHD-friendly planners with simplified layouts and dopamine-tracking
Christian/faith-based planners with scripture and prayer prompts
Fitness planners for postpartum recovery
Wedding planners (the event, not the timeline)
Academic planners by major (med school, law school, MBA)
Solopreneur planners with content batching and offer launches
Travel planners by region (Europe trip, US road trip)
You don't have to pick something rare — you have to pick something specific. "Productivity planner" is too broad. "Productivity planner for freelance designers managing 3+ client projects" is sellable.
If you need help finding your niche, my post on how to find a winning niche as a digital planner creator walks through a research framework I use with my custom clients.
Step 2: Plan your structure before you open a design tool
This is where most beginners go wrong. They open Canva, start designing a beautiful cover, and three hours later they've made one page. Two months later, the project is abandoned.
Outline the entire planner on paper or in a doc before you design anything visual. A standard digital planner usually includes:
Cover page
Index / table of contents (hyperlinked)
Yearly overview (12 months at a glance)
Monthly spreads (one per month)
Weekly spreads (one per week, or one master template)
Daily pages (optional but valued)
Niche-specific pages (habit tracker, meal planner, budget, brain dump — whichever fits your customer)
Notes pages (lined, dotted, blank, cornell)
Tab navigation across every page
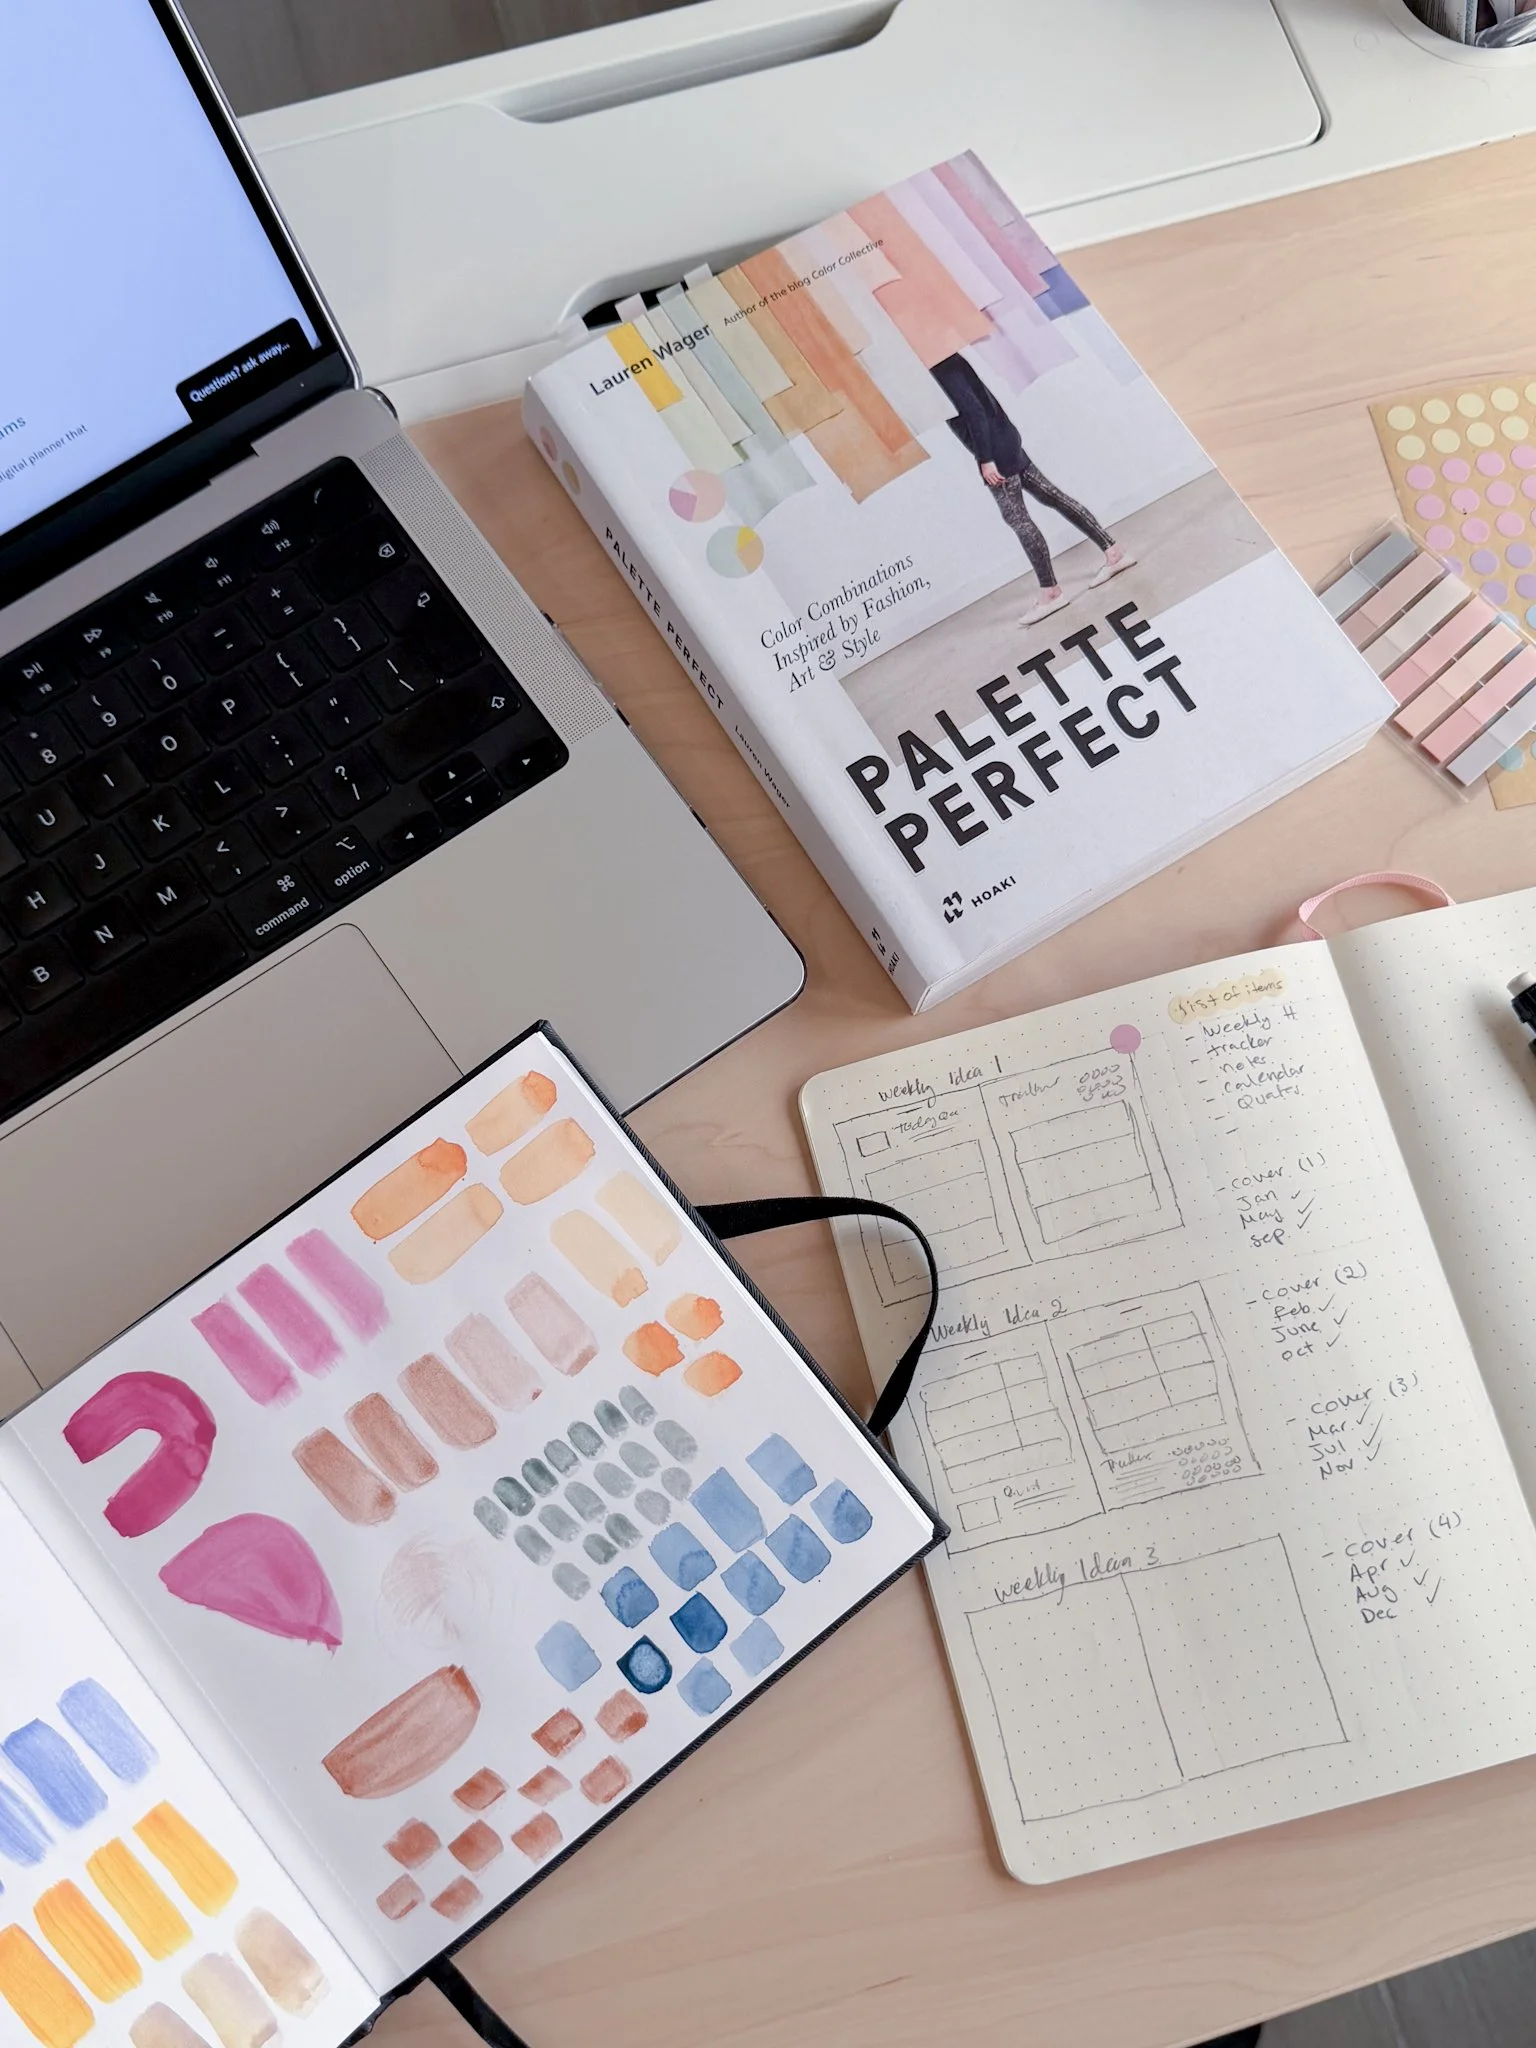
Then, draft a wireframe — a rough sketch of each page layout. What goes top-left? What's the hierarchy? Where does the user tap to navigate? You'll save yourself dozens of hours of redesign by deciding this before you pick fonts and colours.
For a deeper structural breakdown, see how to design a 2026 digital planner step by step.
Step 3: Design pages people actually want to use
Now the fun part. A few principles I drill into every client project:
Function first, beauty second. A planner that looks gorgeous but is annoying to use will get one-star reviews. Make sure writing space is generous (people use Apple Pencils with chunky tips), tap targets are big, and the visual hierarchy guides the eye to "what do I write here?"
Limit your colour palette. Three to five colours, max. Too many colours read as chaotic on a small screen and make every page look like a different planner.
Choose two fonts and stick to them. One for headings, one for body. Sans-serifs render cleaner on screens than tight serifs. Personal favourites: Poppins, Inter, Lora, Playfair Display, Montserrat.
Use a consistent grid. Margins, gutters, and spacing should match across every page. Inconsistency is the #1 reason a planner feels "off" even when individual pages look fine.
Design at the right canvas size. Most digital planners are sized 1620 × 2160 pixels (a 4:3 ratio matching iPad screens) or 8.5 × 11 inches at 150 DPI. Going bigger just bloats the file size.
Tools to use:
Affinity Publisher — my recommendation for serious creators. One-time payment, professional output, handles hyperlinks beautifully.
Keynote — surprisingly capable for beginners. Here's a step-by-step.
Canva — fine for covers and simple planners, but limited for hyperlinking large files. Fine to start; you'll outgrow it.
InDesign — gold standard, but the Adobe subscription stings if you're not committed yet.
Step 4: Add hyperlinks (this is what makes it a real digital planner)
Hyperlinks are what separate a "PDF I made" from a "digital planner I'd pay for." Customers expect to tap from the index to any month, from a monthly spread to its weekly spreads, and from any page back to the index.
At minimum, hyperlink:
The index → every section
Tab navigation on every page (Cover • Year • Months • Weeks • Notes — clickable)
Each month name on the yearly overview → that month's spread
Each week on a monthly spread → that week's spread
A "back to index" tap target on every page
If you're using Affinity Publisher or InDesign, this takes a few hours once your structure is set. In Keynote, you'll use the "Link to slide" feature on each tap zone. Test every link on an actual iPad in GoodNotes before launch — broken links are the most common complaint in planner reviews.
Already overwhelmed? Hyperlinking is the step where most creators give up. If you have an audience waiting and you'd rather skip straight to "ready to sell," my custom planner design service handles every page, every link, every export — and you keep the production-ready files. Or, if you want ongoing design support without committing to a full custom build, my unlimited monthly design subscription lets you queue planner work month after month for a flat fee.
Step 5: Choose the right file format
This is straightforward but easy to mess up:
Export as PDF — single file, hyperlinks preserved, opens in any note-taking app.
Don't password-protect or flatten the file — it'll break hyperlinks.
Keep file size under ~50MB if possible. Compress images before export.
Test on at least two devices and two apps (iPad/GoodNotes and Android/Xodo, for example) before you list it.
If you're selling a "GoodNotes-only" planner with custom covers, you can also export a .goodnotes file as a bonus. But always lead with PDF — it's universal.

Step 6: Price it like a planner, not a PDF
This is where most beginners undercharge. A few benchmarks from my work with clients:
Simple undated planner, basic functionality: $9–$19
Full dated yearly planner with daily/weekly/monthly: $24–$45
Niche-specific planner with bonus content and customer support: $35–$65
Premium planner bundle (multiple planners + stickers + setup video): $59–$129
If you're tempted to price at $4.99 because "Etsy is competitive" — don't. You'll attract customers who want refunds, complain about file size, and never buy from you again. Charge what reflects the actual value you're delivering.
I go deeper on pricing in my post on how much to charge for custom planner design services, and you can grab my pricing guide here.
Step 7: Where (and how) to actually sell it
You have three main options, and they're not mutually exclusive:
Etsy — the easiest place to start. Built-in audience searching for digital planners, low listing fees, simple checkout. Downside: you compete on price and Etsy takes a cut. Best as a starter shop or a passive second channel. See how to open a digital stationery Etsy shop.
Your own Shopify or Squarespace store — higher margins, full brand control, an email list you own. Slower to get traffic, but the customers you do get are higher quality and stick around. This is where serious creators end up.
Payhip, Gumroad, ThriveCart — middle-ground options. Cheaper than Shopify, more customisable than Etsy.
Whichever you pick, your launch sequence should look something like:
Build an email list with a free planner template as the lead magnet
Pre-launch to your list with an early-bird discount
Post on Pinterest and Instagram with mockups (this is huge for digital planners — people buy with their eyes)
Reach out to 5–10 micro-influencers in your niche for honest reviews
Launch publicly with a 48-hour discount window
This roadmap walks through a four-week launch sequence in detail.
Should you DIY or hire a designer?
Honest answer: it depends on where you are.
DIY makes sense if:
You enjoy the design process and have the time
You're testing whether a niche has demand before investing
You're building your first product and need to learn the ropes
Your budget is tight and your audience is small
Hiring a designer makes sense if:
You already have an audience and you're losing money every month you don't have a product to sell them
You've made one or two planners and now want to scale into a real product line
You're a coach, creator, or brand that wants planners as merch — not as your full-time business
The thought of hyperlinking 200 pages in Affinity Publisher makes you want to lie down
If you're somewhere in between, my unlimited monthly design subscription — where you get an in-house planner designer for a flat monthly fee, no contracts — often hits the sweet spot. And if you're ready for a full custom build, my custom planner design service handles strategy, design, and production-ready files end-to-end.
Before you hire a stationery designer: 7 things to know first
If you've decided hiring is the right call, take 5 minutes to read this. After 9 years of working with planner and stationery clients, I've seen the same hiring mistakes over and over — and they cost creators thousands of dollars and months of delays.
1. A stationery designer is not a graphic designer with templates. Planner and stationery design is a specialism. The designer needs to understand grid systems, hyperlinking workflows, print-vs-digital file prep, GoodNotes/Notability quirks, and stationery production realities. A general graphic designer will miss things that cost you sales — broken hyperlinks, files that won't import cleanly, or layouts that look pretty in mockups but feel cramped on a real iPad.
2. Strategy comes before design. The best planner designers ask about your customer, your offer, your sales channel, and your pricing before they open a design tool. If a designer's first question is "what colours do you want?" — keep looking. Strategy is what separates a planner that sells from one that sits in your shop.
3. Custom design is not the same as templated design. A custom planner designer builds your product from scratch around your customer. A templated designer (or Etsy template flipper) will resell a generic layout with your logo on it. Both have a place, but the prices and outcomes are wildly different. Make sure you know which one you're hiring.
4. Expect to invest, not just spend. Custom planner and stationery design typically ranges from $1,500 for a single simple product to $8,000+ for a full collection or product line. Anything dramatically below that range is either templated work or a designer who'll undercharge and disappear mid-project. I unpack pricing in detail here.
5. Ask to see production-ready files in their portfolio. Mockups are easy. Functional, hyperlinked, properly exported planner files are not. Ask a prospective designer if they can show you a sample PDF (not just images) so you can see how their work actually performs on a device.
6. Get clear on what you'll own. You should walk away with the source files (Affinity, InDesign, or working files) — not just a flattened PDF. This matters when you want to update a date, swap a colour, or extend the planner into a series next year.
7. Look for a designer who has run their own product. Designers who've sold their own planners understand the customer experience from both sides. They know what gets returned, what gets five-star reviews, and what causes support tickets. (For the record: I've designed and sold my own planners since 2017, alongside client work.)
If you'd like to skip the vetting process: I take on a small number of custom planner design projects each quarter, and you can book a clarity call to talk through whether your product idea is the right fit before committing to anything.
Final thoughts
Creating a digital planner that actually sells comes down to three things: a clear niche, a functional design, and a real launch plan. The "design" part is what most beginners obsess over — but the niche and launch are what make or break revenue.
Start small. Pick one specific customer. Sketch the structure before you design. Test on a real device. Price it like a product, not a hobby. And launch before you're ready, because you'll learn more in the first week of selling than in three months of tweaking.
If you want help from here, three ways I can support you:
Grab my digital planner template — the same kind of file I deliver to paying clients. Pull it apart to see how a professional planner is structured.
Join my unlimited monthly design subscription — a flat monthly fee, unlimited planner and stationery design requests, no contracts. The right fit if you have a steady stream of products to launch.
Book a custom planner design project — strategy, design, hyperlinking, and production-ready files for a single flagship planner or full product line. I take on a small number of these each quarter.
Not sure which is right? Book a free clarity call and we'll figure out the best fit for where your business is right now.
You've got this.


