How to turn your system and ideas into a planner

Have you developed a systematic process that has one-on-one clients practically knocking down your door to work with you so they can learn it and improve their businesses or lives? You know the tools you've created have the potential to help so many people, but you're beginning to feel overworked and as though you don't have enough time to actually help everyone.
Many business owners experiencing growing pains have felt the same way you do right now – they want to help people and keep increasing their income, but they don't want to keep putting in long days at the office to achieve their goals.
That's where passive income enters the chat. Forbes defines passive income nicely for us by saying that it is "money you can earn without too much ongoing effort. After you identify and establish a stream of passive income, you won’t need to tend to it every day—but that doesn’t mean you won’t have to do some work now and then." Imagine that! Instead of spending hours tending to all your 1:1 clients, you can relax knowing that your systems are helping many more people without creating additional hours of work for you each week.
So while this all sounds well and good, how can you actually turn your systems into a best-selling planner that allows you to make more money and help more people?
The process doesn’t have to be too complicated, and we’re going to give you all the pointers you need to create your first product with confidence. We’ll talk about how to…
Figure out your who, what, and why
Break down your system into steps
Determine what’s really a need and what’s just nice to have
Bring your planner to life by hiring a designer or using a pre-made template
Decide between a single signature planner or a collection
Plan for how you’ll execute this launch
Bring your ideas & systems to life!
To bring your ideas and systems to life, you need to flush out your idea first. We need to make sure that the system you want to turn into a planner has a solid foundation that we can develop into something concrete. You can do this by breaking down your process and turning the done-for-you approach you take to client work and turn it into a do-it-yourself option that people can implement into their own circumstances with the help of a digital or physical planner.
Now that you know exactly what it is that you'll be covering in your planner, you can test your ideas! It might take a couple of tries but once you have the first draft of your planner, it's time to put it to work and make sure it's solving the right problems for your clients in the same way you would if you were working with them one-on-one.
It's really happening! Your ideas are going to make people's lives better in the form of a digital or physical planner. But having a product isn't enough, we need to make sure that your audience knows about it and knows why they should be interested in purchasing it. We do this through an intentional launch strategy that answers the main questions your audience is going to be asking — Who? What? Why?
Need some help bringing your design vision to life? Download our free 2023 digital planner which will help you create the planner you’ve been dreaming about in a way that’s intentional, strategic, and works for your schedule. Learn more and download it here!
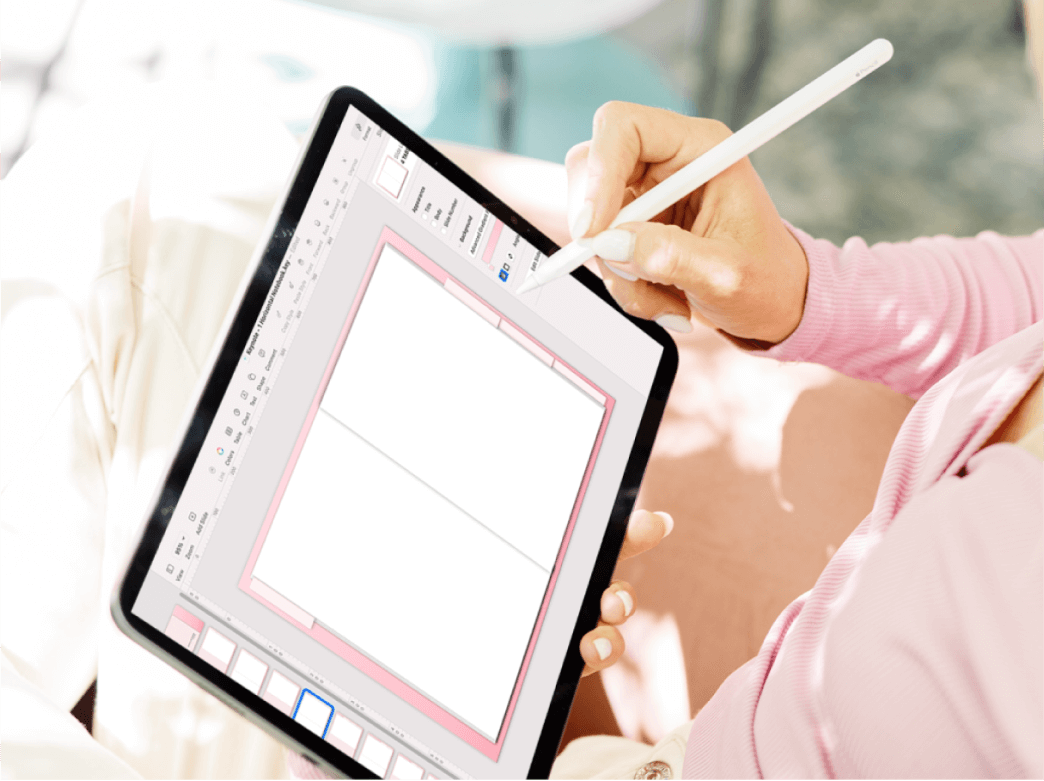
Figure out your who, what, & why
Identify who you're selling to
A successful launch targets a specific audience. Prior to watching your product on your website or Etsy shop you want to know who it is that you'll be attracting. Think about who you designed these systems for in the first place when you were working with one on one clients – what were their biggest struggles? What goals does this planner allow them to reach? You can take the answers to these questions and use them to build a demographic and psychographic of your audience.
Your demographic is going to tell you things about their gender, age, income level, hobbies, location (if relevant), and other physical details about who they are as a person. A psychographic is going to help you understand their desires, goals, problems, hesitations, wants, and needs. When you know these things, you'll be able to position your product in a way that helps them see exactly how it will change their lives.
Know exactly what it is you're selling
While a product description is essential when you're listing your planner for sale, this goes beyond the product title and description. The what includes the features and the details that your audience is going to want to know – things like page count, app compatibility, file size and format, and more.
This is also about emotions – you're not just selling a planner, you're selling the solution to a problem. You need to know what that problem is and how your audience will feel after that problem is solved, then help your target audience to see your planner as the product that will help them achieve the results they desire.
Find the why behind what you’re doing
Now while this might be the third part of your launch that we're considering, it's arguably the most important. If you don't know why you're creating your product, the meaning of it is also going to be lost in your audience. If your audience is confused about the product that you're promoting, the chances of them actually purchasing it drop drastically.
Identifying your why should be relatively simple, all you need to do is think back to when you first started your business and developed your system for helping your one-on-one clients. What problems did you notice them facing? Why did their struggles resonate with you? And finally, why did you decide to start your business?
We also know that you wanted to create this product to help more people beyond those you can work with exclusively in a 1:1 setting. When people can sense the genuine care you have for them in your launch and they realize that you're not just doing this for the money, then you're one step closer to convincing them to buy from you.

Break down your system into steps

This is your process and the phases you need. You can plan this out in whatever way is best for your workflows, but you can start with a simple to-do list! An easy way to create this list and break the planner creation process down into steps is by taking your planner section-by-section. Work on just one part of your planner at a time to avoid feeling overwhelmed and to be focused on the topic of the section instead of having to jump around all the time.
If you’re building a shorter planner that doesn’t contain many sections, then it may make more sense to break down your system by page. Now you can focus on the topic, layout, and overall design of each page. You’ll know exactly how much time you’ll need to set aside for each page and possibly even when your planner will be completed!
Let’s make things easier with an example. Let’s say I’m designing a digital planner. How would I break down my process into steps? You can use this same step-by-step breakdown to make your own process easier to achieve!
To start with, we’ll do some research and identify who needs the product you want to create and how much demand there will be for it. We can call phase one “strategy”.
Next up is the “ideation” phase. We know that our product is going to be well received, so we’re going to start drafting layouts, sections, color palettes, and other important elements before we digitize everything.
It’s time to open our laptops and get to work. We’ll break down the product design phase and start with the “design foundation” phase. This includes creating the right number of pages, designing a front and back cover, choosing the colors and fonts, then creating templates for the different page types we’ll be using.
In the next phase of our process, we’ll design “section one”. In this example, it will include a year overview calendar, monthly calendars, and a weekly calendar layout. This is going to take up a large portion of our planner, but thankfully we have the templates already made to make this easier! We’ll finish up this phase by adding the finishing touches like illustrations, motivational quotes, and other little details.
We’ll continue this process moving through the different sections until the entire planner has been built out! Don’t forget to assign a certain amount of time to complete each phase of the process.
Things will wrap up with the “test and launch” phase where we make sure all links are working, the planner flows together well, and we’ll double check to make sure we’re not missing anything. Then, it’s time to release our planner to our ready & waiting audience!
Interested in hiring an expert to build your dream planner? Learn more about how we can help here!
Determine what’s really a need and what’s just nice to have
Now that you’ve broken down your process into doable steps and sections, you have a good idea of everything that will go into your planner. Take a moment and think about the length of everything you want to include. Does each feature need to be a section or can it be a page? Will your planner be too long, complicated, or confusing if you include all the sections you’re thinking about?
It’s important to be in touch with your audience and know exactly what it is they need right now, along with how much information and guidance is just right and what they would consider too overwhelming. If you decide that it’s best to leave out a section for now, you can always sell it as an add-on later!
If that’s the case, you don’t have to worry! You can always create a second edition of your planner with the additional features you weren’t able to include in the first. This is a great way to build a collection of products and not just a signature planner. We’ll talk more about this in just a bit!
Overall, taking a second look at the pages you include will help you to streamline your process and reduce the chance of you overwhelming your audience. If this is the first planner you’ll ever be launching, just know that there are many more to come! You can use all the feedback you gather from this planner launch to create an even better one next time once you’ve been able to spend more time getting to know your potential customers.

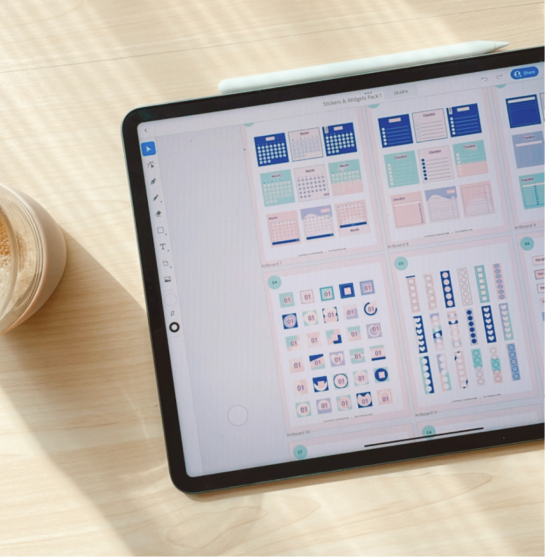
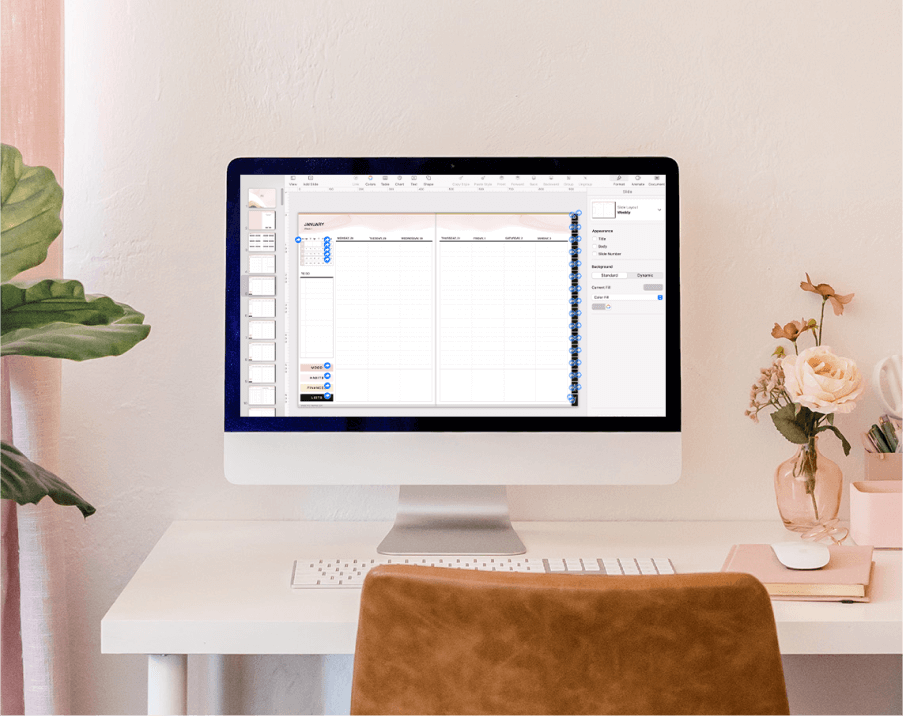
Bring your planner to life by hiring a designer or using a pre-made template
Starting from scratch isn’t the only way to bring your planner to life. If you’re short on time, you can hire an expert planner designer to professionally create a bestselling product. If you have some extra time but don’t want to start from square one, jump ahead a little bit with a pre-made template designed by a graphic designer!
Maybe you’re torn and you’re not sure whether it would be better for you to start from scratch or use a template. We dive deep into how each option works, the pros and cons of your choices, who would be the best fit for each option, and a simple summary of what each option entails in one of our most comprehensive blog posts, which you can read here.
Working with a digital planner designer doesn't mean starting with a template and building off of a pre-made design, it's something that you can fully customize to fit your brand. And in addition to creating your digital planner, a digital planner designer is happy to provide you with long-term support that can include mockups, stickers, notebooks, and social media images so that you can launch an online shop confidently! Once you’ve launched your planner for the first time, you can even come back to your designer to improve your planner for the next year.
Hiring a designer means that…
You’ll be offloading all the intense design work to someone who's an expert at it
You need to have clear communication skills so both you and your designer understand the vision you want to bring to life
You’ll be spending more money to bring your planner to life, but you’ll make your money back and will be able to enjoy many more returns on your investment!
✨ Interested in hiring an expert to build your dream planner? Learn more about how we can help here!
Decide between a single signature planner or a collection
As a new stationery designer, there are two ways you can go about turning your system into a planner, and that’s through either one signature planner or a collection of digital products. A single signature planner will be completely based on the system you’ve been able to monetize while working with 1:1 clients or in another field before deciding to pursue passive income by building a planner.
Creating a single signature planner may be the best choice when your system is what your business is already known for and you have an audience that wants to learn your ways. You. may even tease the planner to them for months so that they know it’s coming! A single product launch performs better when your audience is warmed up to the idea, already familiar with what you do, and is large enough that you can reach your income goals by releasing just one product.
A collection is a great choice for you if you’re a new business owner with a small audience and want to launch an e-commerce shop with a variety of products that will appeal to the majority of people who discover your business. This is more effective when you're just starting out because you’ll be able to take your time to create a suite of products that your new audience will be interested in. it will give you many opportunities to show people that you understand them and want to help make their lives better. When customers see that you offer more than one product, they’ll be more likely to keep coming back and make more purchases!
Plan for how you'll execute this launch
This step is all about the logistics that make your launch possible. When you're working out how your launch is going to happen and how you're going to bring your product to life, you're going to consider things like where you're going to list your product for sale, where you're going to market, where your audience is located, what marketing materials you need to create such as emails, Instagram captions, Facebook posts, Pinterest pins, mock-ups, and the list goes on!
The best way to successfully tackle the how of your launch is by creating lists. Now that may seem super simple, but we love using Notion and Airtable to keep track of when certain tasks for our launch need to be completed by, who will complete them, along with things like where we can find all relevant files for the launch and what will be doing each day of the launch. When you know the how before your launch actually arrives, you'll be less stressed and more confident as you show up and so your new planner to your audience!
There is a lot to think about each time you launch a new product. We’ve put together a helpful guide full of the tips and tricks we use each time we launch in this blog post. Give it a read and you might just learn some ways to make your next launch the best one yet!
Final thoughts
This may seem like a lot of work, well once you get started it becomes easier to create products that will become best-sellers. Instead of feeling more overwhelmed about taking time out of your schedule to bring your ideas to life, think about all of the details you already know about your audience and use those little bits of information to start building your planner!
If those thoughts aren't enough to keep you from feeling too stressed about building this planner, we would love to help you out with our custom planner design services! In one VIP design week, we will take your idea from simply a system you use to help one on one client and turn it into a digital or physical planner that you can use to make passive income for years to come! Learn more about how we can work together and even look at some of the planners we've created by clicking here.
How can we help with making your dream digital planner and business?
There are so many ways we can help you bring your visions to life! No matter how much experience you have or what kind of business you run, we can make launching your first digital planner so much easier. Take a look at all the ways we can help…
Digital Planner Academy® — our signature program to help new and aspiring digital stationery business owners start, launch, and scale their own businesses without the stress or overwhelm that comes with being your own boss.
The Pink Ink® Shop — browse our variety of pre-made templates and digital products that can help make every step of starting your own business easier!
Digital Planner Kits — our best-selling pre-made template kit comes with a commercial license so all you have to do is edit the colors, fonts, and make sure it will appeal to your audience, then you can launch a new planner in just one weekend!
Custom Digital Planner Design Services — whether you want an expert to build you a planner from scratch or you don’t have the time to customize your Digital Planner Kit, you can work with us for as little as two days or as much as one week and walk away with a custom digital planner perfect for your audience and signature system.