5 Time-Saving Tips to Create Digital Products in Apple Keynote

So you want to expand your business to sell digital products, but the stress of learning a new program is holding you back from making passive income. Well, we have good news for you! Creating digital products just became a whole lot easier, because we have some tricks up our sleeves that make using Apple Keynote to design stunning products even easier.
So how can you use Apple Keynote to create digital products? We’re going to talk about…
What is Apple Keynote?
5 steps to build a digital planner in Keynote
Using Command + K to add hyperlinks quickly
Customizing your toolbar
Use Slide Layout templates
Utilizing preset styles
Investing in white-label digital planner templates
What is Apple Keynote?
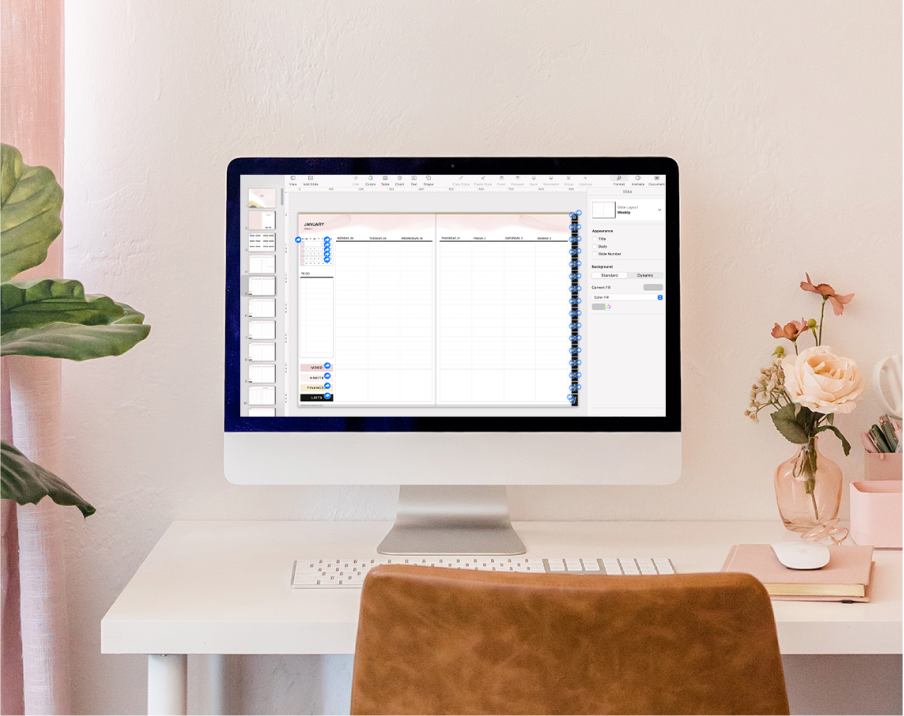
Keynote is a program created by Apple and free to Apple users to create visual presentations (or in our case, planners) that stand out. You can use it on your laptop, computer, and even your iPad, which is especially helpful if you have an Apple Pencil and want to create one-of-a-kind illustrations on the iPad! It has various tools that allow you to add charts, create diagrams, edit photos, and create dynamic backgrounds.
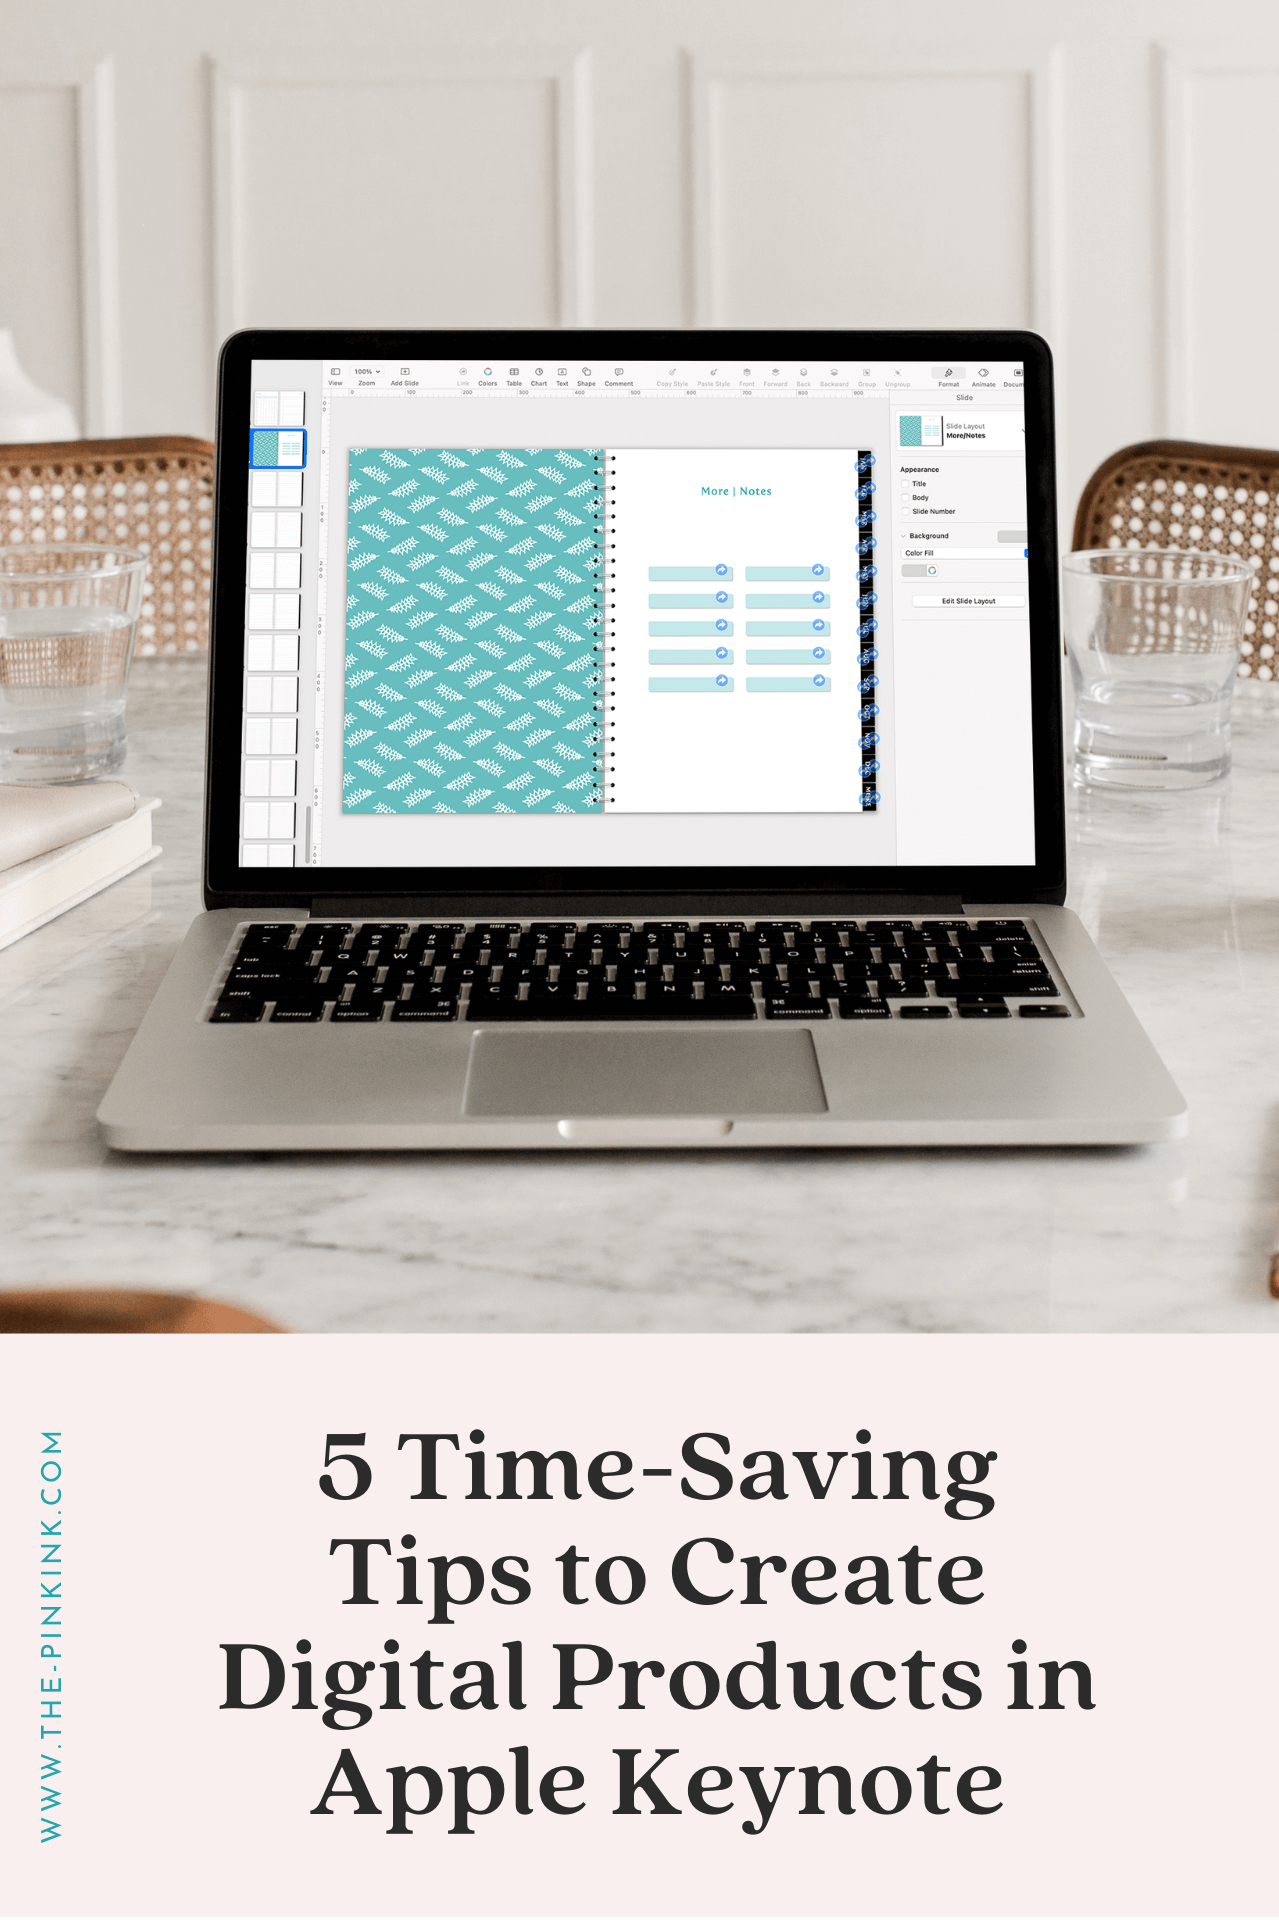
How to build a digital planner using Apple Keynote
Apple is known for its intuitive software and ease of use, so getting started building your first digital product should be fairly simple! Let's walk through the steps of building a digital planner using Apple Keynote...

First things first, it's essential to have your idea fully fleshed out. You can follow the steps outlined in this blog post to learn how to turn your ideas into digital planners.
Start the digitizing process by setting up the page document to 935 by 650 pixels. To do this, navigate to document > slide size > custom slide size.
Create tabs to make splitting up the planner creation into smaller, more doable phases, organize our pages, and make it easy to jump around inside the planner. Using the shape tool, choose the rectangle shape and resize it, then duplicate it as many times as you need.
Add a drop shadow to help your tabs stand out, then add a square shape on top of the tabs to make it look more realistic.
Build out each page using the idea you've already sketched out in step one. Select the appropriate shapes from the shape tool or create a table and customize it to fit your style. Remember to refer to your sketch and think about which shape you’re going to use to build your planner pages.
As you continue designing planners, you'll get more familiar with the Keynote app and find yourself following the process that works best for you. Take it one step at a time and one page at a time!
Tip: to save time, you can copy, paste, and edit each page so you don't have to keep recreating the shapes from scratch.
Now that you know how to get started building a planner, you can save yourself time with these tips!
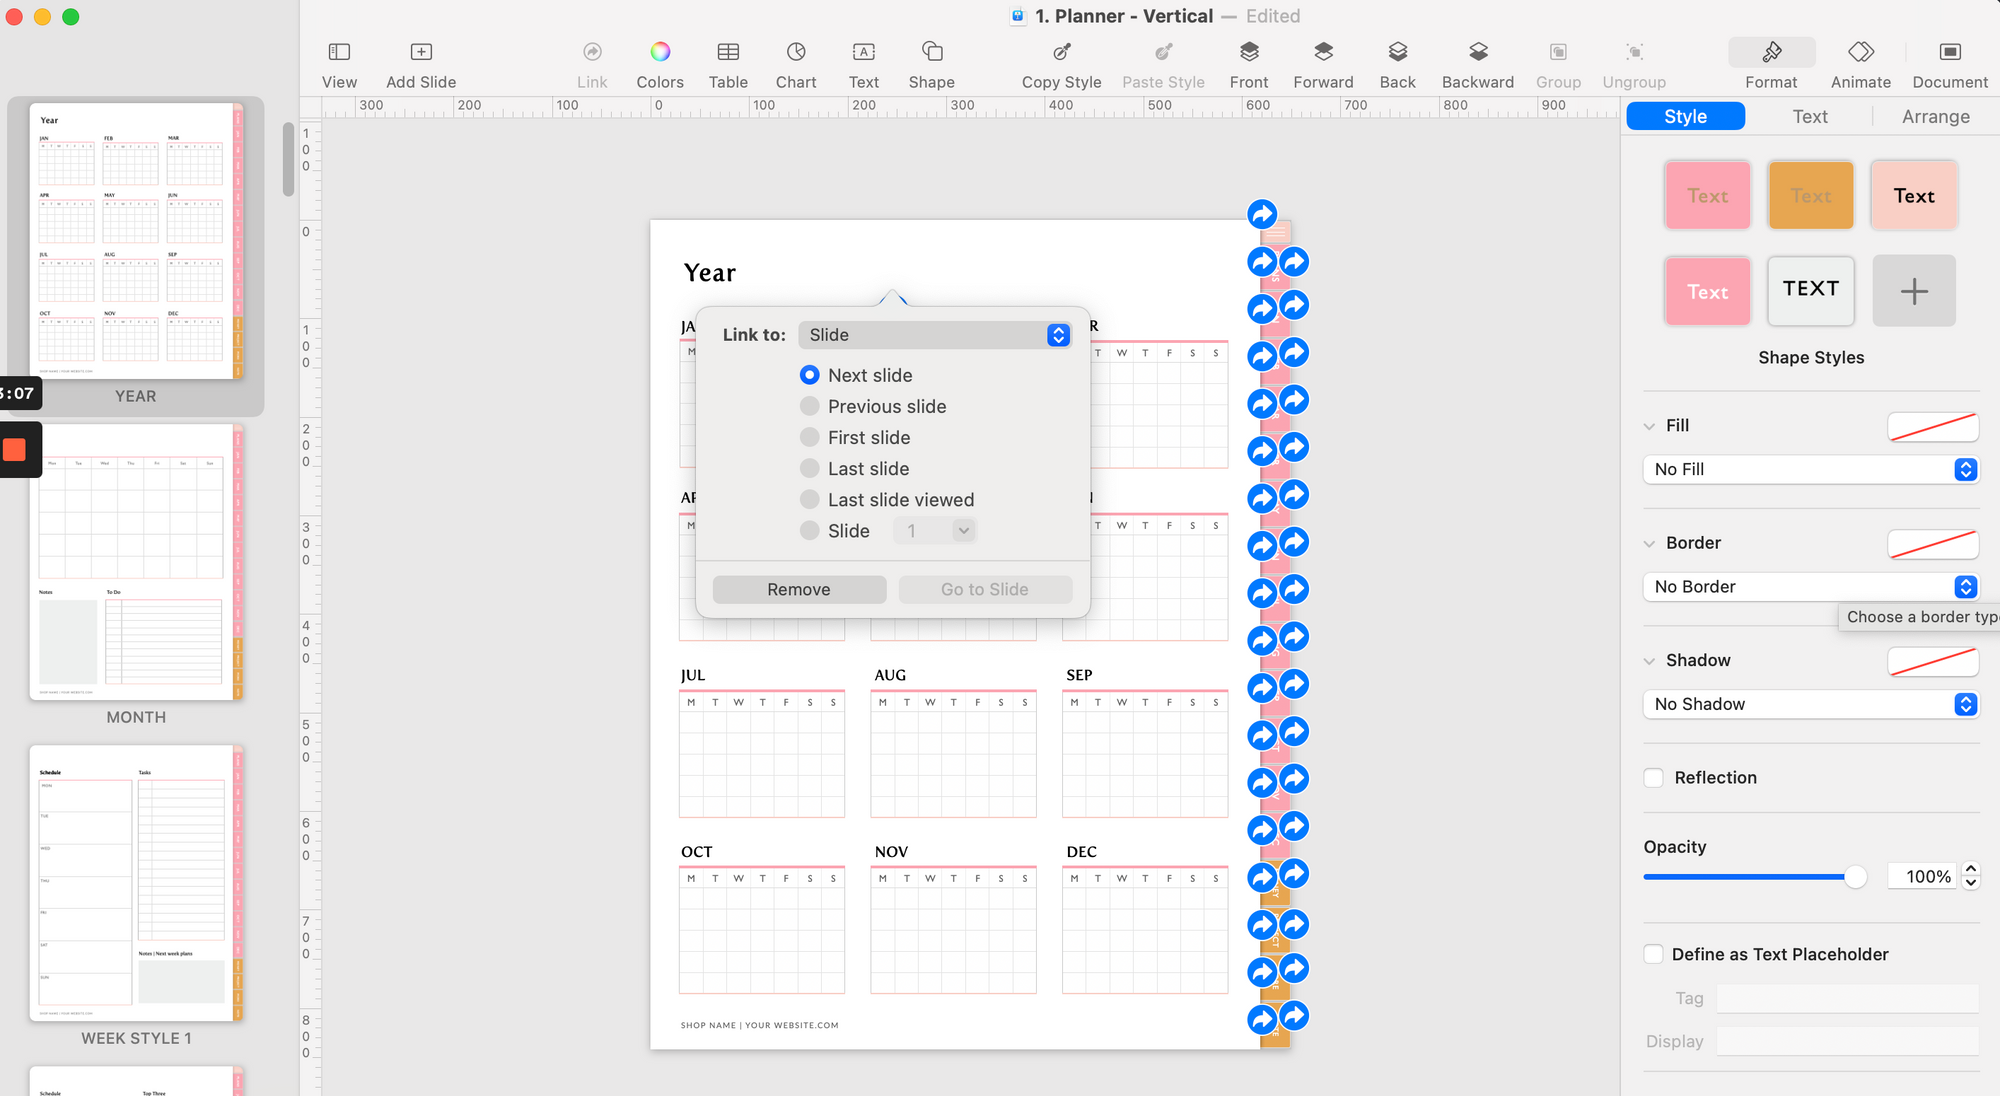
Tip 1: Command + K > for adding hyperlinks quicker on Keynote
Hyperlinks are what transforms each page of your design into a fully-functioning digital planner! But we'll be honest, hyperlinking can be tedious, but there's a simple shortcut that can make things easier. Instead of linking just one object at a time, you can click and drag to select all the items you want to link to a certain place.

Once you've selected all the items that you want to link, simply press Command + K, then a small pop-up box will appear to give you the options of where you want to link, if you want to remove the link, or go to the slide you've linked to. After you've chosen the location you want to link to, you can click outside of the box and the links you've added will automatically save.
Tip 2: Customize your toolbar on Keynote
One of the best ways to save yourself time is by creating a process that works for you. You can do this by customizing your digital workspace! Your toolbar is at the top of your window and gives you quick access to the tools and controls you'll be using the most. To customize your toolbar, all you have to do is...
Go to "View" at the very top of your screen, then choose "Customize Toolbar" at the bottom of the menu that appears
Drag any of the functions that you use the most into the toolbar from the box that pops up
Drag any unwanted items out of the toolbar to get rid of them
Click "Done" in the bottom right of the pop-up box when you're finished

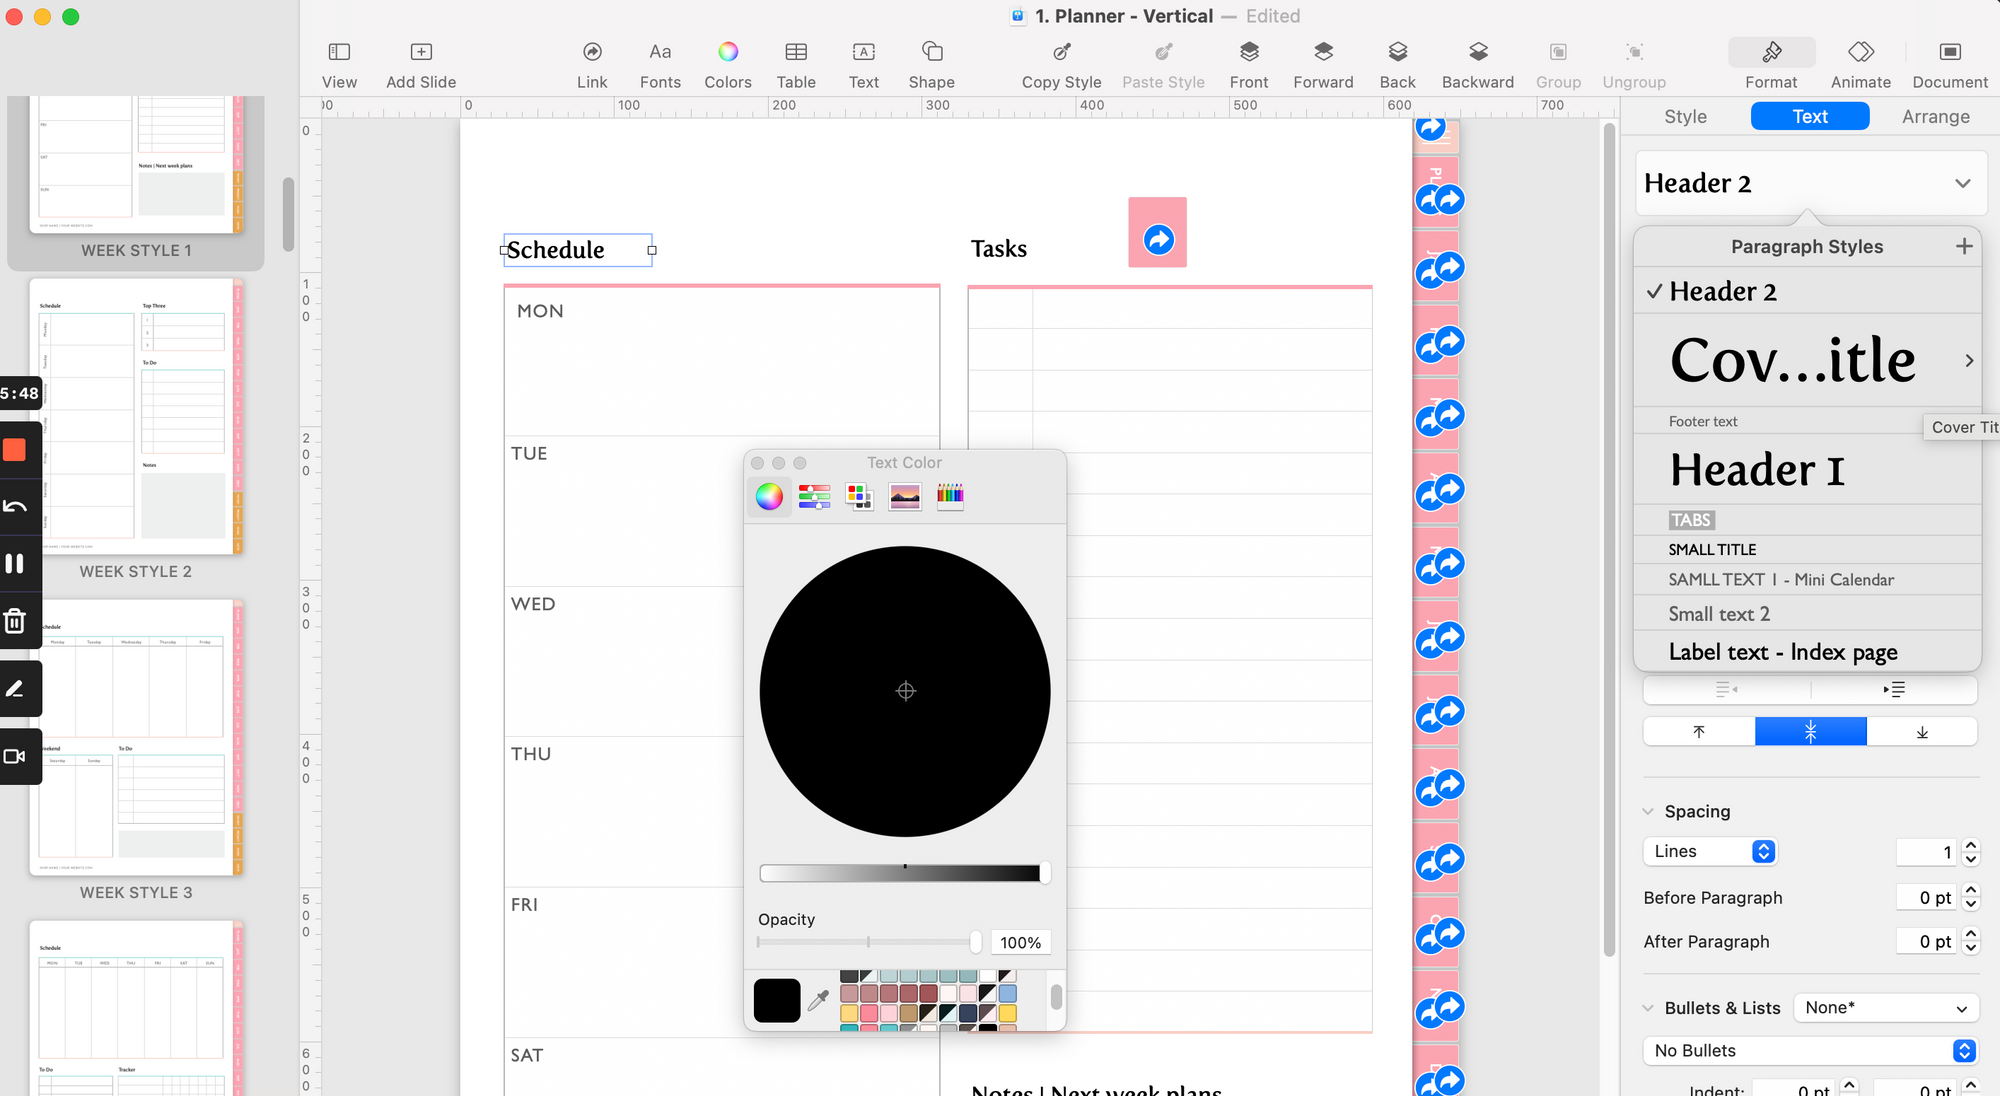
Tip 3: Use a Slide Layout and Master Slide in Keynote
One of the most important elements of a professional digital planner is maintaining consistent styling from page to page. So while each page may vary slightly, you can create a Master Slide or Slide Layout for each of the main layouts you're using throughout your planner. Depending on what version of Keynote you have, you'll have to follow either of the instructions below to use a Slide Layout or Master Slide.
To start with, right-click on the slide you want to use, then click "Edit Master Slide" from the menu that pops up. Everything on your slide will switch to the default template you selected when you first created your new project. Now you can edit it to look however you'd like! It'll look the same as the slide you edited when you use that slide layout from now on. Whenever you return to edit that master slide, all the other slides that use that template will update to match the master slide.
If you have a newer version of Keynote, then you'll be looking for Slide Layouts instead. Apple Support says, "if you add new images, text, and other objects to a slide layout, these objects become part of the slide background and aren’t editable in your presentation. If you want text, shapes, or images on a slide layout to be editable in your presentation, you must add them to the layout as placeholders."
How to add a new Slide Layout in Keynote:
Click in the toolbar at the top of your screen and choose "Edit Slide Layouts"
Either click the "Add Slide" button in the top toolbar or select a slide from the left-hand menu to edit
Do any of the following:
Double-click the name of the slide layout in the slide navigator and type a new name.
Edit your slide to reflect the layout that you have in mind
When you’ve finished, click "Done" in the blue bar at the bottom of the screen, or click in the toolbar, then choose "Exit Slide Layouts"
Now you're ready to create layouts of the main pages you'll be using throughout your planner and save yourself the hours you would spend building the same pages over and over again!

Related: want to learn how we build digital planners in Apple Keynote? Our free masterclass will teach you everything you need to know to build a digital planner that sells! You’ll get a behind-the-scenes look at our signature process to create a digital planner and walk away with the confidence you need to create and sell one yourself! Learn more and sign up here.
Tip 4: Utilize Preset Styles
You can design a suite of elements that complement your planner to add them easily while remaining on brand. So instead of creating a new shape and changing the color, size, and so on of each object, you can select a pre-made one and save yourself so much time!
To apply your preset styles, all you have to do is...
Select an object or text box
Click on the paintbrush icon labeled "Format" on the right-side menu
Click the "Style" tab if applying a preset to a shape, image, or text box
Click the "Chart" tab if you're applying a preset to a chart
Click the "Table" tab if you're applying a preset to a chart
Choose any of the preset options at the top of the menu

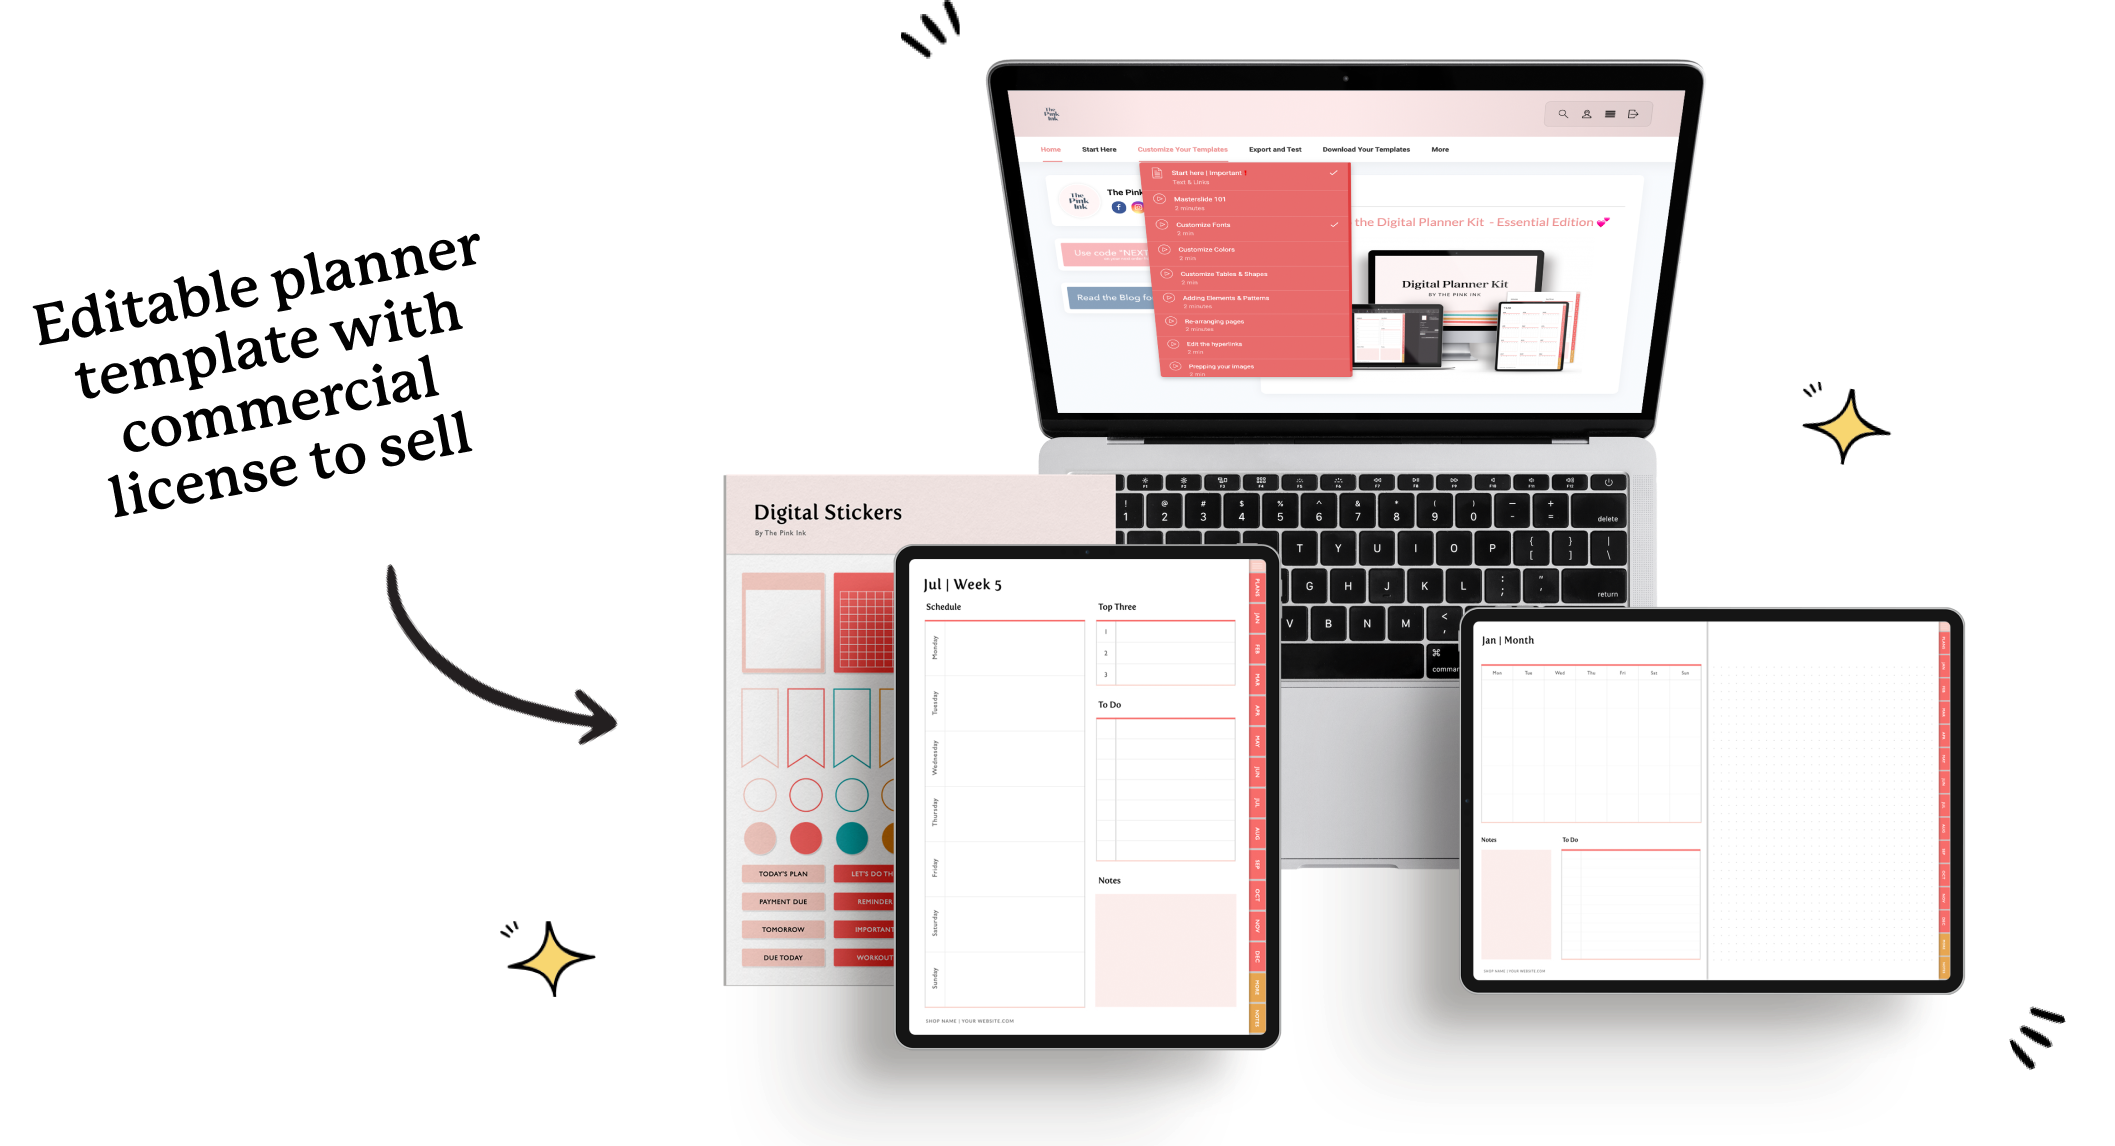
Tip 5: White-Label Digital Planner Templates

We hope these tips have helped you see that getting started selling digital planners to make passive income doesn't need to be overwhelming! But if you're still unsure of whether you can commit to learning a new program and creating a product all by yourself, we have a solution for you!
Alternatively, the ultimate way to save yourself time is to buy a premade digital planner template compatible with Apple Keynote that is already utilizing all of these tips! A premade template is going to include all of the basic pages, layouts, and styling features that a professional planner is going to have. All you have to do to customize a digital planner template is change the colors, fonts, and add any additional layouts that you have in mind. This is the ultimate timesaver!
The Pink Ink® shop has a variety of templates for business owners at every stage of growth. Our bestselling templates, Digital Planner Kits, are plug-and-play templates for aspiring entrepreneurs and creatives ready to sell a digital product to their audience without starting from scratch. Each kit is customizable and includes a commercial license, ready to be updated and sold. In just one weekend, you can have a branded planner ready to sell in your own digital stationery shop!
We have 10 Digital Planner Kit options for you to choose from, all created with a specific niche in mind. Make your choice based on the kinds of customers you want to attract so you can easily customize a planner with your target audience in mind.
Choose your Kit by clicking here! And if you want to explore the other products in our shop, you can visit the store here.
If you’re not sure which Digital Planner Kit would be best for your business, take this quiz and discover which niche would be best for you in just 5 minutes!
So are you ready to get started using Apple Keynote to build your next digital planner?
We want to help you build a digital planner that your audience will never forget! We have a variety of free & paid resources that you can use as you create passive income for your business…
Digital Planner Academy® — our signature program that teaches new and aspiring digital planner business owners the strategies and community they need to set themselves on the path to success. Learn more here about how you can design a life you love with the help of six milestones worth of content, custom feedback, monthly calls, templates, an exclusive community, and more!
Free Masterclass — join us in this free, 50-minute masterclass & training to learn about our signature planner design process and a step-by-step walkthrough of how to create a digital planner from start to finish so you can get started without all the overwhelm and save time with our Digital Planner Kits and packs!
Private-Label Digital Planners — these are commercially licensed, plug-and-play templates for aspiring entrepreneurs and creatives ready to sell a digital product to their audience without starting from scratch. Each kit is customizable and includes a commercial license, ready to be updated and sold. In just one weekend, you can have a branded planner ready to sell in your own digital stationery shop! Shop the templates here.
Read the blog — learn how to create a digital planner using Apple Keynote in just five days with this blog post where we’ll walk you through everything you need to do each day to create a fully-functional and beautiful planner. You’ll even have a chance to sign up for a free 5-day challenge to keep you accountable at the end of the blog! Read more here.