8 Reasons why Affinity Publisher is the Best Design Program for Digital Planner Designers and Creators

Have you heard of Affinity Publisher before? If you're new around here or to the world of digital planner design, you may not be familiar with this design program. However, if you are a regular to The Pink Ink® blog or have created your own digital planners before, then you may be familiar with this amazing tool that can make creating passive income products easier than ever before.
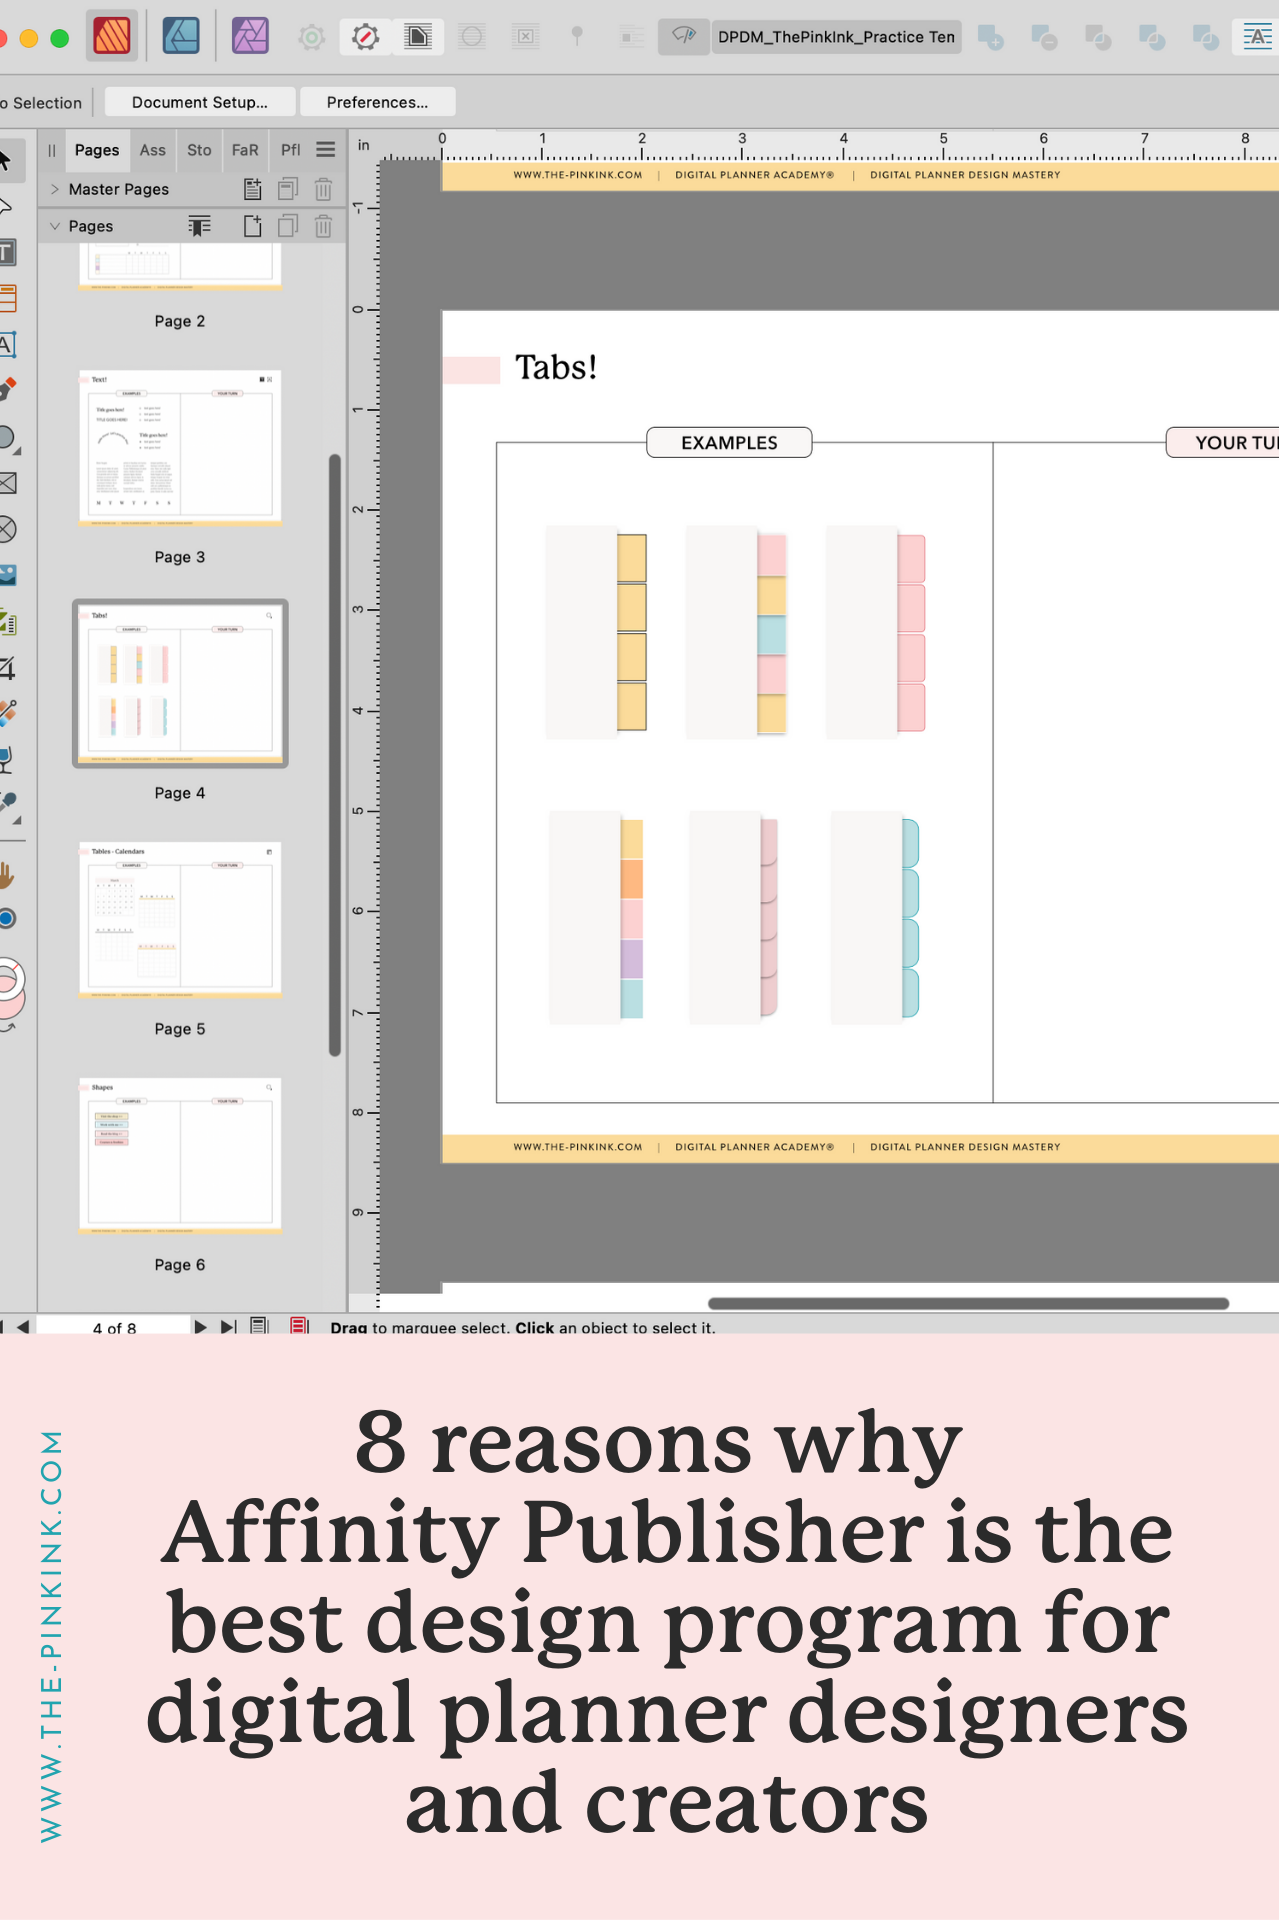
Affinity Publisher is a 2D publishing program that allows you to design layouts for things like magazines, eBooks, and yes, digital planners. What makes it so great?
It's the new kid on the block and is giving name-brand, industry-standard programs (looking at you, Adobe InDesign) a run for their money
It’s less complex than InDesign yet simpler and more robust than Apple’s Keynote program
It offers more design options and customization than Apple Keynote which is great for designers who want to flex their creative muscles
But the benefits of Affinity Publisher don't just end there! We've gathered ten reasons why Affinity Publisher is the best design program out there for digital planner designers and creators on any skill level.
Let's talk about each of these reasons, and hopefully, by the end of this blog post, we'll have convinced you that Affinity Publisher is the best possible tool for you to use the next time you want to create a digital product.
Reason #1: Affordability
It seems like nowadays we can never outright buy a program, but instead, we have to constantly pay subscriptions for the tools we use to keep our businesses running. This isn't the case with Affinity Publisher, though! Unlike many similar design programs, Affinity Publisher only charges a one-time price for their software. How amazing is that?
Affinity Publisher is available for a one-time cost of $69.99 USD, which gives users access to all features and future updates. This is significantly lower than the subscription-based pricing model used by Adobe InDesign, which currently costs $20.99 USD per month on a yearly plan or $31.49 USD per month on a monthly plan.
This means that you can get started designing digital planners with virtually no overhead or a considerably lower operating cost than would be the case if you used other similar design programs like Adobe InDesign. And as small business owners, this is good news!

Reason #2: Intuitive Interface
Affinity Publisher's user interface is designed to be flexible, customizable, and intuitive, with a focus on making the design process as smooth and efficient as possible. Sometimes you open a design program and it looks like it hasn't been updated since the 90s.
So what makes it so much better than other design programs?
Customizable workspace:
Affinity Publisher will allow you to customize you workspace to fit your process, preferences, and needs. This means that you can choose the perfect pre-made layout that works for you or create your very own custom layout!
Context-sensitive toolbars:
Affinity Publisher's toolbars are context-sensitive, meaning they change based on the current tool or object selected. Now you can quickly access the tools you need or use most without cluttering your digital workspace!
Live preview:
The live preview feature allows users to see real-time changes to your designs as you edit your digital products. This is super useful when adjusting typography or other design elements that have a large impact on the overall look and feel of your designs.
Persona-based workflows:
Affinity Publisher uses persona-based workflows to help you focus on specific tasks, such as design, layout, or typography. Each persona has its own set of tools and options, making it easier for you to find what you need and work more efficiently.

Reason #3: Add Dates Easily
One of the most tedious parts of creating a digital planner has always been adding in the dates. But this process doesn't have to take hours with the help of Affinity Publisher! You can use the data merge feature to automate the process of adding dates by merging a list of dates from a spreadsheet or CSV file into your planner design.
Here's how you can do it:
Create your planner design: Start by creating your planner design in Affinity Publisher. Include any placeholders where you want to insert the dates, such as a calendar grid or a list of daily tasks.
Import your date list: Next, create a spreadsheet or CSV file with a list of dates that you want to add to your planner.
Set up your merge options: In Affinity Publisher, use the Data Merge panel to import your date list and set up your merge options. Make sure to choose the correct fields for the date information, such as the month, day, and year.
Merge your data: Click the Merge button in the Data Merge panel to merge your date list with your planner design. Affinity Publisher will create a new document with a copy of your planner design for each date in your list.
Don't forget to double-check everything and ensure it was added correctly once you've finished!
This is a great way to save time and effort when designing a dated planner so you can focus your energy and creativity on the parts of your planner that are different from competitors!

✨ We go over each step involved in adding dates to your planner and automating the complete process through the Data Merge feature and provide you with a template to make it ever easier in our new course, Digital Planner Design Mastery, which you can learn more about by clicking here!
Reason #4: Reusable Styles
Are you tired of spending countless hours manually formatting every single element in your design work? With the ability to reuse styles, Affinity Publisher once again lets you save time and maintain consistency with just a few clicks.
No more tedious formatting – just apply a preset and achieve a consistent look and feel across your planners. This can be super helpful when you're creating a collection of digital stationery products that you want to share a similar look and feel!
This is how you can save styles to reuse them in the future:
Create your styles: Start by creating the styles you want to reuse in your document. This can include things like paragraph styles, character styles, object styles, and table styles. Use the Text Styles panel, the Graphic Styles panel, or the Table Styles panel to create and edit your styles.
Save your presets: Once you've created your styles, you can save them as presets by selecting the style and clicking on the "Add Style" button in the appropriate panel. This will allow you to name and save your preset for future use.
Apply your presets: To apply your presets to other elements in your document, select the element and choose the preset from the appropriate panel. The element will then inherit the style properties of the preset.
Update your presets: If you need to make changes to your styles, you can update your presets by editing the style and clicking on the "Update Style" button in the appropriate panel. This will update all instances of the preset in your document.

Reason #5: Reusable Shapes & Elements
Say goodbye to the hassle of manually formatting every element in your designs, and hello to an easier and more efficient workflow with Affinity Publisher's style reuse feature! This amazing tool lets you create and save presets of your favorite styles, like paragraph, character, object, and table styles, so you can quickly apply them throughout your designs. You'll be able to breeze through bigger design projects without having to create everything from scratch!
Create the shape or element you want to reuse: Using the various shape tools and vector drawing tools in Affinity Publisher, create the shape or element you want to reuse.
Group the shape or element: Once you have created the shape or element, group it together using the "Group" command or by selecting all the individual components and using the "Group" shortcut.
Save the group as a symbol: With the group selected, go to the "Symbols" panel and click on the "Add symbol" button to save it as a symbol. You can give the symbol a name for easy reference in the future.
Reuse the symbol: To reuse the symbol, simply drag and drop it onto your canvas or select it from the "Symbols" panel and place it wherever you need it.

Reason #6: Professional Level Products
Affinity Publisher isn’t just for beginners! It’s a great tool to create professional-level products! It offers a range of advanced layout tools that allow you to create precise and complex designs. You can adjust the margins, columns, gutters, and grids to ensure that your layout is perfectly aligned.
But the possibilities don’t just stop at layout tools. It also has powerful typography tools that enable you to create beautiful text layouts with control over the font, size, leading, tracking, and more!
One of the most exciting features of Affinity Publisher is the ability to create vector graphics using a range of tools, including shapes, lines, and curves. Vector graphics are scalable, which means you can resize them without losing quality. This is going to be essential for high-quality products like sticker packs and inserts!
Reason #7: Multiple Document Sizes in the Same File
Having the ability to work with multiple document sizes within the same file in Affinity Publisher can be very convenient and provides way more flexibility for designers. You can keep all your project's assets and elements in one place, making it way easier to manage and organize your work. With this feature, you can work on different projects all in one file, without having to switch between multiple documents.
This is a super useful feature for designing entire collections!
The various products in your collection might have different dimensions, but you can include them all in the same file. This means that you can compare designs, aesthetics, and layouts between products for a more consistent and professional collection.
Reason #8: Global Color
One of the many impressive features of Affinity Publisher is the "Global color" functionality, which allows users to define and apply color swatches across their entire document in a seamless and efficient manner.
Once a global color is defined, any changes made to it will automatically update all instances of that color throughout the document. This saves you a lot of time and effort, as they no longer need to manually update each text, shape, or tab. Can you imagine how fast it will be to create multiple versions of your planner with just a few clicks?
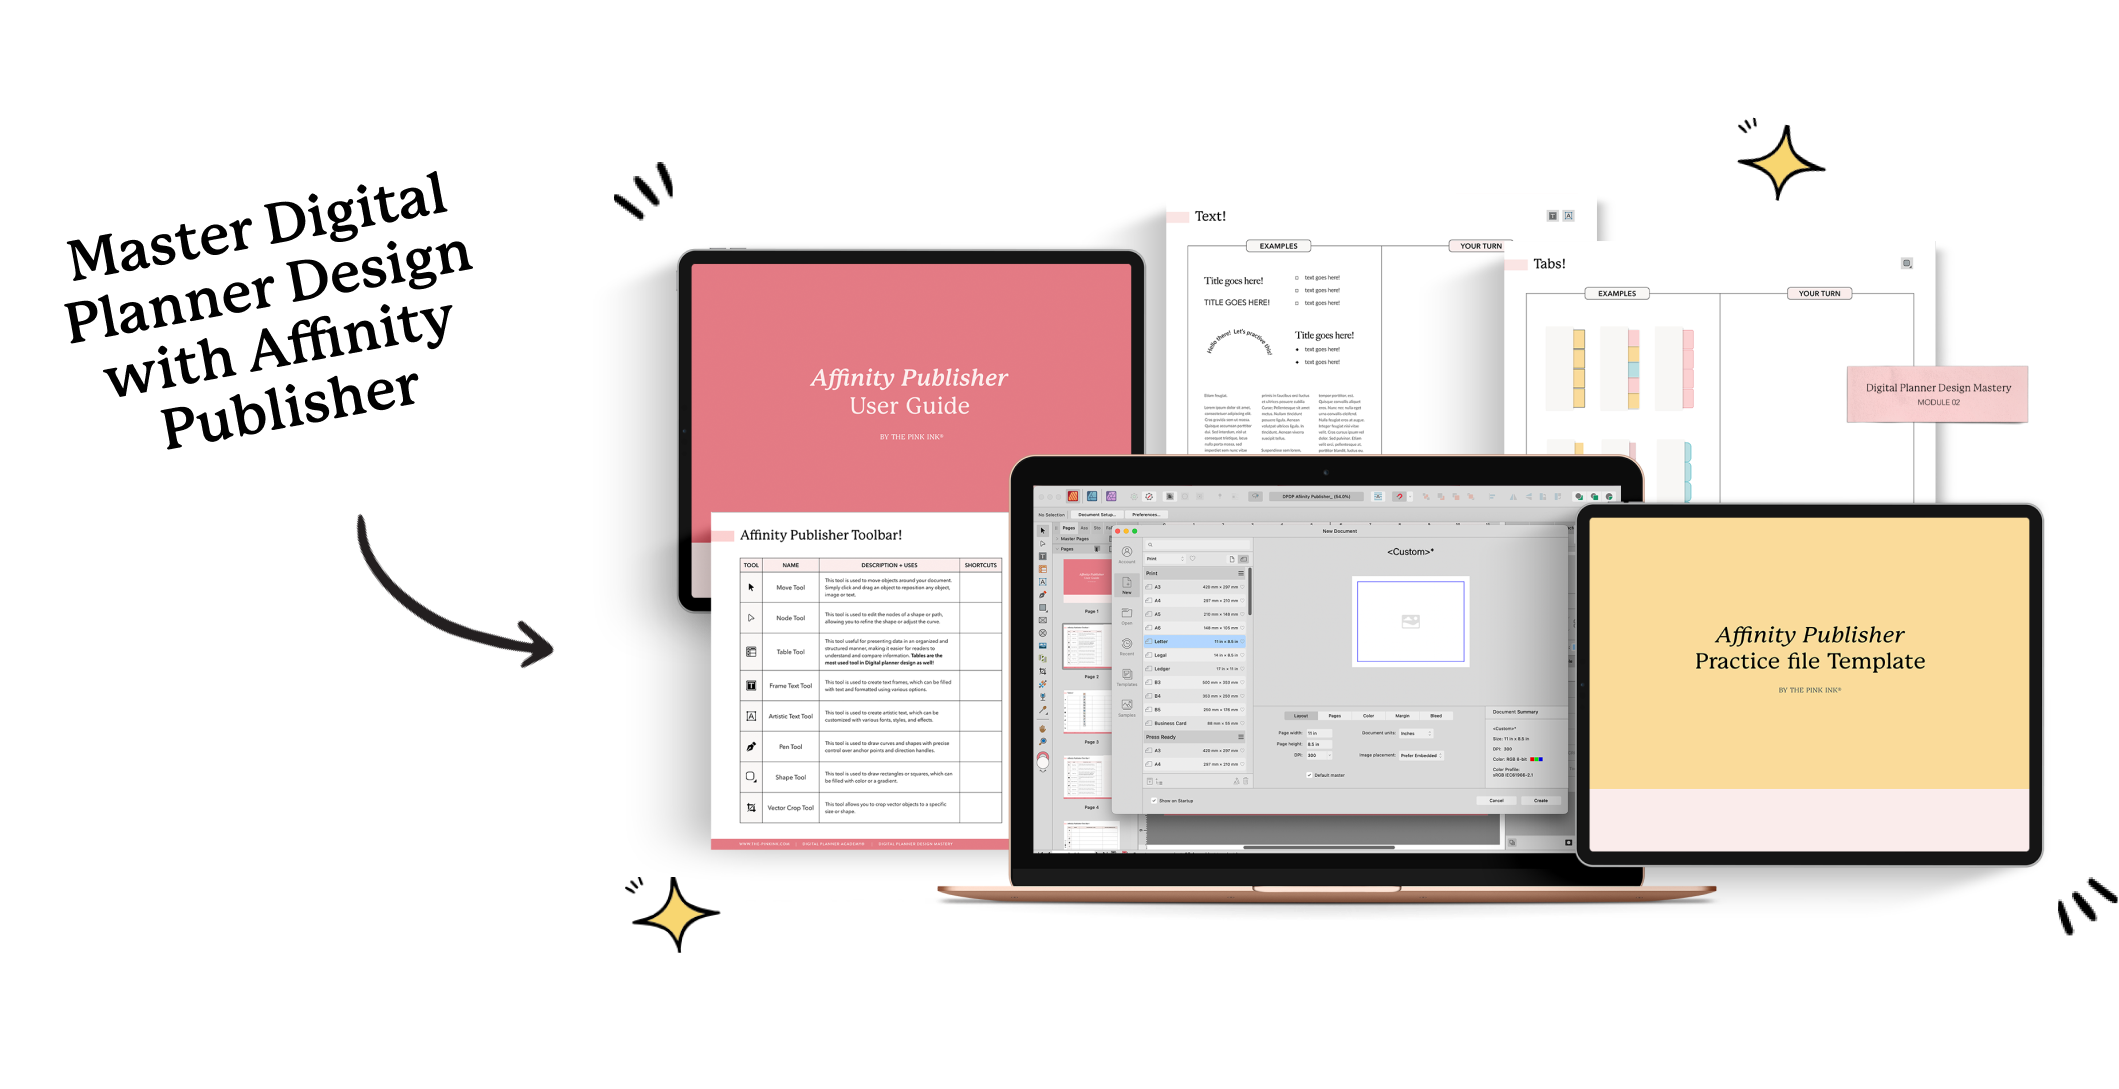
Want to master Affinity Publisher? Join our course Digital Planner Design Mastery!
If you're ready to take your designs to the next level, then you need to check out Affinity Publisher! This powerful desktop publishing software offers everything you need to create stunning, professional-level products. Affinity Publisher makes everything from adding dates to your planner to designing an entire collection of best-selling products easier than ever!
✨ And the best part?
You can learn all about how to create digital planners using Affinity Publisher with our Digital Planner Design Mastery Course. Enroll now and get ready to create beautiful and functional planners that will make your audience hit that “add to cart” button quickly!
Don't wait, head over to our website, sign up to get updates about the course and learn more about how you can design the planners of your dreams!