
7 steps to scale your online digital stationery business beyond selling digital planners

You've been selling digital planners and making passive income for a while now. Have you been wondering how you can take your business to the next level? You want to help as many people as possible, but how can you make the biggest impact when you constantly feel stressed and overworked? The secret is scaling sustainably.
It can be difficult to find the right balance and the confidence you need to take your business to the next level.
Scaling a digital stationery business looks a lot different than it does for a traditional stationery store. But that doesn't mean it's impossible! Your offerings can go beyond the planners, notebooks, and stickers you've been selling. It may not feel like it, but the options to scale really are endless!
Maybe it seems like all you have are questions about how scaling an online digital stationery business is possible.
Well, I'm here to give you the answers to all your questions! In this blog post, we're going to help you create a plan that allows you to create a collection of products beyond what's already in your shop.
We're going to break this plan down into seven steps so you can take your business to the next level without feeling overwhelmed so that more and more potential customers will be adding your products to their cart!
[ STEP 1 ] Evaluate your business and research the needs of your audience
The secret to scaling without work taking over your life is to do so with intention. This means taking time to strategize whether now is a good time to start scaling and if you'll be able to do so easily. Ask yourself some questions and gather some information about your business's performance:
Take a peek at how your business is doing and discover what you're doing well and what aspects of your business could use a little love.
Check out which of your products are most popular and what trends are emerging in the digital stationery world.
Look at your marketing strategies and see if they have the potential to support your business growth if you launch new, high-quality products.
Reach out to members of your community to find out what they love about your business and how you can serve them even better.
Evaluate your competitors
By checking out what other digital stationery companies are doing, you can get a better idea of what the industry is like and figure out how your business can be different and special. With the right plan and knowledge of the market, you'll feel ready to grow your business and make it even better! Be sure to look for a few things as you evaluate your competitors:
Research their products, pricing strategies, and marketing tactics, then look for gaps in their offerings that you can fill with your own unique products or services.
Analyze their strengths and weaknesses, then use them to decide where your business can stand out as different.
Look for any emerging trends in the industry that your competitors may be overlooking.

Study trends
By studying trends in the digital stationery niche, you can get a good idea of what kinds of products people are interested in and what you can do to set your business apart from others. To study trends, look at the following areas of the digital stationery industry:
Check out other digital stationery businesses' websites and social media pages to see how they're promoting their products and if their strategies seem to be resonating with customers.
Take a look at what people are saying in reviews and comments about digital stationery products to get an idea of what they love and don't love as much.
Keep an eye on what's happening in the world and in pop culture, because these things can influence the opinions of your target audience and help you stay ahead of the curve.
Try to come up with new ideas for products or services that are different from what other businesses are doing (this can help you avoid creating trendy products and timeless ones instead!)
Staying up to date on the latest trends can be fun and a great inspiration as you work on creating your next collection! This will help you as you move into step two of the stationery scaling process where you identify what products you want to sell...
[ STEP 2 ] Study the best types of digital products you can sell in your stationery shop
All the information you've gathered so far can help you identify what products will have the highest success rate amongst your audience. By focusing on three areas of some of the most common digital stationery products, you can decide what items you want to create to put together a one-of-a-kind product collection!
You can learn more about what the best types of digital products are and how you can use our favorite design program, Affinity Publisher, to bring them to life by reading these blog posts! You'll learn about all kinds of digital products from journals, notebooks, and notepads to digital flashcards, stickers, and inserts.
You can research what kinds of products will resonate the best with your audience beforehand to put together the perfect product collection that they're sure to fall in love with. You can also use the gaps you've found in your competitors to offer a product that isn't common within your niche or industry to attract more customers!

[ STEP 3 ] Build your product collection
Imagine having all your favorite stationery items at your fingertips and available for all your customers with just one purchase – wouldn't that be more cost-effective, easily accessible, and a potential bestseller? That's what a digital product collection can be! It's a variety of stationery products that complement one another and can be accessed at any time and from anywhere!
Take all the information you've gathered from the previous steps and identify the biggest needs of your audience. This will help you decide on what kinds of products you want to include in your collection. Once you have your list of collection items, you'll want to create them all, then release your new products to your target customers. Because a collection has one central theme, it makes sense to share all your products at once instead of progressively rolling them out as you finish designing. This also means that you can give your customers an option to buy the entire collection at once at a discounted price, which can lead to more sales!
Now it's time to get to work designing all your new, amazing products!
How to build a collection
Create a mood board to set the tone for the aesthetic of your collection of solution-based products
Select your colors and fonts to get started designing, and don't forget to look at your mood board for inspiration!
Select your elements to add personality to your planner and features that will make your products stand out from your competitors
Build your patterns so that you can easily duplicate pages and layouts instead of creating every page from scratch
Create your products with a consistent theme centered around solving a problem for your customers, then test them out and make sure they all work well together before launching!
👉 If you want to learn more about the process of building a collection and each of the steps mentioned above, take a look at this blog post where we walk you through getting started with digital planner design.

[ STEP 4 ] Decide when to release your stationery collection
We recommend releasing a new collection of products about three or four times a year, which is about once a quarter. This gives you 3 or 4 months to work on preparing a new collection at a time – which allows you to survey your audience, decide what products to create, bring them to life, then prepare all the marketing materials you will need for a successful launch.
This is what we recommend, but it can always vary depending on your business model and the needs of your audience! Sometimes it makes more sense to have smaller, more regular launches while other brands prefer only a couple of large launches each year. And this doesn't mean that you can't release other new products outside of your collections whenever you see fit! The bottom line is, we want you to do whatever works best for you and your audience so that everyone can stay happy and you can avoid burnout.

Plan out your collection release dates
It's important to consider popular events and holidays when deciding when you want to release your collection. There are certain times of the year when people are going to be doing more shopping or are more interested in purchasing digital stationery products. Many digital stationery shops have been successful in planning launches around these events:
Black Friday or Cyber Monday
New Years
Christmas
Valentines Day
Beginning of the school year
Now take a look at your calendar and see how your schedule lines up with these dates. Will you be able to realistically launch collections on these dates? We want your business to fit into your life in whatever way works best for you, so if that means traveling full-time and using your business to finance your next adventure, maybe it means only launching a few times a year when people are already looking to buy instead of on these dates and every three or four months.
As you're deciding when to launch, you'll want to take into consideration that you're not only designing a collection of products, but an entire content strategy to promote your new products. And that takes a lot of time! Remember to create content that resonates and educates your niche audience, not just about digital planning, but empathetic content that shows your audience you understand their struggles and want to create a solution for them.
Your collection launch itself will also take some time. Think about how you want to release your products and how long you want to promote them. There are a few different types of launches you can experiment with to see what works best for your audience! Your timeline will depend on how many products you're creating, what time of year it is (will you be launching during the holiday season?), and the type of launch you're going to have.
Once you have your timeline figured out you can go ahead and block off your launch dates on your calendar! Then you can work backward from there and set up a to-do list for every task you'll need to complete before your launch. One of the best ways to organize all this information without feeling overwhelmed is by using a project management system. We recommend Asana, Notion, and Airtable!

[ STEP 5 ] Design VS outsource
Now we're onto the fun part where you can put all the information you've gathered to work by designing your stationery collection! There are many ways to go about the design process: you can design your own products, hire a designer, or purchase templates that come with a commercial license. Let's talk about all your options in a bit more detail so you can decide which would work best for your business!
Design your own
Designing your own planners means getting started without the help of a template or a done-for-you service. It requires a much lower financial investment and a higher investment of your time. It means that you'll turn your ideas into a digital concept, build your digital planner out, test it, then list it for sale.
While this may seem like a lot of work, it can be very rewarding! If you're able to commit a few hours each week to building your business, starting from scratch will allow you to make all your own decisions and completely customize every aspect of your digital products to create a truly unique experience for shop visitors.
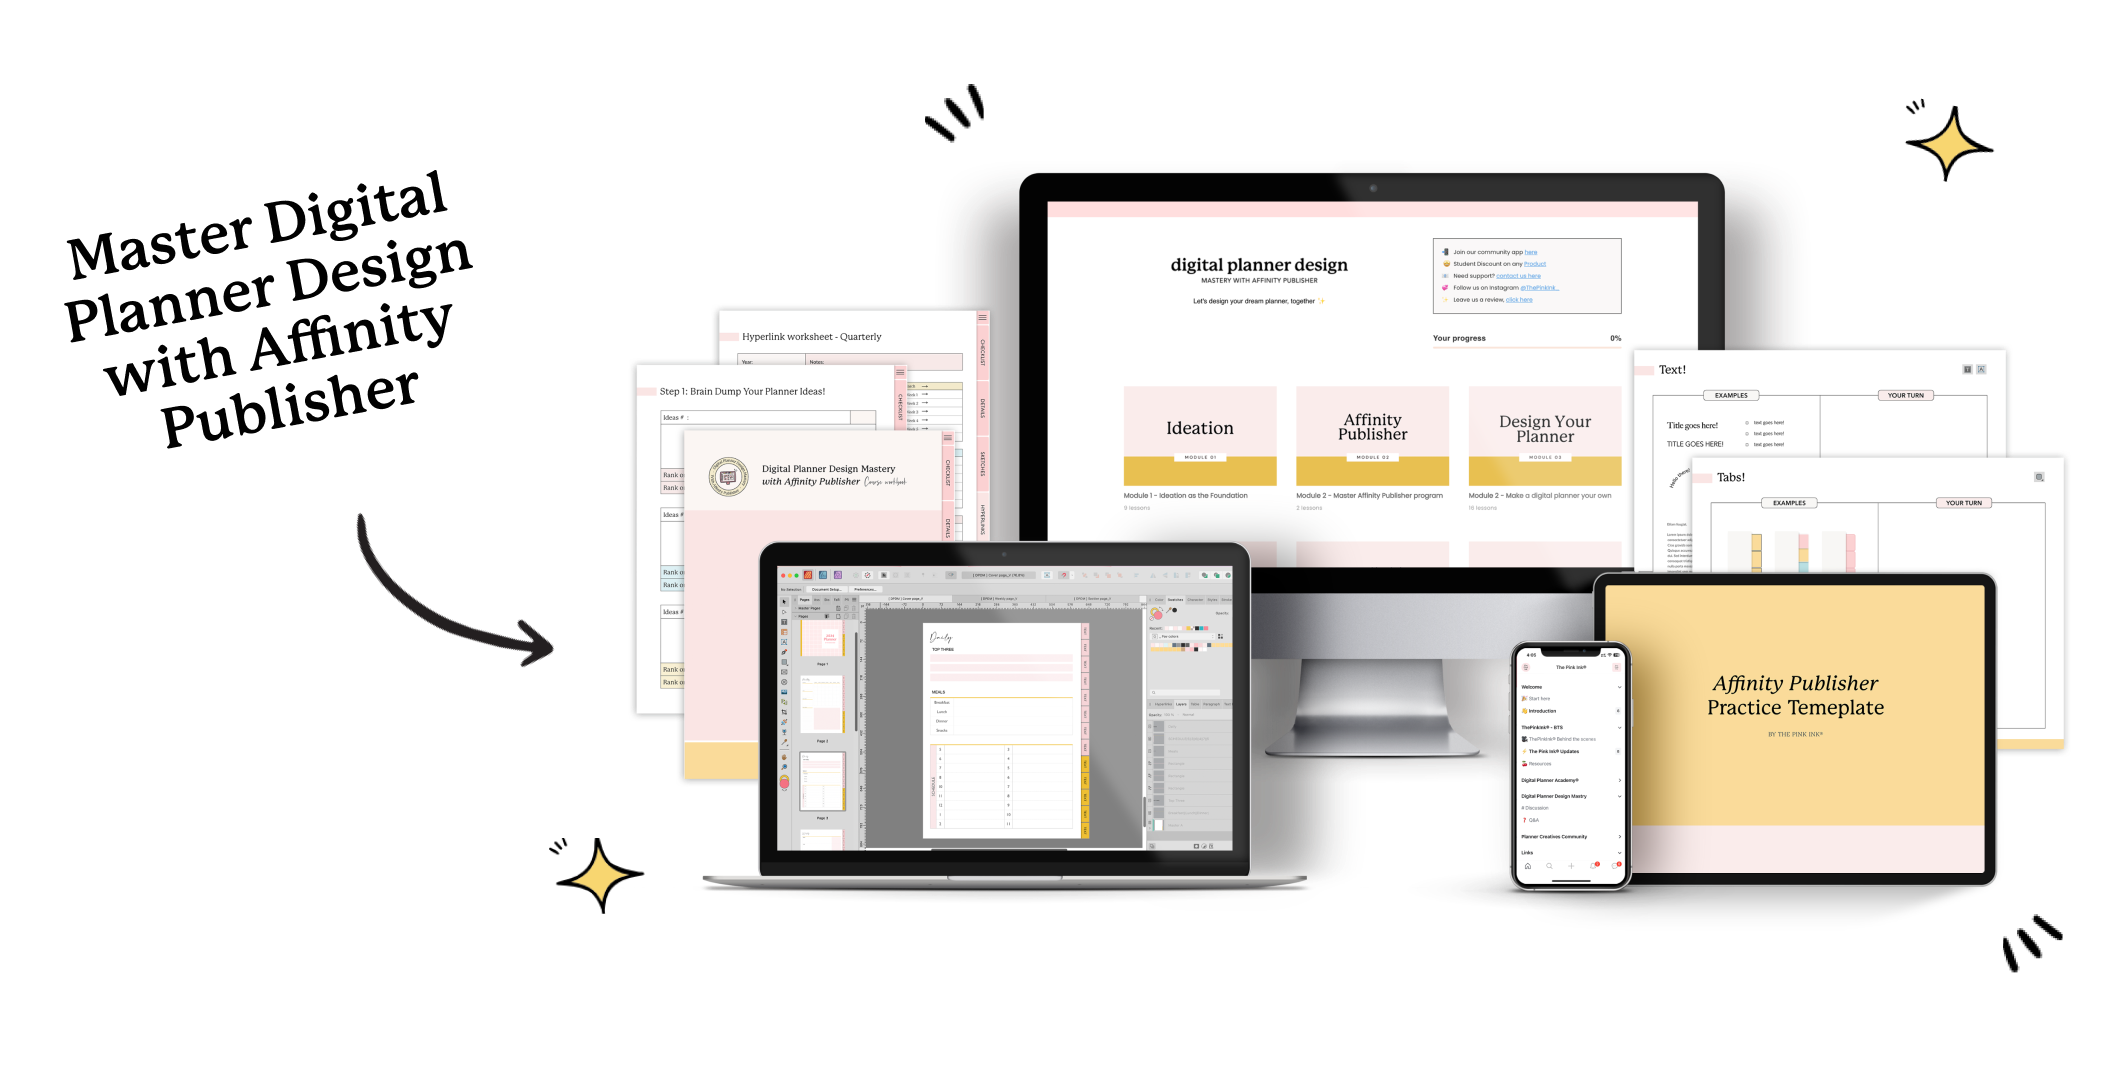
You can also learn how to design digital planners in our all-new course that shows you our step-by-step design process in Affinity Publisher! Learn more about it here.
👉 Related read: get a five-month timeline to design a digital planner in this blog post!

Outsource by hiring a designer
Another option is to invest in professional design services! This means that all the weight gets taken off your plate – you don't have to think about learning a new design program, creating your products, testing them to make sure they work, and the hours it takes to do it all.
The art of planner design services comes down to the collaboration that happens between you (the client) and the designer. Together you'll dive into your target audience, validate your ideas, create an actionable plan, design your planner, and package it into an attractive and functional finished product that you can list for sale on your website or in your Etsy shop!
Working with a digital planner designer doesn't mean starting with a template and building off of a pre-made design, it's something that you can fully customize to fit your brand. And in addition to creating your digital planner, a digital planner designer is happy to provide you with long-term support that can include mockups, stickers, notebooks, and social media images so that you can launch an online shop confidently!
Are you ready to hire a graphic designer who specializes in stationery design for small businesses? ThePinkInk® will provide you with personalized support, stress-free processes, and a digital planner that perfectly fits your business. Get in touch and learn more about how we can work together here!
👉 Related read: learn about three reasons why you should hire a digital planner designer in this blog
Outsource by purchasing templates with a commercial license
Planner templates allow you to create a sellable product even if you don't have expert graphic design skills. They are commercially licensed, predesigned planners, personalized journals, and base layer products that you can import into a design program of your choice to edit before you list them for sale in your shop. At the bare minimum, all you have to do is change the colors, fonts, and add your own branding. If you want to further customize the product, you can make sure each page relates to your specific niche or add in page layouts that your audience may also find helpful to have!
Templates are the way to go if you want to save tons of time. If you have a launch deadline and not enough time to get everything done that you were hoping for, then it may make more sense for you to invest in a template that will only take you hours to turn into a sellable product instead of starting from scratch and spending days creating the perfect item.

If you don't have a background in graphic design and don't have the confidence or skills yet to turn a blank page into the perfect planner, sticker pack, journal, or something else, then a template will do all the hard work for you. All you'll have to do is learn how to import your file, switch up the colors and fonts, then make any extra edits so that everything is perfect!
A great way to create a collection of products without breaking the bank is through template packs or subscriptions that provide you with new templates on a regular basis! Our graphic packs include 20+ hand-drawn illustrations in 2-4 styles available in vector files for easy scalability and a commercial license for unlimited usage within your stationery products. Shop them here and learn more about receiving new, timeless templates each month by clicking here!
👉 Related read: Learn more about the difference between starting from scratch versus using premade templates in this blog post!
[ STEP 6 ] Create and design
Once you know what kinds of products you want to create and how you're going to make them it's time to actually get to work designing! In this step, we are going to talk about how you can design our very own digital stationery collection.
The first phase of creating and designing your planner is sketching it out on paper before digitizing it. Break out your notebook or your iPad and get to work brainstorming different layouts, features, and sections your planner will include. By sketching your ideas before creating them in a design program, you can think through what will work and what won't. Once you get started, the ideas will keep flowing and you'll be able to create a truly unique planner.
Once you've sketched out your ideas, it's time to digitize those ideas and start bringing them to life on your laptop! We suggest using a program like Apple Keynote or Affinity Publisher to design your planner since you can add hyperlinks to turn your sketches into a workable planner you can easily navigate.
You've built out your digital planner, now it's time to make sure it's working and ready to be listed in your shop! Take some time during month three to test your digital planner. Ask yourself the questions below to make sure your planner is fully functional...
Do all the links in my planner work and lead to the right place?
Are all layouts relevant and useful or would the space be better used in another way?
Are there any essential pages missing?
Are there any typos?
Will this planner help solve my target customer's problems?
Once you've tested your planner and confidently answer each question, it's time to package your planner so it can be listed in your shop! Packaging your product should include more than just emailing your customers with a button to download a PDF, it should be an exciting experience! Make buying your products just as fun as getting a package from your favorite brand delivered to your front door!

[ STEP 7 ] Release and repeat
You've put the final touches on your stationery collection, now what? It's time for all of your hard work to pay off and release your collection! There are a few different steps that go into a successful product launch, so let's talk about what you need to do to guarantee your success.
Decide on your marketing campaign
One of our favorite launch marketing methods is email marketing! An email list is a great way to build hype for your launch, warm up your audience so they're ready to buy from you, and tell subscribers when your products are available for purchase. Take a day out of your schedule prior to your launch week to batch-create email sequences to send to your list throughout your launch period. Make sure you have enticing email subject lines to increase your open rates.
We recommend posting and engaging with your audience each day on social media. This will help your brand be at the forefront of people's minds and push your content to their accounts (and similar accounts). Take a day to batch your content for the week leading up to your launch and the week of your launch. Make Reels, design posts, film stories, and put in the work now so you won't have a stressful launch!
Take advantage of Pinterest marketing and blogging to promote your products. The great thing about this marketing method is that not only will you increase your website traffic during your launch, but your blogs and Pinterest Pins don't have an expiration date so they'll continue to drive traffic to your website even after you launch your business.
Launch your collection
Launching is what we call the event of releasing your collection to all of your potential customers who are ready and waiting to purchase your products. This is usually a weeklong event that serves as a mini celebration for all of your hard work, and typically includes incentives for your audience to purchase your products, like giveaways, discounts, and bonuses!
Watching your collection goes hand-in-hand with your marketing campaign. An effective way to launch your collection is by providing your email list subscribers with an exclusive discount to your new collection or give them early access to make a purchase before your products are officially released to everyone else. This is a great way to collect testimonials and social proof even during your lunch so that you can reassure potential buyers that purchasing your products is a good idea!
You can also treat your email list as a VIP area, meaning that these subscribers get an exclusive discount when your digital planner launches, encouraging them to make a purchase. You can also offer early access to your VIP waitlisters so they have the opportunity to make a purchase before your products are officially released to the world. This is a great way to collect testimonials and social proof to reassure potential buyers that purchasing your products is a good idea!
Learn more about using Instagram during your launch in this blog post!
Evaluate, improve, and repeat
Now that you have successfully designed and launched your first collection, it's time to take a step back and relax for a bit. While everything is still fresh in your mind, you should take some time to evaluate how everything went – from researching what kind of products you want to create to brainstorming your new collection to designing your products, to launching!
Think about what went really well, what you enjoyed, and where there is any room for improvement when you create and launch future digital stationery collections. Maybe this means taking more time to get in tune with the needs of your audience or outsourcing the complicated, tedious, or time-consuming parts of the process to an expert.
Once you have an action plan for your next collection and launch, you can take some time to recover, then start planning for your next launch! This process should be sustainable so that you can create a system for your business that leads to consistent income and doesn't make you feel stressed or overwhelmed.

✨ It's time to learn how create!
We hope this comprehensive guide has provided you with the motivation and information you need to create and launch your first digital stationery collection successfully! We want to help you in whatever ways we can, whether that's through our commercially licensed template pack, subscription service, our custom digital planner design services, by purchasing any of the products in our shop, or even by reaching out and asking any questions you have – we are here for you! Make sure to browse the rest of the blog to find the answers to your other questions and read up on valuable, resource-packed articles!
Design Planner Design Mastery Course
Want to learn every step that goes into creating a planner to become a pro yourself? With our step-by-step, self-paced online course, you will learn how to design confidently even if you’re feeling stuck bringing your vision to life with the help of Affinity Publisher: the design program you can use to design the perfect planner for you and your customers.
After this course…
You’ll have a clear step by step simple system that empowers you to create a unique planner of your dreams without feeling lost
You’ll have designed your dream digital planner to be ready to use and sell!
You’ll have the skills you need to design any digital products
Learn more about the course and enroll today by clicking here!


