What a Planner Product Designer Actually Does (The 4-Stage Process)
I want to let you in on a little secret: a good planner designer doesn't just open a design program and start making pretty pages. The truth is, stationery design is just one piece of the puzzle.
There's a whole process that happens before any design work begins. And all that work makes the biggest difference between a planner that looks nice and a planner that actually sells.
Let me walk you through the following four stages you’ll experience when you hire a professional and how it’ll set you up for real success:
Stage 1 – Discovery
Stage 2 – Strategy
Stage 3 – Design
Stage 4 – Delivery
Stage 1: Discovery — Determining & Sharing Your Vision
Before anything gets designed, we start by getting clear on your world together. What's the planner about? Who's it for? What problem does it solve for your customer?
This is where I put together what I call a discovery brief — think of it as the foundation we build your entire project on.
Here's what we cover:
A summary of the planner — what it is, who it's for, and what makes it different from what's already out there.
A full page map — a complete, ordered list of every single page in your planner. In the industry, designers call this an index file. It lists every section — your monthly spreads, weekly layouts, and the pages that make your planner especially unique — and how many times each page repeats. For example, your monthly spread repeats 12 times while your weekly spread might repeat 52 times. This gives us a better idea of the full scope of the project and what pages we want to prioritize.
A mood board — the visual direction we want to take. This includes colors, textures, fonts, and the overall aesthetic. We won’t just pick colors and fonts that will look nice together, but make intentional choices that align with your brand identity and audience.
All of this gets presented to you before I design a single page. You get to review the direction, share your thoughts, and make sure we're fully aligned before anything moves forward.
This is what a real done-for-you planner design service looks like. It's not "send me your brand colors and I'll make some pages." It's us taking your ideas and giving them life in a structured, intentional way so the final product is a perfect planner.
📋 Before hiring a designer, it’s important to get your vision organized. My free checklist walks you through exactly what to prepare. Having this work done upfront saves you hours in the discovery phase and gets your project moving faster! Download the free checklist →
Stage 2: Strategy — Where We Identify Who We’re Designing For
Once you approve the discovery brief, I go deeper. I put together a full strategy presentation — and I mean full. We're talking:
Market research — we'll dig into what's already out there in your niche, what's selling, and where the gaps are that your planner can take advantage of
Target audience breakdown — we’ll go beyond physical characteristics and bring your dream customer to life by answering questions about what her day looks like, what she needs from a planner, and how she prefers to plan
Product positioning — we'll look at where your planner sits in the market and identify exactly what makes it stand out from others who are serving the same industry
Pricing guidance — we'll factor in your page count, format, production method, and market positioning to land on a price point that reflects your product's true value
This is the stage that separates a planner designed to sell from one that just looks good. Think about it — how can you design something that connects with buyers if you haven't taken the time to understand who's buying it, what they're already choosing, and why?
This is also what separates planner product development from basic graphic design. You're not just making pages. You're building a product — and products need strategy behind them.
When I worked with Jessica and Angelina on their 355-page Ultimate Planner for Jessica's Journals, this is exactly where we started — research, color direction, font selection, and a full creative direction presentation. And that strategy work is what made the final product feel so cohesive!
Stage 3: Design — When Everything Comes Together
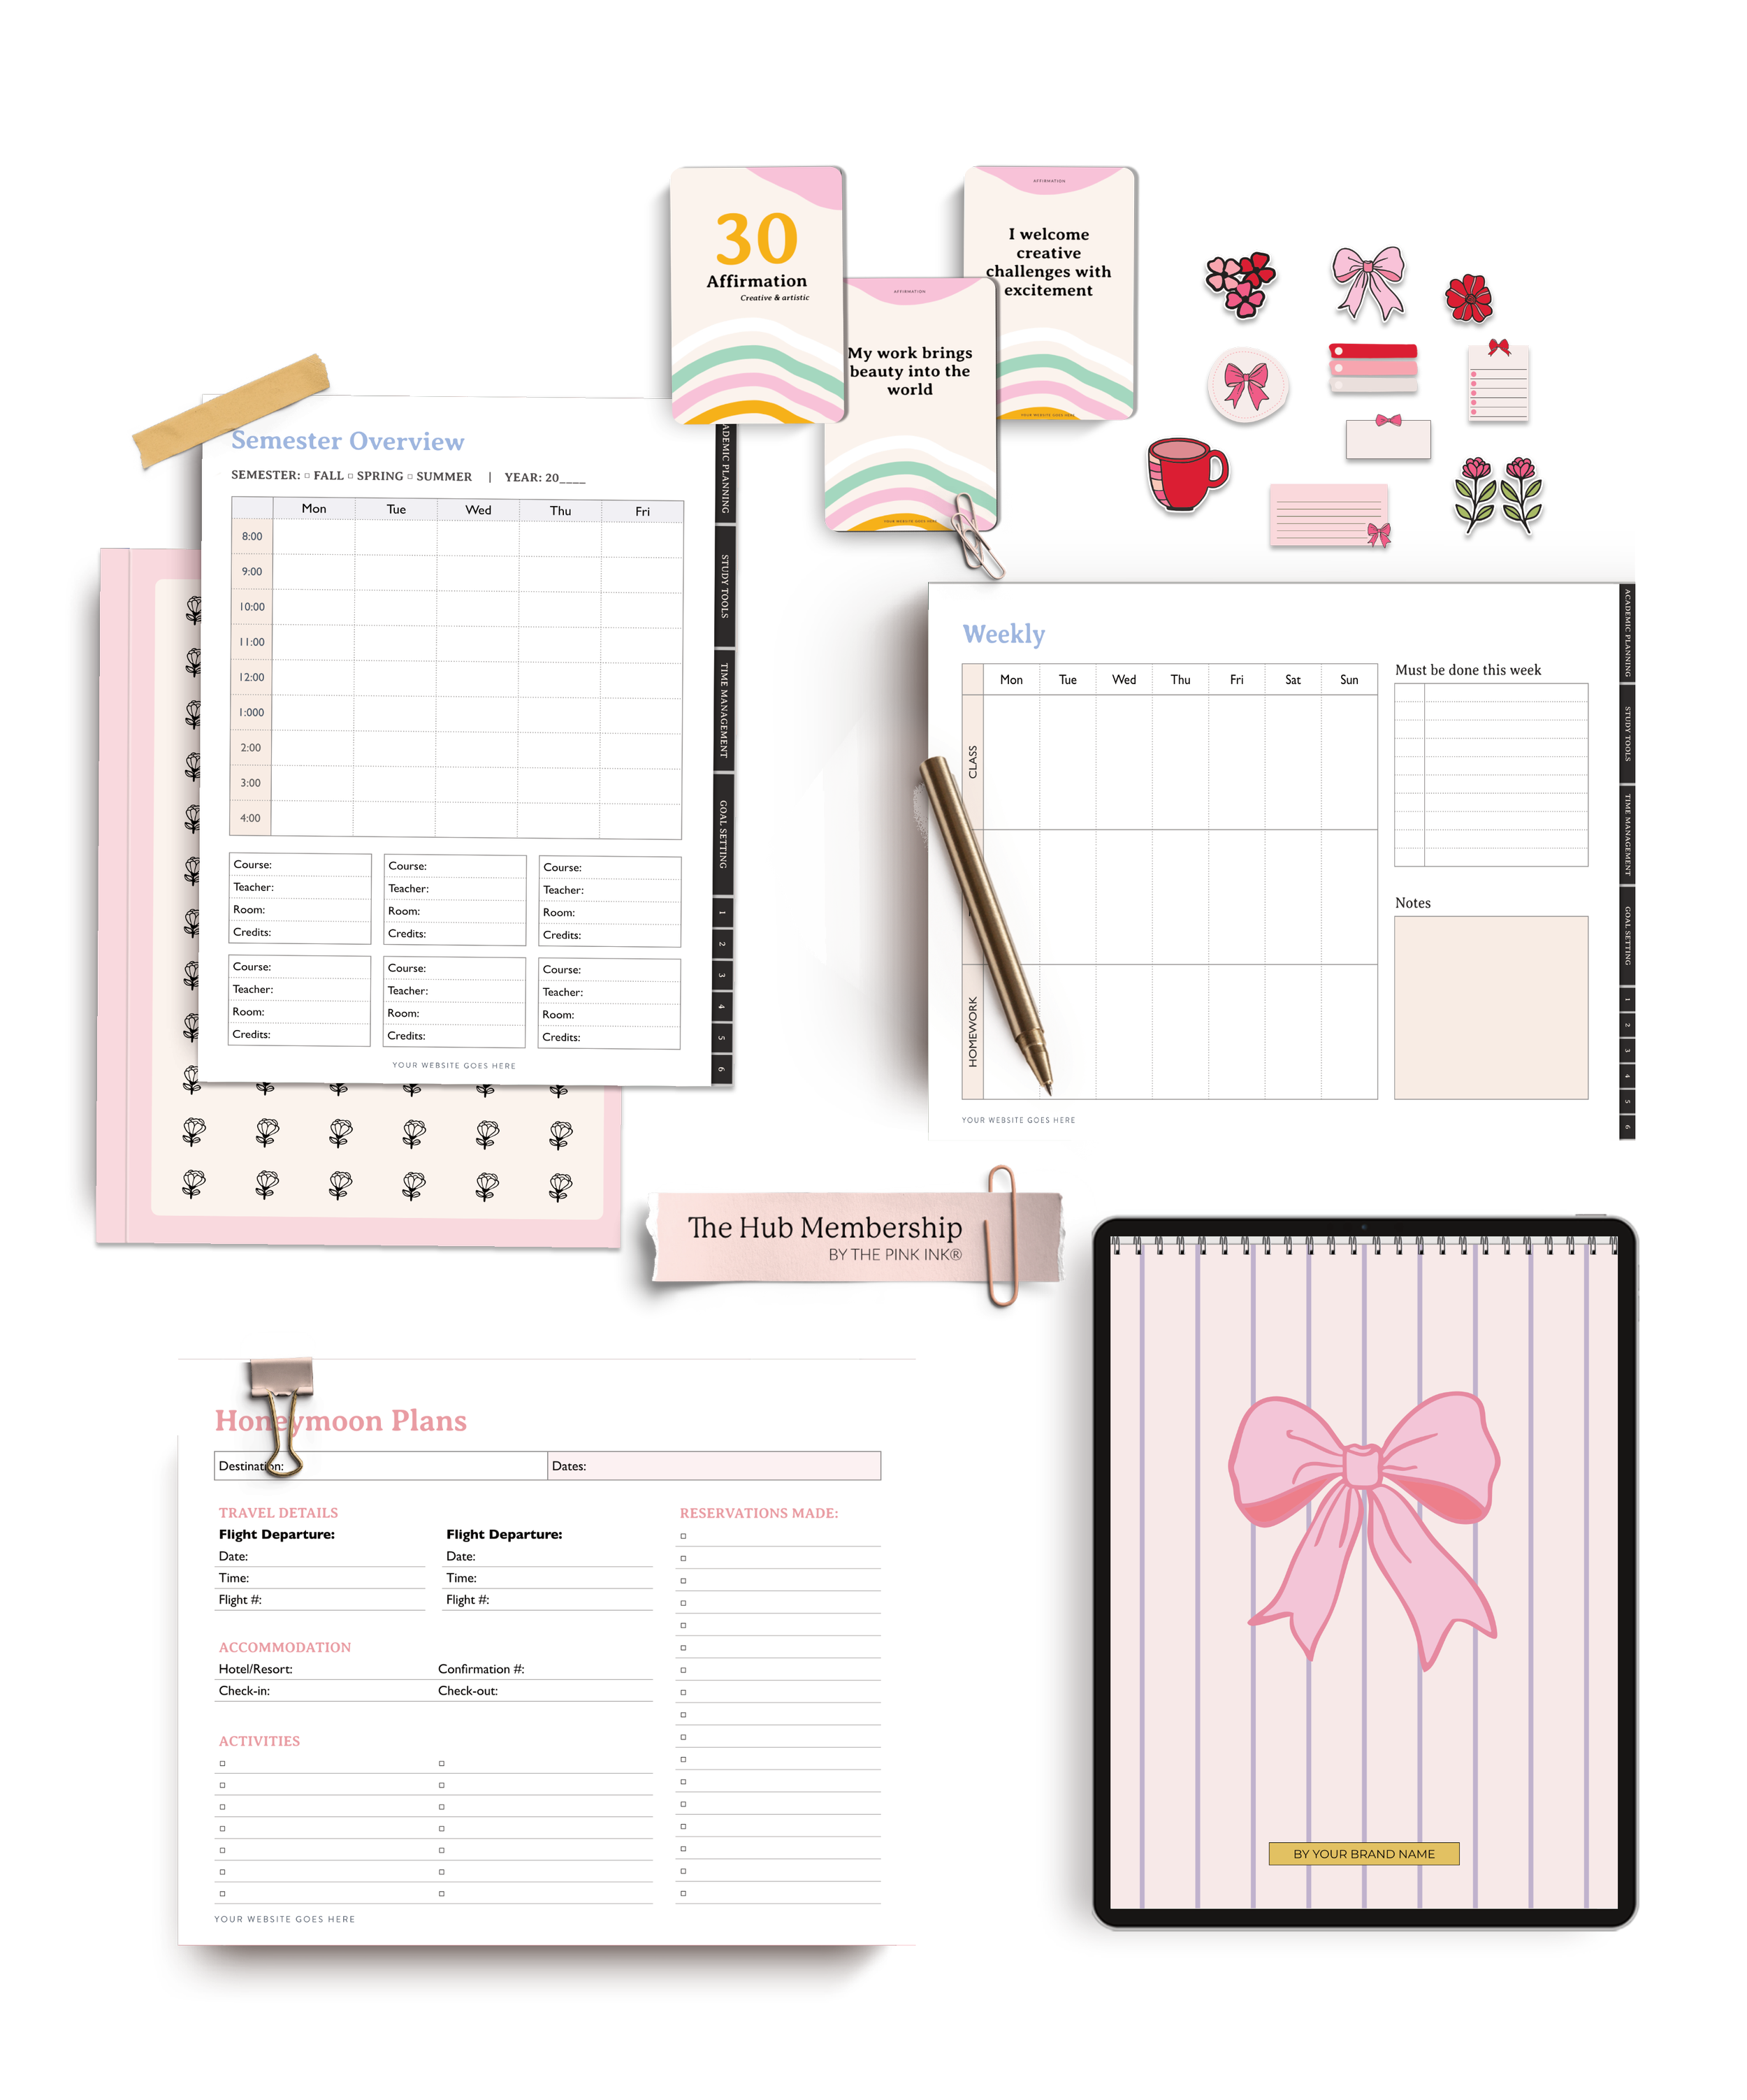
Now the actual page design begins. But because we've done discovery and strategy, this part goes so much smoother. I'll dive right into creating every page spread — your cover, monthly layouts, weekly pages, habit trackers, goal-setting worksheets, notes sections, and whatever else makes your planner unique. Every page gets designed with intention, keeping your brand consistent from front cover to last page.
You get to review the first draft, share feedback, and we’ll refine together. My goal is for you to open that first proof and think "this is exactly what I pictured."
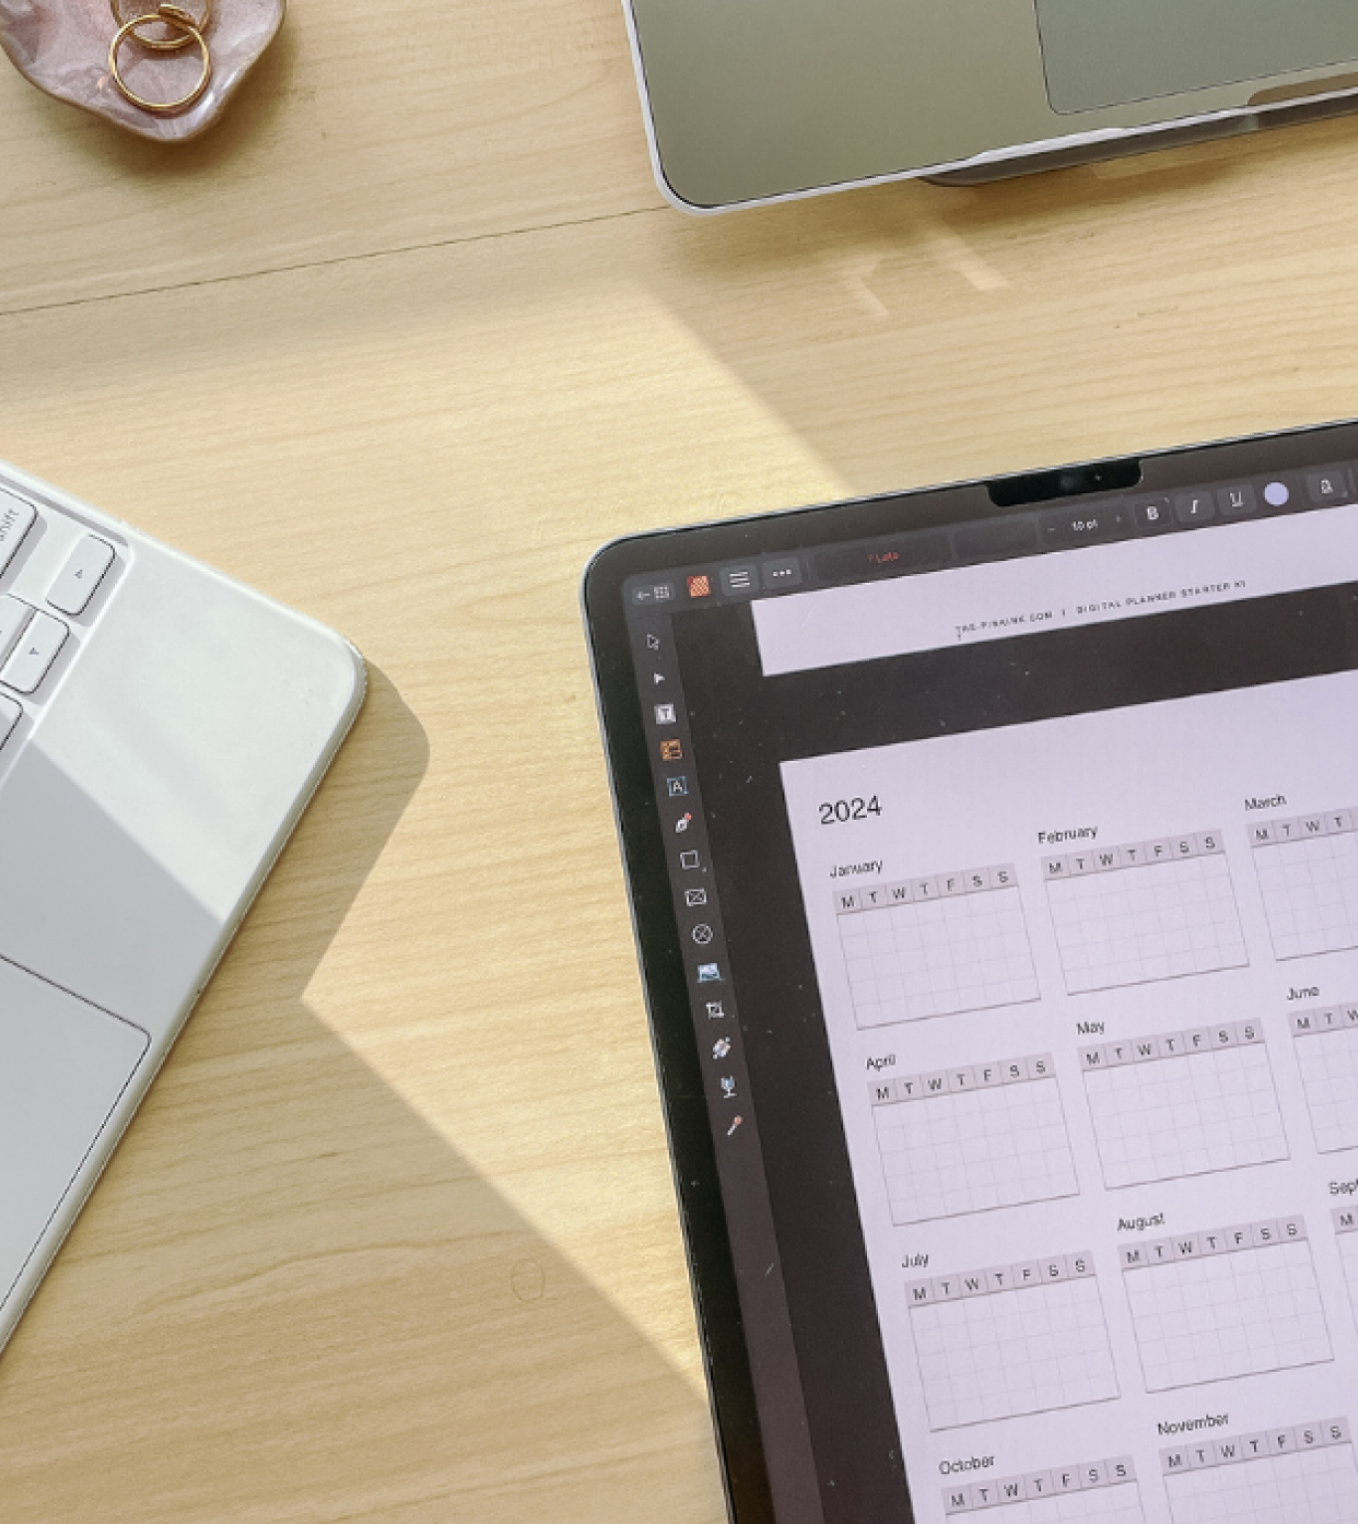
After spending years in the industry, there’s a few tools I always use for planner work. Affinity Publisher is where I’ll design your products since it handles proper bleed, binding margins, CMYK color profiles, and master page templates better than any other program.
If I designed your planner in Canva or Keynote, it would be nearly impossible to set up proper bleeds, create reusable master templates for repeating pages, and ensure consistent margins across 365 daily pages.
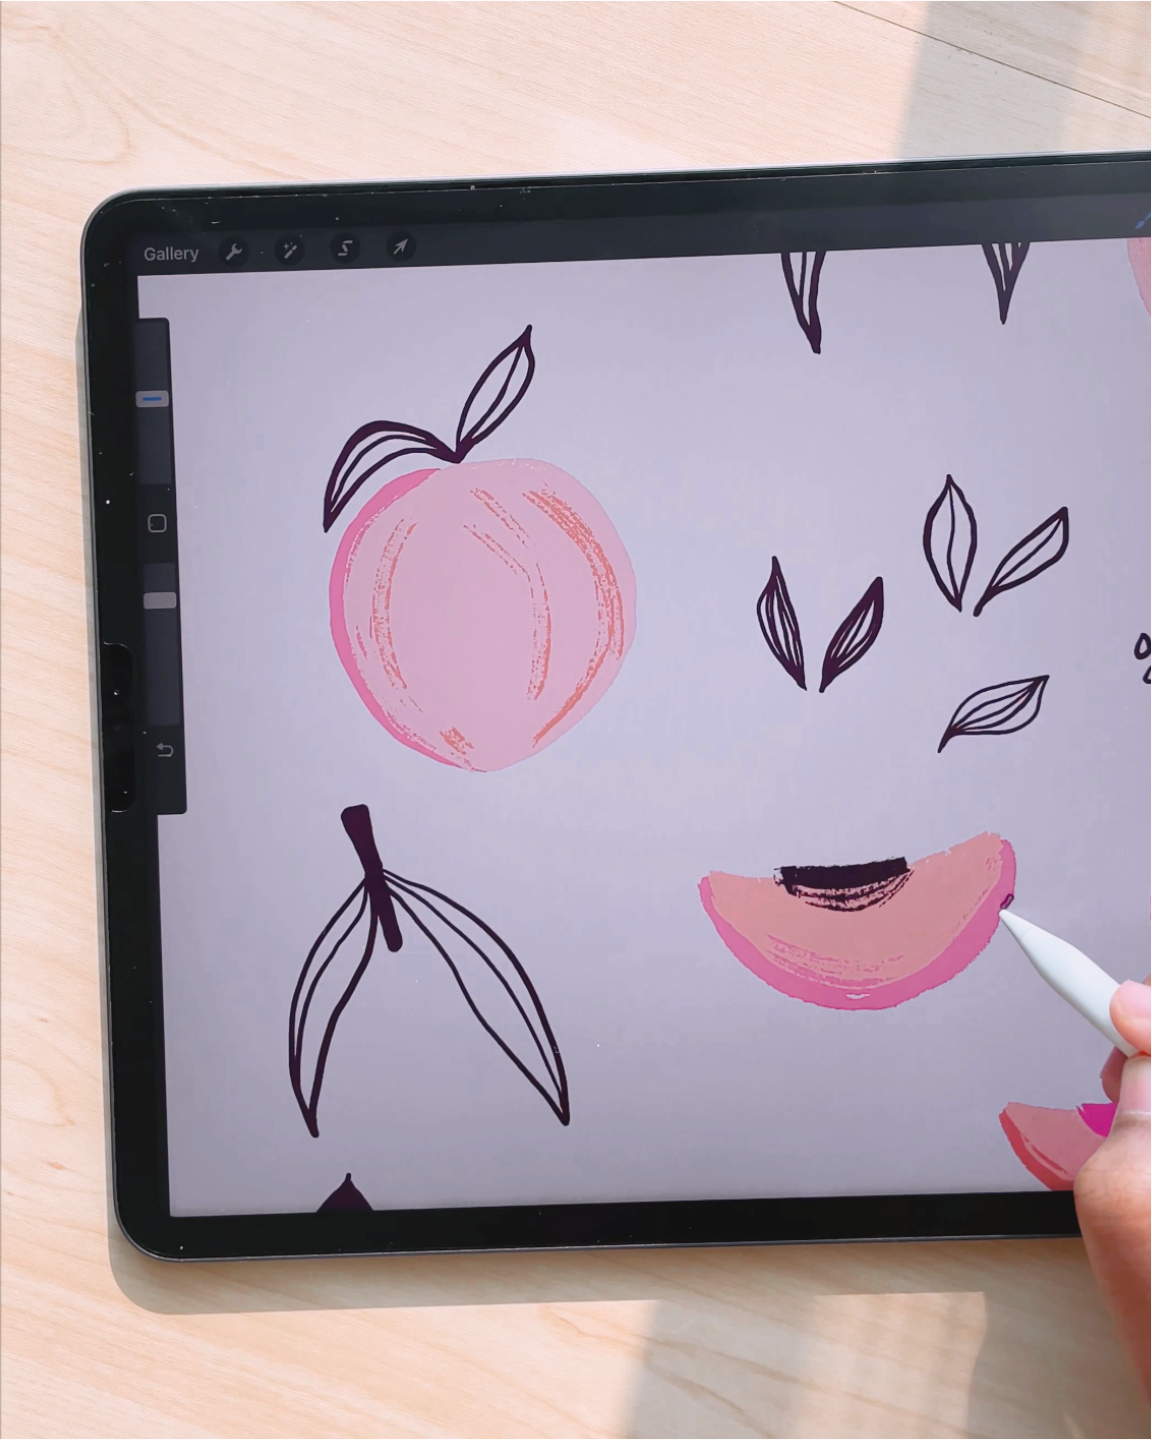
Every product I create is unique, so I take the time to hand-draw custom illustrations, patterns, or stickers with my iPad and Apple Pencil that will make products feel unmistakably yours.
📋 Excited but nervous about the process? My checklist takes the guesswork out of what to expect.Download the free checklist →
Stage 4: Delivery — Ready to Print, Ready to Sell
Once the design is approved, I prepare your final files. This may seem like a simple process at first glance, but I don’t just want to give you the files and send you on your way. As your design partner, I want to give you the tools you need to leverage your new product so that you’re prepared to…
Sell a physical or digital stationery product
Teach your audience how to use it
Share files with your printer or team effectively
Let’s break that process down.
If you’re receiving final files that will be sent to a printer, I’ll be sure that all print requirements are met. I’ll double check margins, trim size, bleed, resolution, and more.
If you’re receiving digital files for a product that will be used in a note-taking app, I’ll confirm that all buttons are hyperlinked and that all links lead to the right place. (If you're curious about creating digital planners, check out my step-by-step guide to designing a digital planner.)
Every one of my clients gets access to the Planner Business Toolkit – a library of resources that includes a Digital Planning 101 guide, a ready-to-use Customer FAQ Library, a full launch email sequence, and social media and testimonial collection templates.
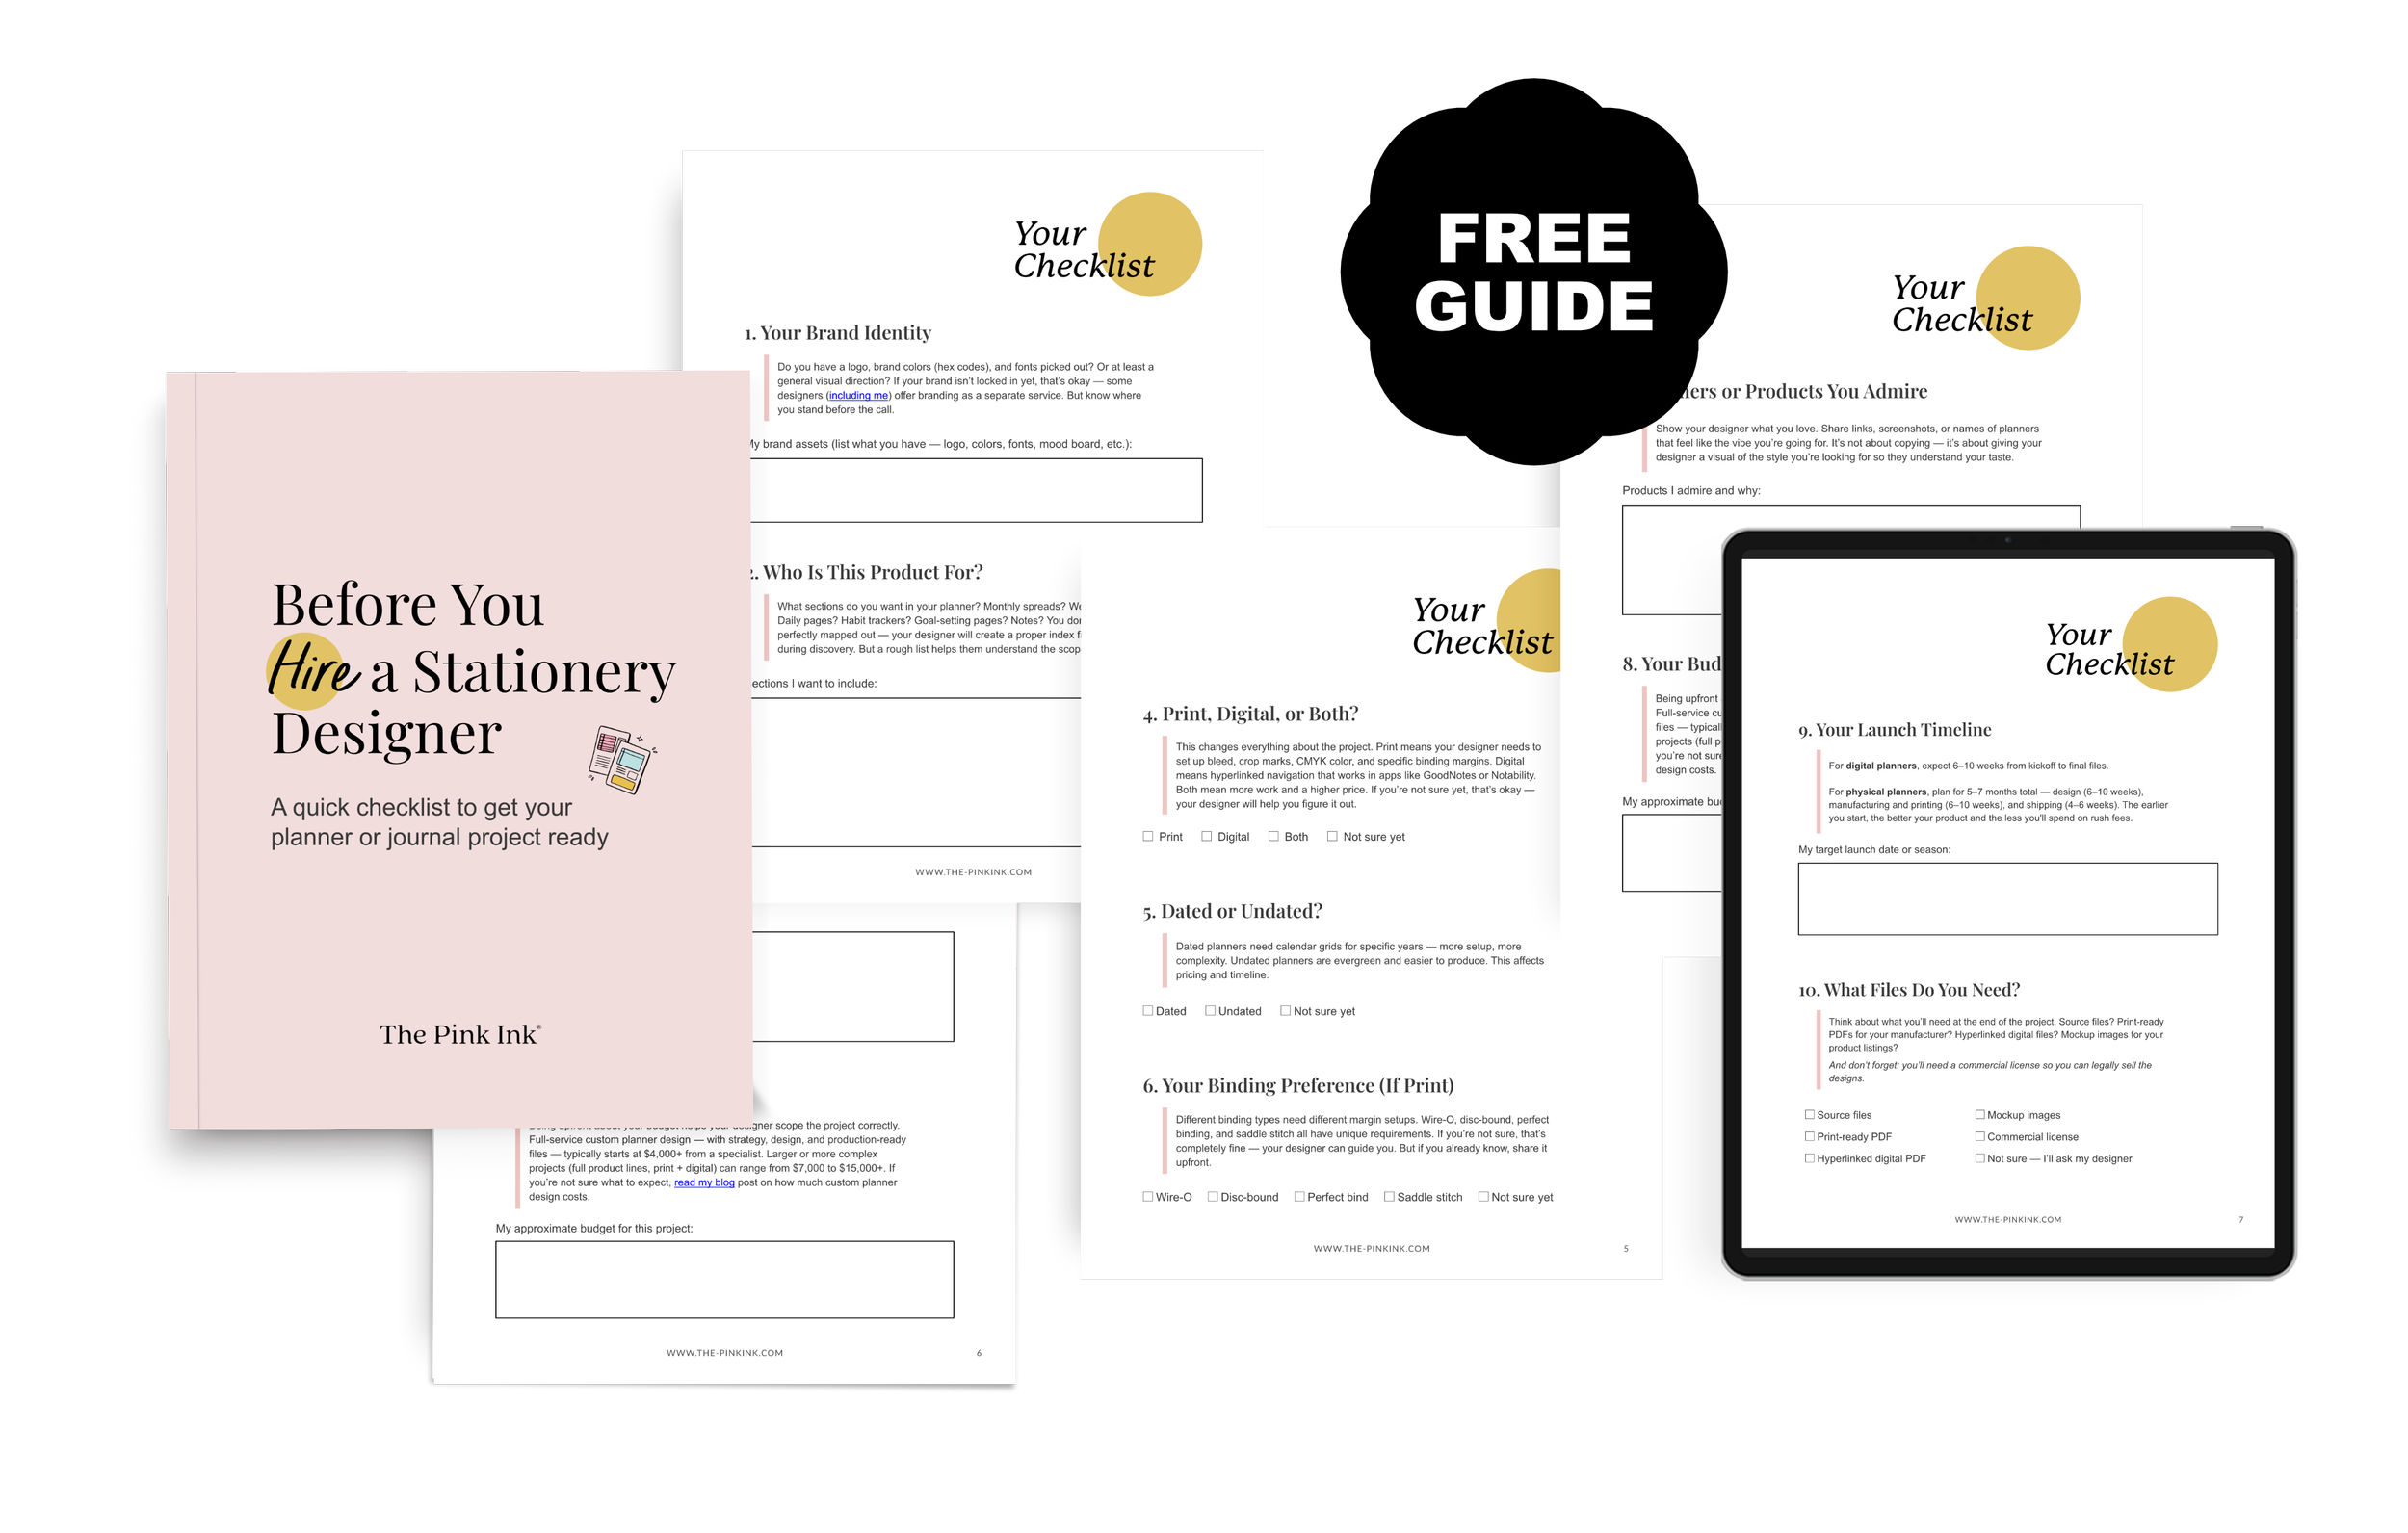
DOWNLOAD THE CHECKLIST »
How This Sets You Up for Real Success
You already know your planner has potential. You have the idea, the vision, and the drive to make it happen — what you need is an expert partner who has the time to turn that into a functional product that looks great in your shop.
That's exactly what this process is built for.
When we work through the strategy phase together, every decision we make after that has a reason behind it. The fonts, the colors, the layouts, the page count — none of it is unintentional. It's all rooted in research about your market, your audience, and where your product fits into both. This kind of research is what makes the difference between a planner that looks good and one that genuinely connects with the person buying it.
And when we get it right at the strategy stage, everything else flows seamlessly. Your files come out production-ready. Your product feels cohesive. Your customer picks it up, understands it immediately, and comes back for next year's edition. That's what we're building toward together — not just a planner that exists, but one that becomes a real part of your business.
📋 Ready to see this process in action?
Check out the Jessica's Journals case study to watch the full project from start to finish. Seeing it in real life will make everything I've outlined here click into place. Download the free checklist →
I'd love to help you bring your planner vision to life. Whether it's your first product or your fifth, this is exactly what I do. Let's talk about your project →
Want to learn more first? Check out how I created a custom planner for Jessica's Journals or browse free resources on the blog.