The Ultimate Roadmap to Launching Your Planner Shop in Just 4 Weeks
Have you ever thought to yourself that if only you had more time, then you would be able to launch that business you've been dreaming about?
I'm here to tell you that no matter how busy your days are or how many hours each day you're stuck in an office working your 9-5, it's possible to bring that business to life!
And the best part is, we're not talking about doing just a little bit of work here and there whenever you can manage it, we're talking about successfully launching your business in just 4 weeks.
But before you think this sounds too good to be true, let's break down each of the tasks you need to complete before launching your business into realistic phases!
In this blog post, we're going to help you create a timeline complete with detailed tips on launching your digital planner so that as a busy business owner or an aspiring creative, you can launch a business that makes you passive income while still working hard the rest of the day!
Week 1: Map out your planner pages
The first thing you'll need to do to get your planner shop up and running is to decide what you want to include in your planner.
Make a list of planner pages
To get started, you'll want to make a list of planner pages. The perfect digital planner is going to solve a problem for your audience. Think about the biggest struggles your potential customers are dealing with and come up with a signature process that will help them solve their problems and reach a goal.

Free Challenge and Digital Planner Kits by The Pink Ink®
What transformation your planner will help your customer achieve?
Think about your planner as a bridge that helps your audience cross over from where they currently are feeling overwhelmed, stressed out, and unproductive to the other side where they transform into feeling inspired, productive, and accomplished. What steps do they need to take to make this transformation?
Organize your planner list ideas into sections
Now that you’ve broken down your process into doable steps and sections, you have a good idea of everything that will go into your planner. Take a moment and think about the length of everything you want to include. Does each feature need to be a section or can it be a page? Will your planner be too long, complicated, or confusing if you include all the sections you’re thinking about?

Free Challenge and Digital Planner Academy® by The Pink Ink®
It’s important to be in touch with your audience and know exactly what it is they need right now, along with how much information and guidance is just right and what they would consider too overwhelming. If you decide that it’s best to leave out a section for now, you can always sell it as an add-on later!
Sketch out your planner pages
Sketch out each page idea in multiple layouts once you know what you're going to include to find a layout that flows well with the setup of your planner, stands out from competitors, and helps bring users closer to their final goal.

Digital Planner Academy® online program and community by The Pink Ink®
👉 Learn more about how you can turn your system into a digital product in this blog post!
Week 2: Design your planner
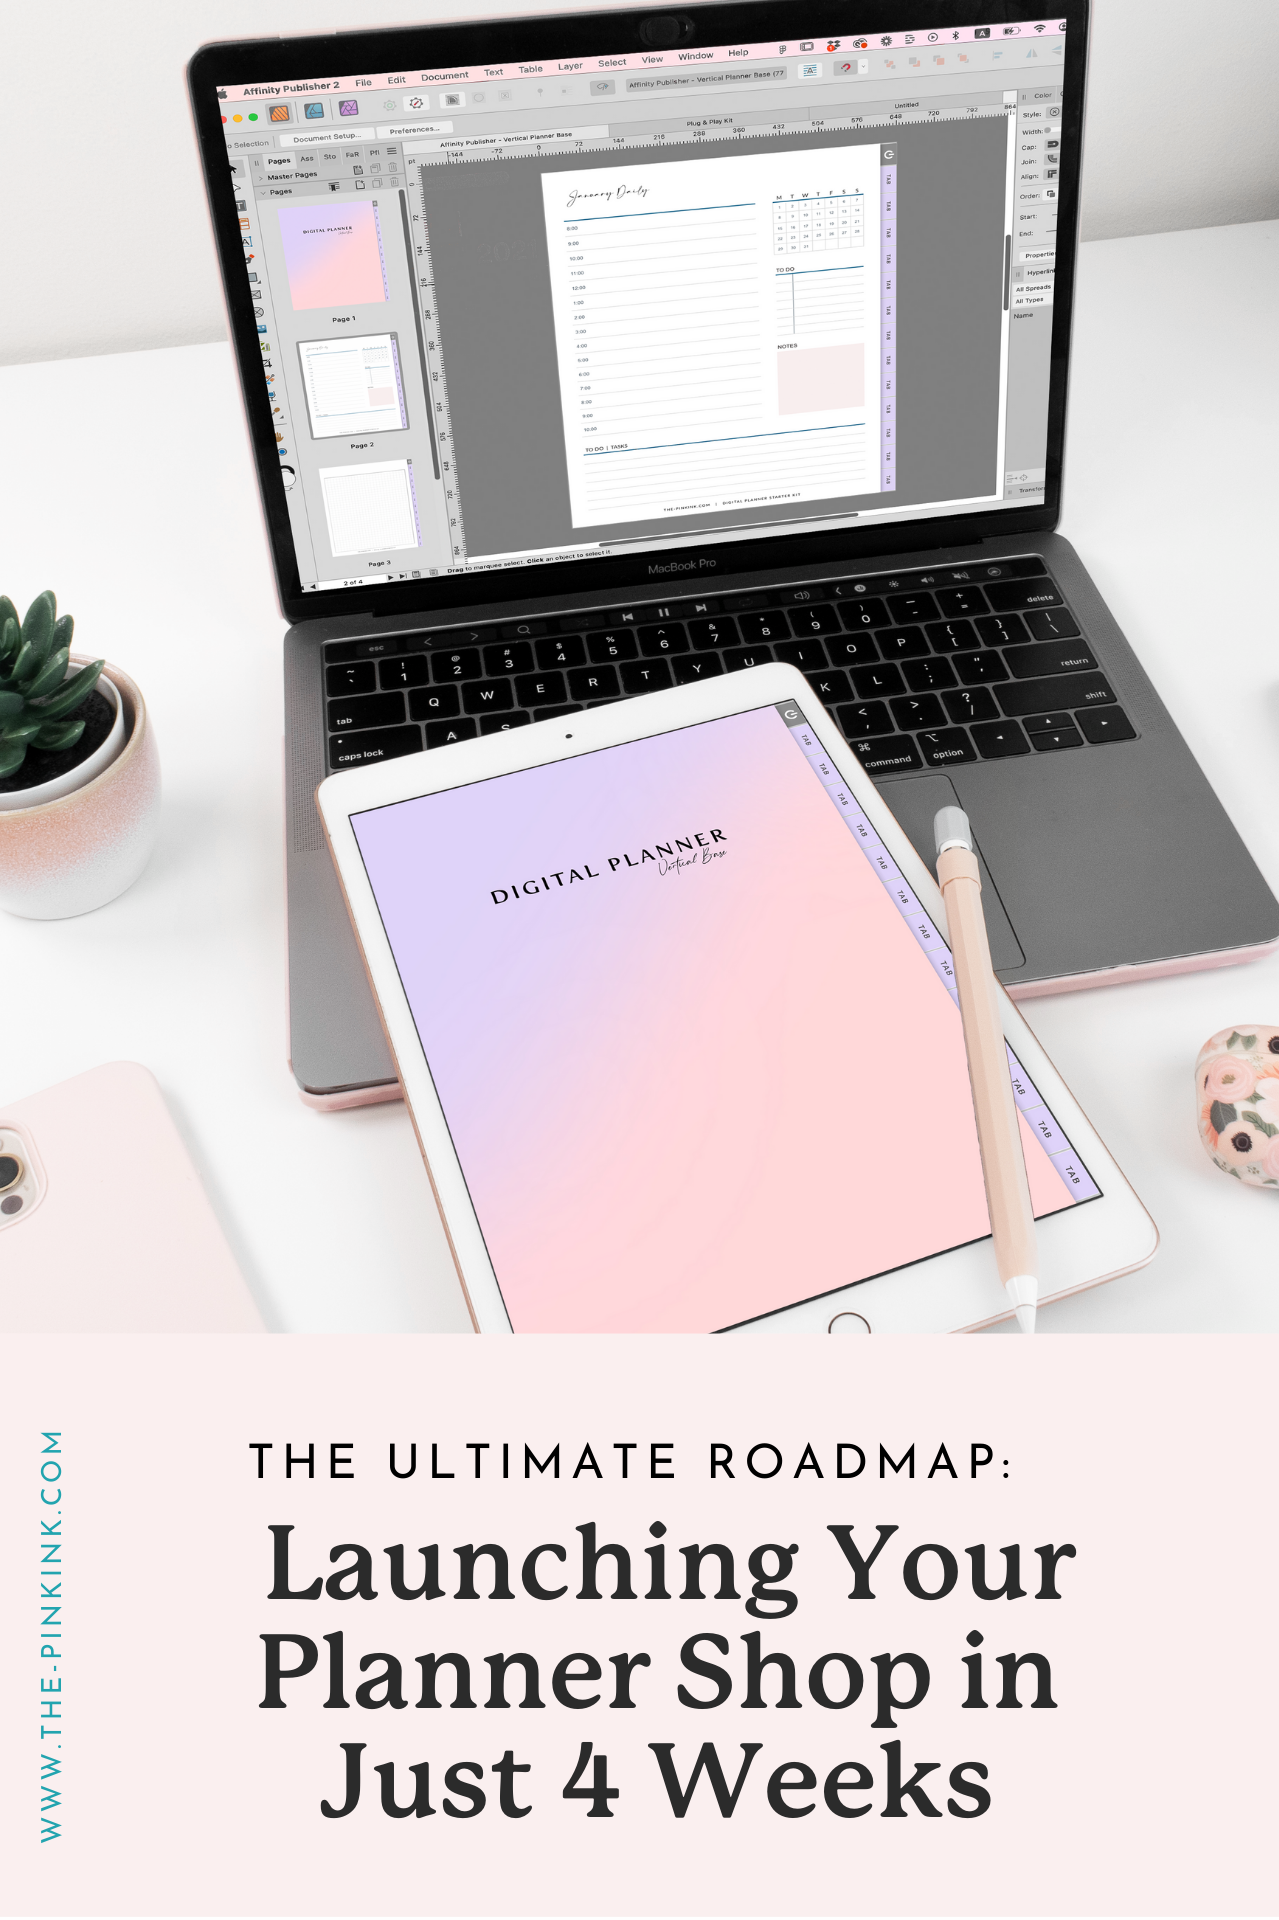
Once you have an idea of how you want your planner pages to look, it's time to digitize them! We suggest using Apple Keynote to do this. It's a free program for all Apple users and can be used to create hyperlinks that connect all your pages and sections together.
Set-up your document to create your planner
Start the digitizing process by setting up the page document to 935 by 650 pixels. To do this, navigate to document > slide size > custom slide size.

Digital Planner Academy® online program and community by The Pink Ink®
Create your tabs for your digital planner
Create tabs so that your planner is organized by section, which will make it easy to track your progress and jump around inside your planner. Using the shape tool, choose the rectangle shape and resize it, then duplicate it as many times as you need. If you aren't sure how many tabs you'll be using, we'd suggest starting with twelve, since that will at least allow you to separate everything into each month of the year.
✨ Pro tip! Add a drop shadow to help your tabs stand out, then add a square shape on top of the tabs to make them look more realistic.
Utilize master slide or slide layout to create your planner
Master slides are an essential tool when creating a digital planner. They allow you to set the overall look and feel of your presentation, which will not only save you time but can help you maintain a consistent aesthetic between different sections and pages. You can use master slides to quickly edit the basic elements that are repeated throughout your presentation, such as colors, fonts, and where certain hyperlinks (like your tabs!) are located.

Digital Planner Kits by The Pink Ink®
By using master slides, you can save time and effort by not having to manually edit each slide individually. You can simply make changes to the master slide, which will be reflected across all pages that use that master slide. This is a super helpful feature for larger planners that have lots of repetitive layouts — think daily planner pages, monthly spreads, and so on.
Build your planner page by page
Once you’ve created your master slides, you can dive into designing each individual page in your planner. It's important that your planner is easy to navigate and use, with clear sections and labels that make it easy to find what you're looking for.
Don't be afraid to mix up layouts and get creative with different designs - the more unique and eye-catching your planner is, the more likely it is to capture the attention of potential customers!

Helpful Design Resources from The Pink Ink® Blog
You now have the basics down! But don't stop here, let your creativity flow and bring your planner to life in a way that serves you! Make sure to check out The Pink Ink blog for more helpful design tips. Here are some of our favorites…
Week 3: Set up your shop
Once you have a completed planner, it's time to make things official and set up your shop! Decide on where you want to sell your products. You can either set up your own shop on your own website where you have complete control over all the aesthetics and logistics or you can use an online marketplace like Etsy where you don't have as much design control, but you do have a wide audience ready to buy from you!

Digital Planner Kits by The Pink Ink®
Online Marketplaces vs Your Own Website
It's time to sell your digital planners, but where are people going to go to purchase your products? Online marketplaces are places where different business owners can all sell their own products to a group of people without you having to go out and search for potential customers.
One of the most common online marketplaces is Etsy, where people sell physical products you can have shipped to your doorstep and digital products that you can download as soon as you hit the "purchase" button.
Additionally, you can set up a digital shop on your own website - either to add another platform to your website or to further extend your brand that already exists. I personally recommend Squarespace to build a website that looks amazing and converts website visitors into paying customers! You can learn more about selling digital products and planners on Etsy in this blog post.
Selling digital planners on Etsy
Etsy is a great place to start selling products and build up brand loyalty when you first start your business. It’s easy to share digital products on Etsy, however, Etsy is more limited than building your own website in that it only allows you to sell physical and digital products so if you wanted to expand to offer courses and other services, you wouldn’t be able to make those sales or promotions through Etsy.
Etsy has its own community that you get access to when you join. That means it’s easier to build traffic and get sales in a short period of time through Etsy. By optimizing your shop title and description, you can catch the attention of the right customers for your products. If you have a good handle on SEO, it’s helpful to drive more traffic to your shop.
👉 You can learn more about Etsy SEO marketing by clicking here!

Selling digital products on Squarespace
Squarespace is well-known for its beautiful templates and unlike Etsy, it allows each seller to express their unique style. You can easily customize your own beautiful product page with a standalone page or a list of products on one page which Etsy doesn’t offer. For unlimited paid templates, my favorites are from here. Squarespace lets you drag and drop templates with more features which allows you to build your shop with all the features you need to build your business.
On Squarespace, you have more entrepreneurial power to sell things like memberships, courses, and services in addition to your passive income products. You also have the potential to provide more value to your customers by creating a blog where people can read about topics related to your niche and offerings.
With Squarespace, it’s easier to capture leads and the lead capture rate is much higher because your shop is more customized. This allows you to build funnels and upsell products as you nurture your leads. Leads who find you through Squarespace are more likely to look at your products and become loyal customers than those who would find you on Etsy.
Week 4: Launch your business
This last week is the one you've been waiting for!
It's time to launch your business, sit back, and watch the passive income roll in! Sometimes people are so excited to launch their shop but once they do, all they hear are crickets. But there are some strategies you can use to attract customers and keep their attention…
Using email marketing to scale your digital planner business
An email list is a great way to build hype for your launch, warm up your audience so they're ready to buy from you, and tell subscribers when your products are available for purchase. Take a day out of your schedule prior to your launch week to batch-create email sequences to send to your list throughout your launch period. Make sure you have enticing email subject lines to increase your open rates.

Free 2023 dated Planner by The Pink Ink®
Email marketing strategies to increase sales for your stationery business
You can also treat your email list as a VIP area, meaning that these subscribers get an exclusive discount when your digital planner launches, encouraging them to make a purchase. You can also offer early access to your VIP waitlisters so they have the opportunity to make a purchase before your products are officially released to the world. This is a great way to collect testimonials and social proof to reassure potential buyers that purchasing your products is a good idea!
It's important to show up consistently throughout your launch week to remind people of what you're offering and the discounts they can take advantage of this week. The more you talk about your products, the better the chances are that more people in your audience will look at your products!

Why show up on social media as a digital planner creator?
We recommend posting and engaging with your audience each day on social media. This will help your brand be at the forefront of people's minds and push your content to their accounts (and similar accounts). Take a day to batch your content for the week leading up to your launch and the week of your launch. Make Reels, design posts, film stories, and put in the work now so you won't have a stressful launch!
Using Pinterest to sell digital planners
Take advantage of Pinterest marketing and blogging to promote your products. The great thing about this marketing method is that not only will you increase your website traffic during your launch, but your blogs and Pinterest Pins don't have an expiration date so they'll continue to drive traffic to your website even after you launch your business.

Canva Mockup Kit by The Pink Ink®
How can you get started creating and selling a digital planner in 4 weeks?
It can seem overwhelming to launch a business, but it doesn't have to be stressful! Soon enough, you can be making enough money from passive income to support yourself and your family. The Pink Ink blog is filled with helpful tips and tricks to guide you through the world of entrepreneurship!
This process can be completed by just blocking one or two hours out of your day to tackle these tasks without stressing yourself out.
One of the easiest ways to get started is by using a template. Digital Planner Kits are fully designed stationery collections that include planners, notebooks, and stickers in both vertical and horizontal layouts that come with commercial licenses so once you edit them to use your signature method and appeal to your target audience, you can sell them in your shop!

Our Digital Planner Kits are available in 10 different editions for various niches including moms, travelers, students, content creators, business owners, teachers, and more! Shop the Digital Planner Kits and watch a demo video here.
✨ Download free guide to design your own digital planner!
We've summed up all the most essential steps in this guide 👇